It doesn’t matter if you are a new content creator or an experienced veteran, a great thumbnail is an essential marketing tool for your brand. A great thumbnail is one, that not only engages its audience but hooks them to itself.
It is essential to make your thumbnails as captivating as possible. You’ll use your thumbnail to show a possible viewer what the video is all about. As we all know that both YouTube and TikTok are fundamentally videography platforms where people watch videos. Viewers will look at thumbnails before they read the title of your video and the engaging thumbnails will enforce them to click on your videos.
Key elements of a great thumbnail.
Here are some key design elements to understand when working on your thumbnail:
- As a thumbnail contains multiple objects on its outer layer especially a giant test, it must be easy to read. If it is blurry or vague, it will lose its charm.
- It must be bright and bold. It will be more engaging if eye-catching colors are used instead of dull colors.
- It should have only a few objects i.e, face, bold text, and stickers. It should not be a cluster of too many elements.
- Its size should be enough to fill the frame. It should not be smaller or larger than Youtube/TikTok aspect ratios.
- It should be neat and cleanly composed.
- There must be a contrast between front layers and back layers. This will make it look more presentable.
- It must be accurate. It should not be clickbait to fool people because it will have an adverse impression on your audience.
- It must follow all ethical guidelines provided by the platform.
I the case of a Youtube thumbnail, you’ll have to keep in mind the design and resolution recommendations that YouTube provides. The thumbnail should be at least 640 x 360 pixels and remain under the 2 MB upload limit. It’s also recommended that the thumbnail is in a 16:9 aspect ratio since that’s the ratio of most videos.
Step by step approach to create a thumbnail that WORKS!
An efficient and effective thumbnail is fairly simple to create. It takes a few common steps to create a thumbnail and this method is likely to work most of the time. Let’s get started!
1. Remove the background from your image.
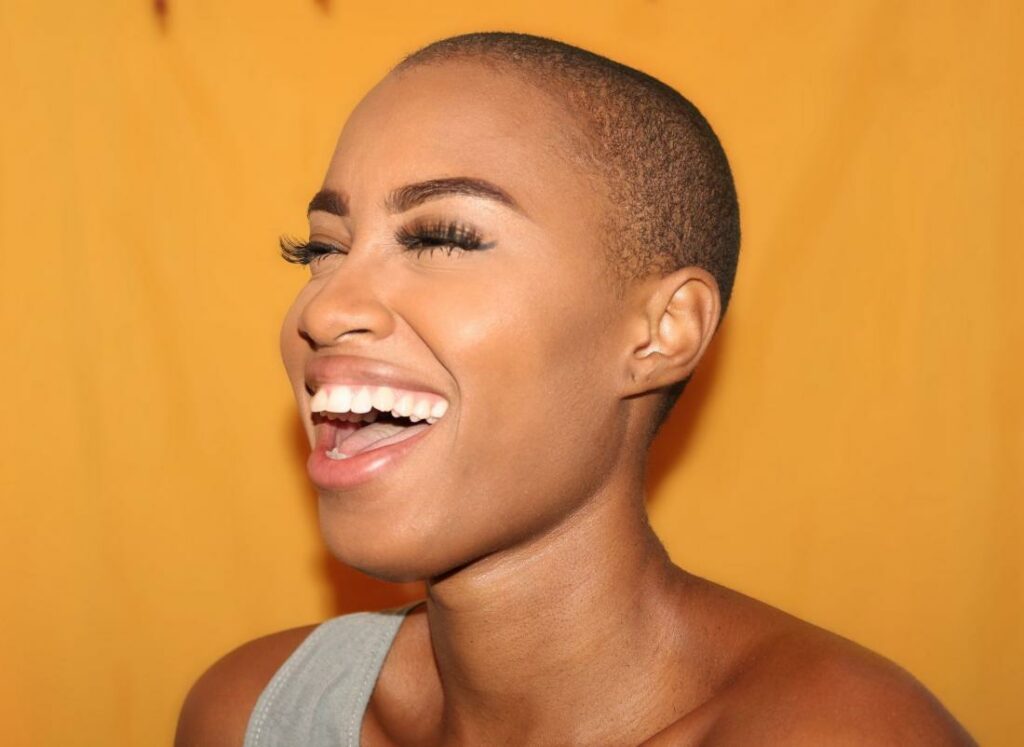
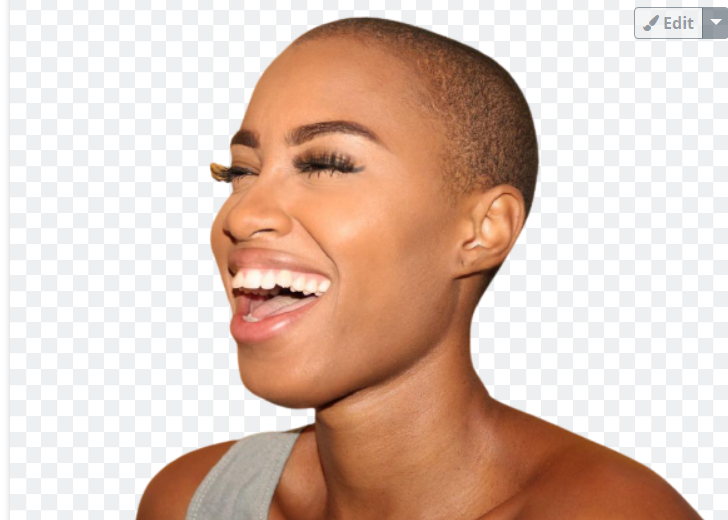
A thumbnail’s most pivotal element is a giant face, full of emotions. It should imply that there’s something in the content that if you click, will transfer that same emotion to its viewer as well. You don’t even have to cut the background manually, in complicated and time taking software. There are plenty of online tools available to you that you can use and remove background with just a click. Let me show you a remarkable website which I for removing this background.

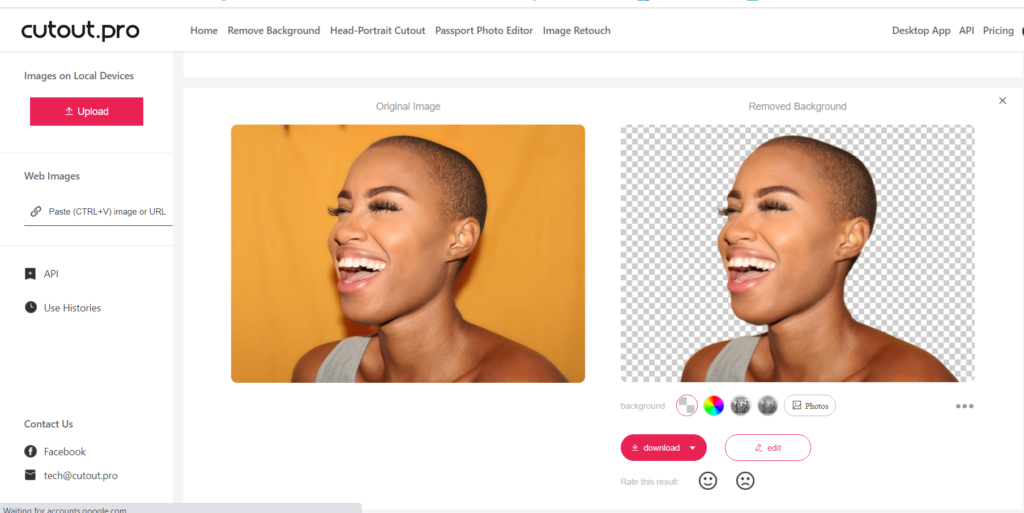
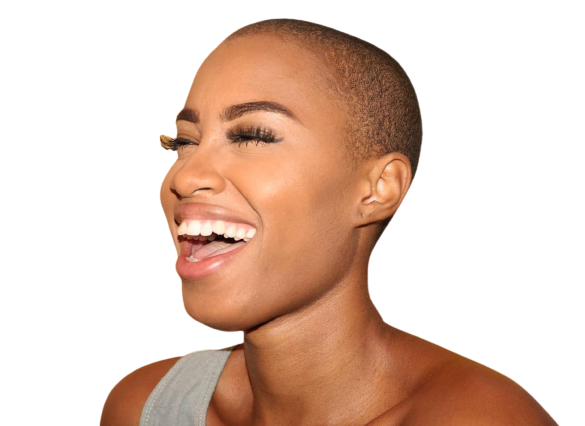
As for this particular photo I used cutout.pro which is a great online tool for removing backgrounds from your images. It’s fast and pretty easy to use. You just upload a picture and that’s it. It will remove the background from your image without losing the high resolution. The results are accurate and stunning. Do try it out yourself as well.
2. Choose a background of your choice, preferably dark!
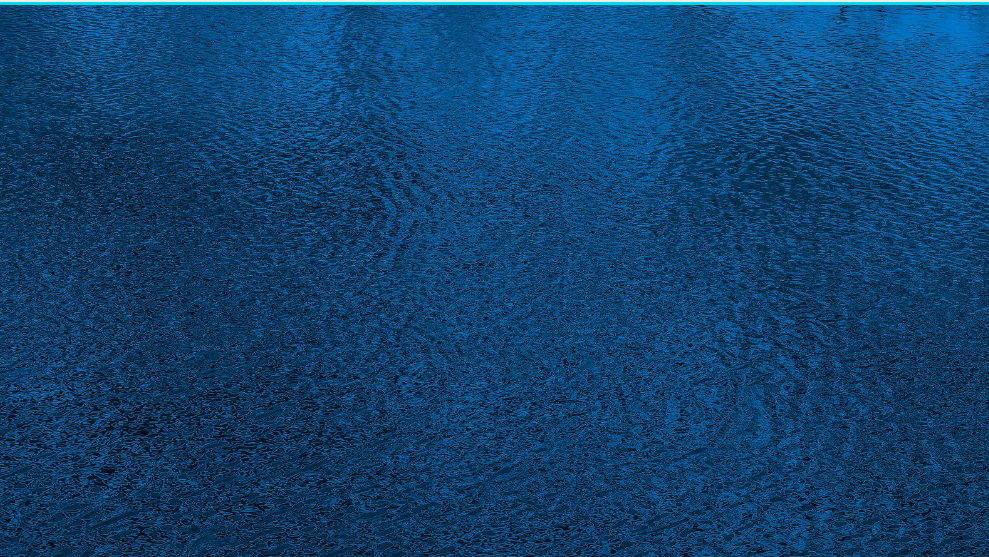
After the face is selected for the front layer, it’s time to work on the second layer, the layer in the back. It’s preferable to have a dark background so that we can add light color objects as the front layers. As we discussed earlier, there must be contrasting colors in the thumbnail, so that it can be read easily.
3. Place the cropped image on the chosen background.
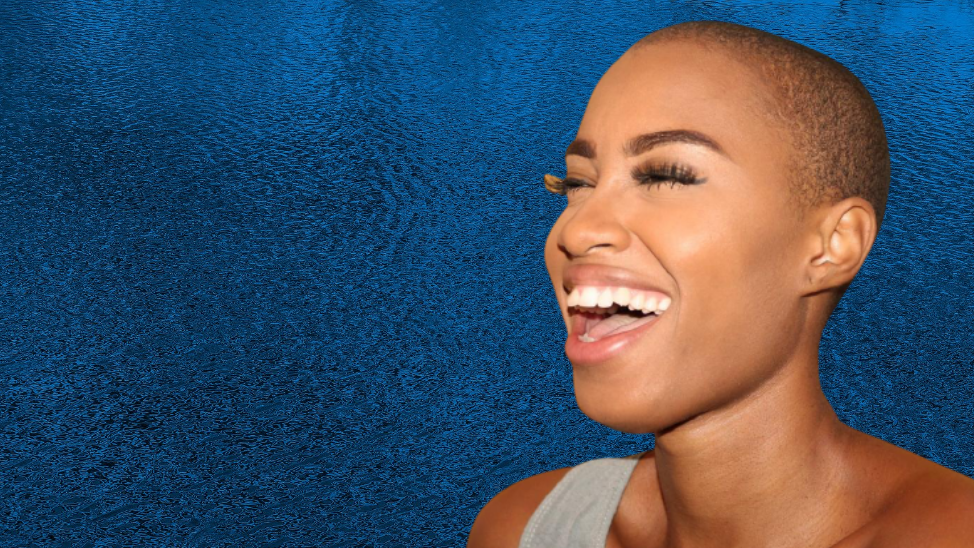
The cropped image of the face, which is our front layer will be added on top of the background layer. Make sure it covers no more than half of the background’s space. Also, it should be placed on either the left side of the back- layer or the right side of it. Placing it in the center will not leave much space for our text, which is the next step in our tutorial.
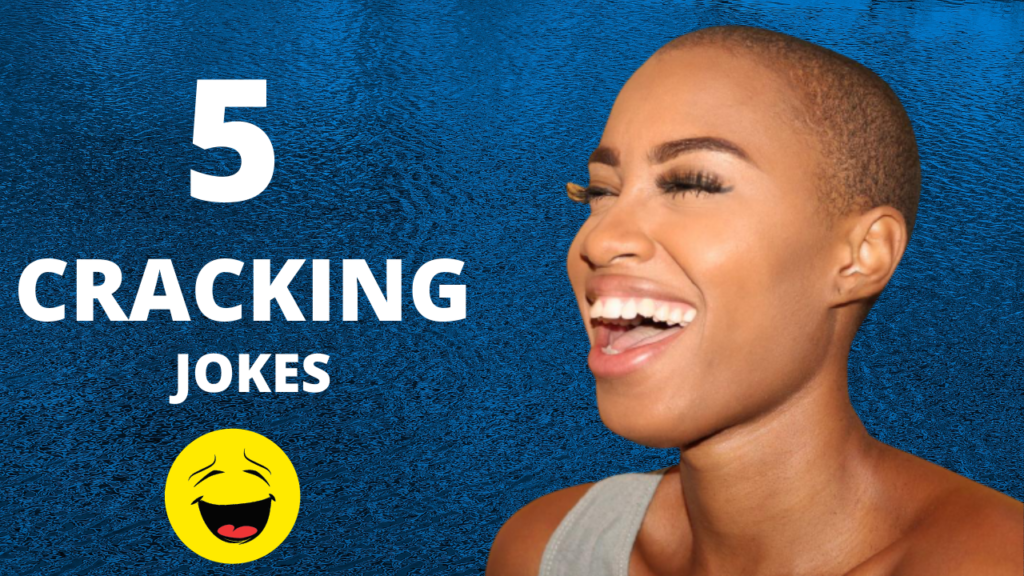
4. Add a bold text to the opposite of the cropped image.
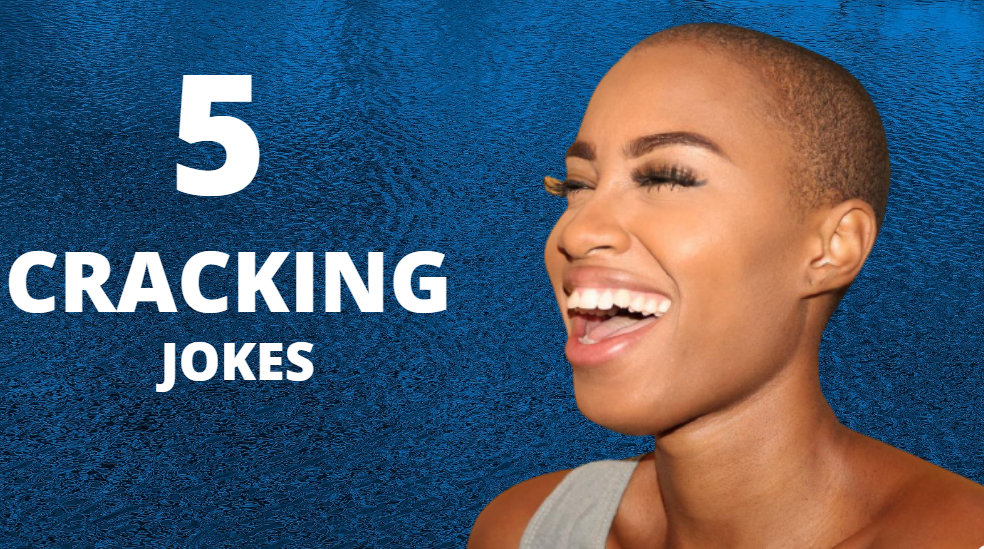
Now, the space we left on the opposite side of the cropped image will be utilized by the bold text. This bold text should be light in color. It must be short, precise, and to-the-point! It must support the emotion that is portrayed by the facial image on the opposite side. Both the cropped image and the text should be relevant to the video and must complement each other.
5. Add a sticker or two, but not too many.
For the final step, you can add one or two stickers that are relevant to the video and their value to the emotion that is already portrayed by the image and the text. Make sure you don’t put too many stickers and create a cluster. It will make it difficult for the viewer to read your thumbnail.
Apart from removing the backgrounds from your images, cutout.pro provides the remaining editing services as well. You can apply all these 5 steps and create a thumbnail in nearly 5 minutes.
Final Takeaways.
A simple and minimalistic thumbnail works all the time. Remember, the main objective of a thumbnail is to communicate and invite its audience only. Therefore, there is no need to perform too many edits on it to make it a piece of art.
Also, thumbnails aren’t just restricted to YouTube and TikTok. There are various other online platforms where you can use thumbnails. If you are providing a service and you want to advertise your service along with yourself then thumbnails are a pretty powerful tool to draw the attention of your targetted audience.
Also, if you are looking to sell a product then you can apply these simple 5 steps methods to the creation of that particular thumbnail as well. You just have to place that particular object instead of the face, we used it in this article as an example.