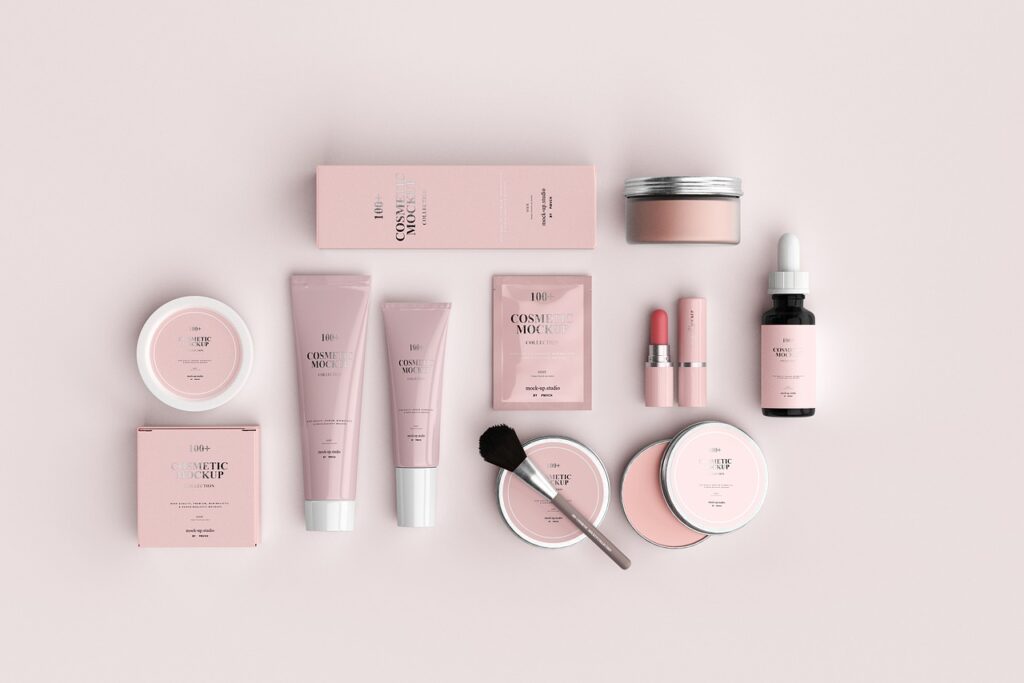
Product photography is easier and more fun than ever. Brands are finally going online to sell due to the internet revolution. A new business starting every day and countless products getting launched, sold, and shipped on a daily basis. A $10 trillion industry of e-commerce needs more workforce than ever. In this race of who wants to sell the most and make bigger figures, people have come up with different strategies to attract customers. One of them is stunning product photography.
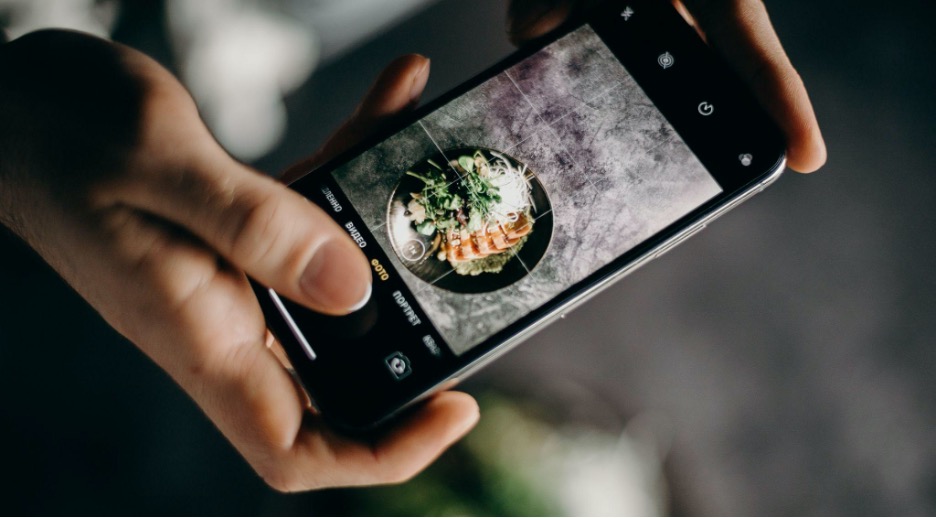
Yes, brands are investing a huge chunk of their money to hire photographers for their product pictures. After all, that’s what is going to drive their sales online. They aren’t just limited to local photographers now but instead going online to hire freelancers worldwide. This is your chance to jump in and grab the opportunity to show off your skills but wait, you don’t have a setup to take high-quality product pictures? You don’t even have the means to invest? How can you possibly be a good product photographer with no equipment or professional setup? I’ll tell you how and by the end of this article, you’ll be taking stunning pictures.
If you have a mid-range camera, that’s a plus, otherwise use your phone, to begin with. Make sure that you at least have a phone with a good camera (preferably an iPhone X, Samsung Galaxy S9, Huawei P20 Pro, or One Plus 8). Any good camera with a detailed sensor. Your focus is mainly going to be on 2 things while doing product photography with a phone.
1. Picture Detail
You would need a very high-resolution and crisp photo with a lot of clarity and details. This might not sound like the best photography advice but for e-commerce businesses, it’s highly preferable that you select the best camera resolution you possibly can. The customer is going to watch every corner of the product to be satisfied while making a purchase. Since Amazon and other companies now offer a zoom-in feature while hovering over the product picture, it’s more important than ever to get a crispy photo. Colors, shadows, contrast, hue, etc can be edited later so the main focus must be on a well-lit and crisp shot.
2. Background separation
The most common mistake that occurs for beginners is they ignore the depth of field and just go for a straight shot. It depends on your camera or phone if they can automatically and easily adjust focus and lock it. Nonetheless, you have to ensure it every time before you click a picture if the background is blurry or not. This is more important than people focus on it.
Pro tip: When clicking with your phone or camera, the processed image after clicking is different from the one you see live in the viewfinder. So make sure that you know your way around your camera and the final result has all the edges neatly detected. Your lighting would also play an important part here.
Now let’s get to photography hacks.
To get a good product picture, you need 3 things. Good lighting, a plain and separated background and after editing. Now I am going to walk you through the cheapest and easiest ways to ace these 3 things and come up with a photo that stands out to the client and customers.
Good Lighting:
You might have already thought about using natural light for the start. A lot of people recommend it and yes, it is going to work out for you if you keep some things in mind. Now if you can afford light reflectors and diffusers, you should go for them as they add a lot to your photo. Otherwise, you can simply click a crispy shot in natural light and use any editing app for light and shadow adjustments.
- Keep your subject close to a window. Cloudy weather is a plus for you and shooting in the evening or early morning is highly recommended when the light intensity is lower.
- Your subject must be lit in a way that separates from the background. One way is to put light on it from both sides. To do this, place the product near the light source and place a light-colored board or anything you have in your house on the other side of the product to reflect light and make both sides well-lit.
- Use Cutout Pro tool to color grade the pictures and increase their clarity using their highly effective A.I.
Background Separation
You need to have a plain background. Make sure to use contrasting backgrounds. Do not ever use the background of the same color as the photo when shooting. This is going to mess up your camera focus and clarity unless you own an expensive camera.
- Place the product before your background and adjust the lighting to reduce shadows.
- Make sure that the background is lit enough to be detected and separated by camera sensors. This is going to make the picture more crispy.
- If you don’t have a background for contrast, make sure that the light separates your product clearly from the background and then use Cutout Pro and their background removal and editing tool which makes use of its effective A.I scan the whole photo and separate the subject. Their image cutter is automatic and you can make slight adjustments after the automatic detection for your own use and more clarity.
original 
background removed
Cutout pro is going to compensate for your lack of equipment.
Editing the Product Picture:
After you have shot a crispy photo, it’s time to edit it and make the final adjustments. Now you can do this on any editing app on your phone but for quick and finest editing, Cutout Pro is recommended. It will automatically remove your image background and replace it with your desired contrast background. If you want the same background color as the product, you can do that too. All due to its highly efficient A.I.
Furthermore, adjust your lighting, exposure, contrast, clarity, shadows, and highlights of the picture to make the final adjustments. Play with color saturation and hue for better results and apply the preset of your choice if that is something your client or product might need. Export in the highest quality and your product picture is done.
Show your client and get some constructive feedback to improvise. Good luck!