Hey, Camille’s here. That morning I stared at a product shot that needed to become a video, and thought— tedious editing. Then I remembered: Seedance 2.0 just dropped, and the buzz was everywhere. ByteDance released it in February 2026, and early testers were calling it the first AI video tool that actually gives you creative control.
So I gave it a proper test run, start to finish. Raw photo to polished clip. What I found completely changed how I approach AI video generation. Turns out, the magic isn’t in the prompts—it’s in what you prepare before you even open Seedance.
Let me walk you through the exact six steps that got me from a static image to a broadcast-ready video, and why so many first attempts fail before the generate button is even touched.
Why most Seedance 2.0 failures happen before you hit generate
Here’s what nobody mentions in the hype threads: Seedance can only anchor what you give it. The model’s multimodal reference system—the thing everyone raves about—depends entirely on reference quality. Low resolution reference? Low resolution output. Poorly lit input? The lighting issues follow you all the way to the final frame.
My first attempt used a compressed product photo I’d grabbed from a Google Images search. Blurry edges, mysterious lighting, probably saved and resaved a dozen times. The video Seedance generated looked… exactly like that source file. Which is to say, not great.
The reference quality problem explained
Traditional AI video tools—Runway, Pika, even early Sora—let you type a prompt and cross your fingers. You describe what you want in elaborate detail and hope the AI interprets it correctly.
Seedance 2.0 works fundamentally differently. Instead of hoping the model understands “warm golden hour lighting with soft shadows,” you show it. You upload a reference image that has exactly that lighting, and Seedance locks onto it. The model follows concrete visual anchors, not text descriptions.
Which means if those anchors are wonky—compressed, poorly framed, inconsistent—your output inherits every flaw.

What clean input actually changes in the output
After my messy first try, I properly prepared my reference. Sharp edges from a high-res original, clean transparent background courtesy of Cutout.Pro, professional product lighting. Same prompt, completely different result.
The difference was genuinely startling. Motion stayed smooth through the whole clip. Subject stayed crisp and detailed. No weird edge artifacts, no morphing between frames, no “hmm, that’s close but not quite right” moments.
Clean inputs don’t just make the video look better—they make the entire generation process predictable. And when you’re working against a deadline or managing client expectations, predictable is worth its weight in generation credits.
Step 1 — source and select your reference image
What makes a usable reference (resolution, framing, content)
Choose high-resolution images with clear details. Avoid extreme shadows that hide key features. I aim for at least 1920×1080. For portraits, ensure good facial clarity. For products, use well-lit, uncompressed originals—not Instagram exports.
Product images vs portraits vs scene references
Product images need clean edges and consistent lighting. Use soft, diffused light and a neutral background.
Portraits need clear facial features. Keep clothing and hairstyle consistent if you’re generating multiple scenes.
Scene references guide composition and mood—a café interior, forest path, studio setup. Clarity still matters.
Step 2 — prepare your asset with Cutout.Pro
This is where I spend most of my prep time, but it pays off in the final output. Cutout.Pro uses multi-layer semantic segmentation—it doesn’t just detect edges, it understands what it’s looking at conceptually.
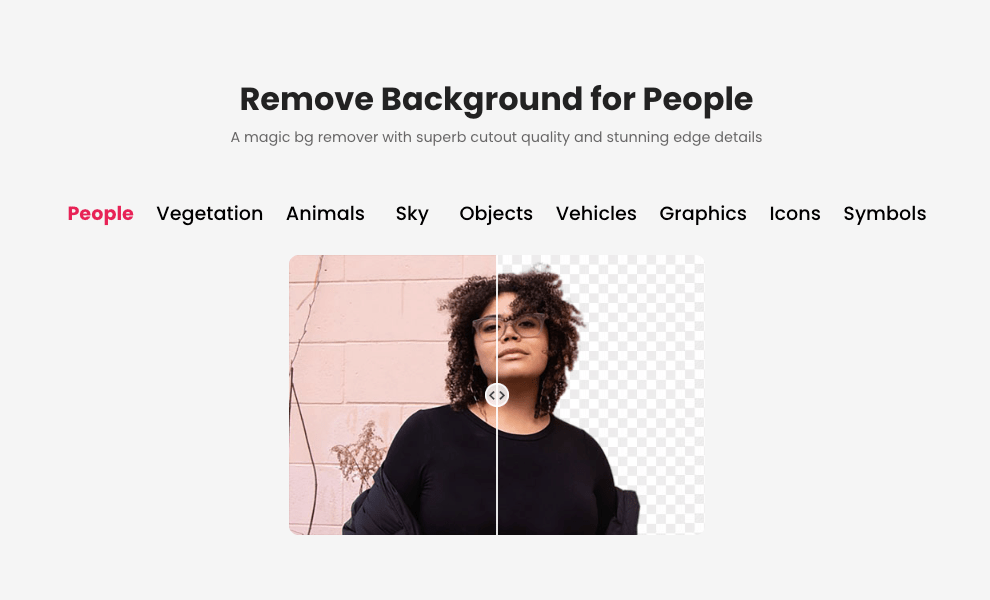
Background removal for clean transparent PNG
I upload my reference to Cutout.Pro’s background remover (see how it works in this asset prep with Cutout.Pro guide—it walks through the full workflow clearly). The AI automatically identifies the subject—person, product, pet—and removes the background, creating a transparent PNG with impressive edge precision.
One click. Three seconds. Download with alpha channel intact.
For straightforward product photography, that’s all you need. The AI handles it flawlessly about 90% of the time. For portraits with complex hair or semi-transparent fabric, I sometimes do minor manual refinement, but the AI gives me a solid starting point.
Edge refinement checklist
Before moving to Seedance, I run a quick quality check:
- Zoom to 200% and scan all edges for jagged pixels or background fragments
- Check for color fringing—that green or blue halo from colored backgrounds
- Always save as PNG to preserve the transparent background with full alpha channel
Naming and organizing for multi-shot reuse
File naming matters when juggling multiple references. I use descriptive names: product-bottle-front-clean.png, portrait-model-neutral.png.
Seedance assigns @Image1, @Video1 labels automatically. Clear original filenames prevent “which asset was Image3?” confusion.
Step 3 — assign reference roles (hero / style / motion)
Seedance 2.0’s power is combining up to 12 reference files with specific roles. If you’re new to this setup, understanding the reference role strategy can make everything feel much more predictable.
Hero image — identity anchor
Your main subject. The face, product, or character that stays consistent. I upload the cleaned PNG from Step 2 as the hero reference.
Style reference — lighting, color, texture
I use a second image—maybe a mood shot from existing brand content—to lock in lighting and color palette. This keeps the AI from inventing aesthetics that don’t match other assets.
Motion reference clip — pacing and action
Select clips with clean camera motion. For cinematic stability, avoid handheld chaos. I keep a library of motion clips: smooth push-ins, gentle pans, product rotations. Short clips work best—5 to 10 seconds.
Step 4 — write your prompt
Text-to-video prompt template
With solid references, prompts become simple. Instead of describing every aesthetic detail, I write: “@Image1 character pours coffee into cup, slow overhead tracking shot following motion from @Video1.”
The aesthetic detail lives in the references. The prompt describes what happens.
Image-to-video motion prompt template
For simpler work: upload 1-2 images, write motion prompt, set duration (5-8 seconds). Example: “Camera slowly zooms in on product, 6 seconds, shallow depth of field.”
Audio specification (dialogue / SFX / BGM / none)
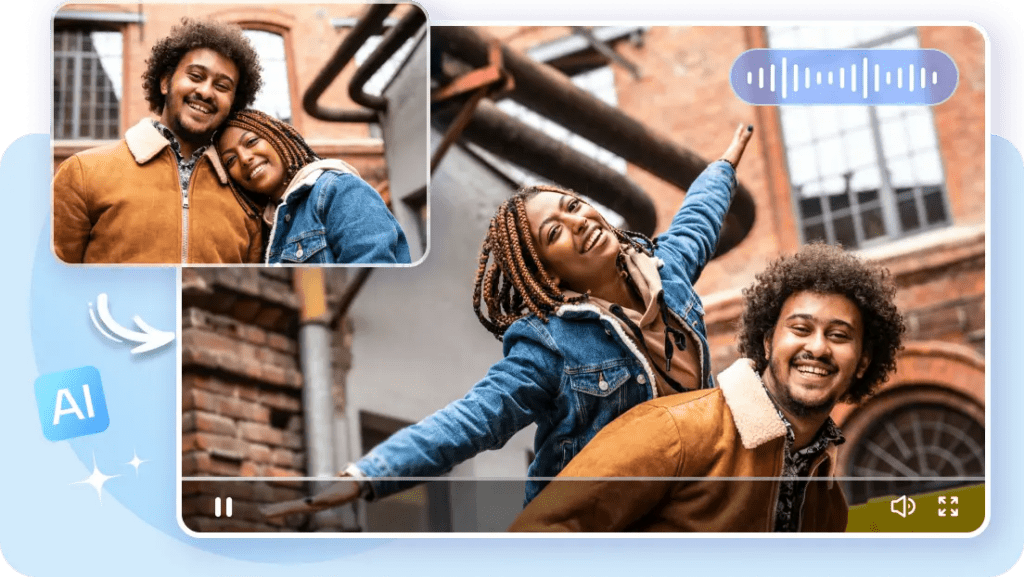
Seedance 2.0 generates audio and video simultaneously through its Dual-Branch Diffusion Transformer—the model understands how visuals and sound relate. For product demos, I usually go with subtle ambient audio or none, adding music in post.
Step 5 — generate and QA
Generation takes 60 to 180 seconds depending on resolution.
First-pass check: identity, motion, audio sync
I check three things:
- Identity consistency — does the subject match the reference throughout?
- Motion smoothness — any jumps or physics-defying moments?
- Audio sync — does audio match visual action?
Common failure patterns and quick fixes
If you upload multiple inconsistent character images with different lighting, the model averages them, causing face morphing. Fix: use fewer, more consistent references.
Second issue: motion that doesn’t match. This means the motion reference was too complex. Swap for a cleaner example.
Draft → final credit-saving workflow
I do low-res test generations first. Once I’ve dialed in references and prompt, I run the final version at full resolution. This saves credits on iterations.
Step 6 — export and distribute
Format and resolution by platform
Raw export is MP4. Instagram Reels: vertical (1080×1920). YouTube: horizontal (1920×1080 or higher). TikTok: vertical with headroom for UI.
I export at Seedance’s highest resolution—usually 2K—then let platform compression handle downscaling.
File naming convention for version control
My format: project-seedance-v1-final.mp4. For iterations: v2, v3. Client work gets dates: client-product-demo-2026-03-20-v2.mp4. Boring but helpful later.
FAQ
Q1: How many credits does a full workflow cost end-to-end?
As of February 2026, new users can try Jimeng AI for seven days at ¥1 RMB. Most platforms charge roughly $0.10-$0.80 per 5-8 second HD clip. Budget for 2-3 test generations per final clip while learning.
Q2: Can I use this workflow for batch production?
Yes. Once you’ve prepped reference assets—cleaned PNGs, motion clips, style anchors—you can generate variations quickly. For e-commerce brands with multiple SKUs, Seedance’s reference system eliminates inconsistency problems.
Q3: What’s the fastest way to iterate if the first generation fails?
Don’t rewrite the whole prompt. Change one word or swap one reference file. If motion is wrong, swap the motion reference. If style is off, swap the style anchor. Keep the hero reference consistent.
Q4: Does this workflow apply to Kling or Vidu 2.1 too?
The principle—clean references, transparent backgrounds, role-specific uploads—applies to most AI video tools. But the @tag system is Seedance-specific. Compared with Kling 3.0, Seedance offers stronger identity anchoring but requires more explicit control.
Q5: Where should I start if I’ve never used Seedance before?
Start simple: upload 1-2 images, write a motion prompt, set duration (5-8s), generate. Once you understand basic setups, add complexity—style references, motion clips, audio—one element at a time.
There we go. The trick isn’t some secret prompt formula. It’s understanding that Seedance is only as good as what you feed it. Clean references, clear roles, simple prompts.
Until next time—keep it light, keep it lovely.
Previous posts:
Clean Assets AI Video: Why Seedance 2.0 Results Start Before You Hit Generate
Seedance 2.0 Reference Strategy: Assign Each Asset a Role (Hero, Style, Motion)
Seedance 2.0 Flicker Edge Cleanup: How Asset Cleanup Fixes 70% of Shimmer Issues
Seedance 2.0 Product Promo Workflow: Packshot to Motion Video in 5 Steps
Remove Background from Product Photos for Amazon, Etsy & Shopify (Standards + Workflow)