Table of Contents
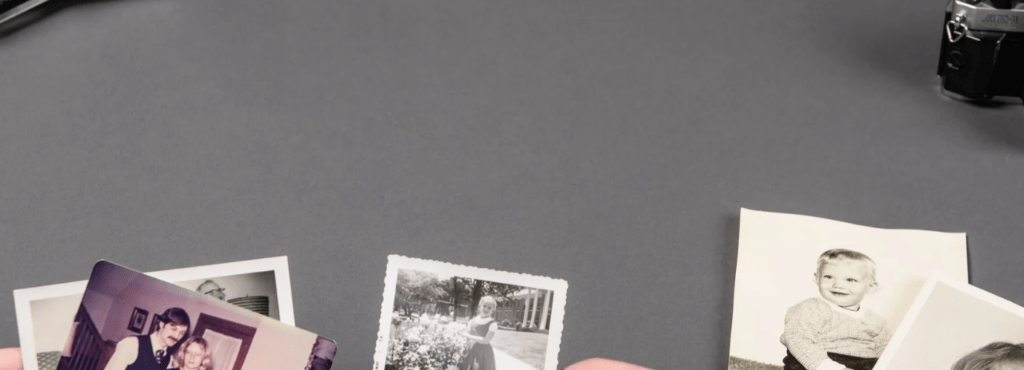
Hi, I’m Camille. There’s something quietly magical about an old photograph. Even a faded, creased one, barely hanging on to its colors. I found a shoebox of my grandmother’s prints last spring — some so washed out I could hardly make out faces — and spent an entire Sunday afternoon just… sitting with them. And then, slowly, bringing them back.
If you’ve ever held one of these fragile little time capsules and thought “I wish I could fix this” — good news. You absolutely can. Let me walk you through it, step by gentle step.
Set Expectations (What Can Be Restored)
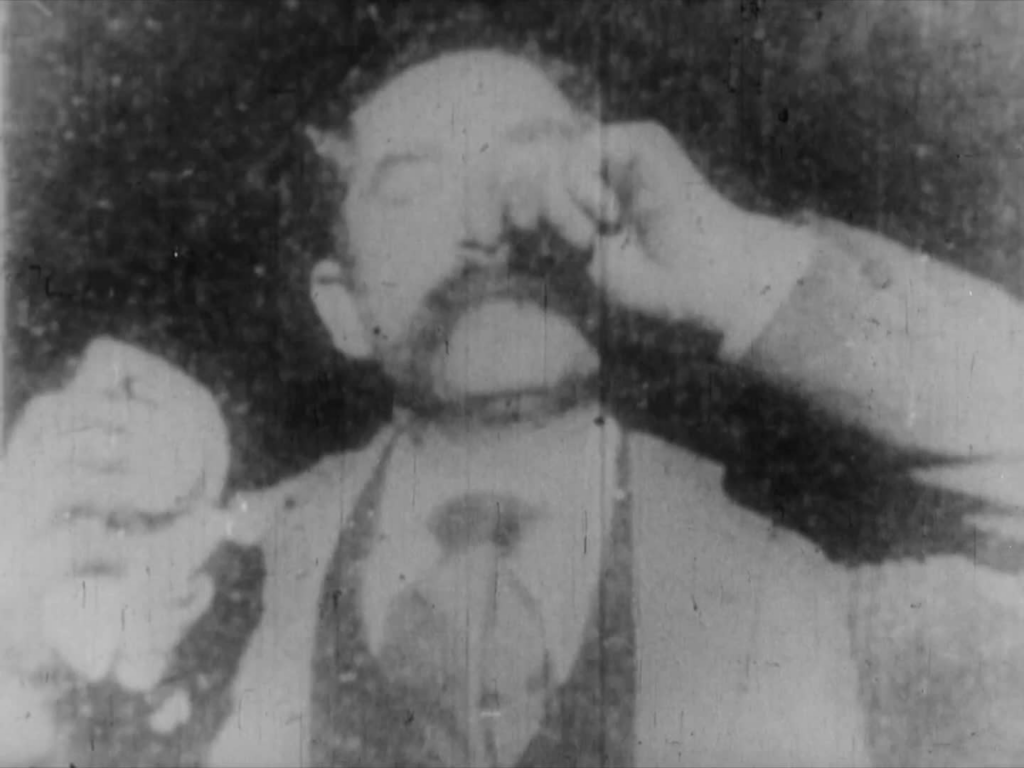
Before we dive in, a quick reality check. Not every damaged photo can be fully rescued — and that’s okay to say out loud.
AI and manual editing tools have gotten remarkably good, but they work best when there’s something to work with. If you’re exploring different tools for restoring faded or damaged images, this guide to the best AI photo editors for repairing and enhancing old photos compares several popular options. Fading, light scratches, yellowish color casts, moderate tears, and soft blur — all very fixable. Large missing sections, severe water damage where detail is physically gone, or extreme overexposure? Those require more patience, more skill, and sometimes just acceptance that a partial restore is a beautiful result too.
The rule I’ve settled into: restore toward clarity, not perfection. A photo that honestly represents the moment — with its age showing just a little — often feels more authentic than one scrubbed into clinical sharpness. And honestly? Conservation work to address damage is time-consuming and costly to do correctly — if the damage is minor and the item is infrequently handled, sometimes the better move is improving storage conditions rather than aggressive restoration. Worth keeping in mind before you go all-in.
Best Capture Method
This is where most people stumble, and honestly, where I stumbled too for longer than I’d like to admit. The quality of your starting scan determines almost everything that follows.
Scan vs. Phone Photo
A flatbed scanner almost always wins. Phone cameras have improved enormously, but they introduce lens distortion, uneven lighting, and compression artifacts — especially for small prints. According to Kodak Digitizing’s resolution guide, standard photos (4×6 or 5×7 inches) should be scanned at 300–600 DPI, while smaller wallet-sized prints benefit from 600–1200 DPI to ensure you’re capturing every recoverable detail. Save the raw scan as a TIFF file, not a JPEG — TIFF preserves every bit of data without lossy compression, which matters enormously when you start adjusting levels and pulling detail out of shadows.
Avoid Glare and Shadow
Lay your print flat on the scanner glass — gently, without pressing. Glare from overhead lights won’t usually be a problem with a flatbed, but if you’re photographing a print with your phone as a backup method, diffuse natural light (not direct sun) works best. Shoot straight on, not at an angle — even a slight tilt creates keystoning distortion and uneven shadow across the surface.
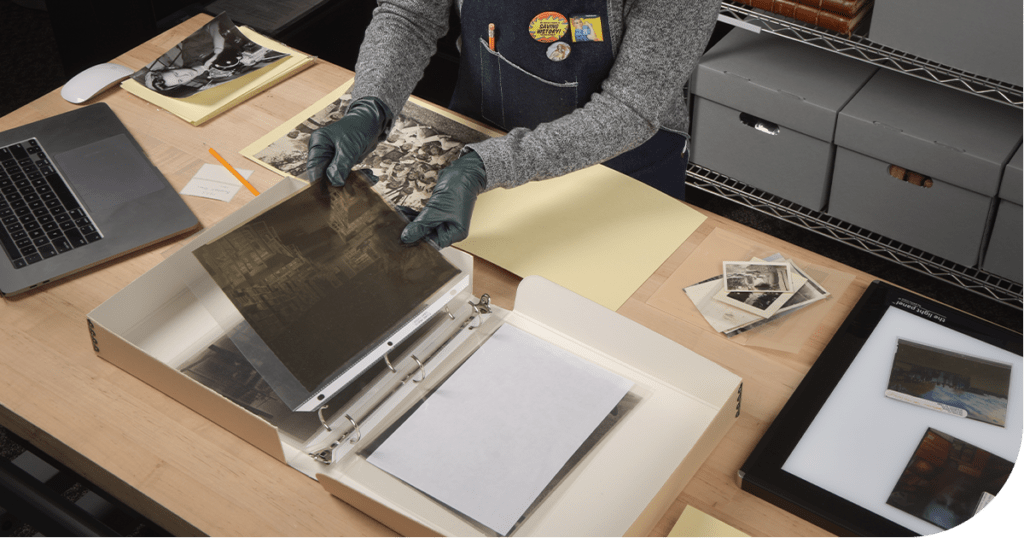
Oh, and please: wear fitted, clean, lint-free cotton or nitrile gloves when handling photographs and films, which are easily marred by fingerprints. Fingerprints are sneaky little permanence thieves, and once they’re baked into a scan, they become your problem in post too.
Restoration Workflow
Cleanup and Clarity
Once you have your scan open in your editing software (Photoshop, GIMP, or a capable online tool), if you’d like to experiment with restoring an old image yourself, you can start with a free AI photo editor that includes automatic enhancement and repair tools. start with the least invasive adjustments first.
Begin with levels or curves. Most old photos have lost contrast over time — the blacks have softened toward gray, and the whites have yellowed. Move your black point and white point inward until the image feels grounded again. Then address color casts. Old prints often go yellow-orange or greenish depending on the paper chemistry and storage conditions. A simple Hue/Saturation adjustment, or even auto white balance in Camera Raw, can neutralize this surprisingly well on the first pass.
For physical damage — scratches, spots, small tears — the Healing Brush and Clone Stamp are your friends. Fine details like hair strands or delicate edges often require careful editing — techniques similar to those used when removing backgrounds from hair and glass edges in complex photos. Work on a duplicate layerso you’re never editing your original scan. Zoom in close, take small strokes, and resist the urge to rush. This part rewards patience more than any other.
Denoise + Sharpen Balance
Here’s where things can go gently wrong if you’re not careful: the push-pull between noise reduction and sharpening.
Old scanned photos carry genuine grain — some of it is part of the photo’s character, some of it is scanner noise you don’t want. Apply noise reduction first, at a moderate level. Then, if you need to recover some texture and edge clarity, try a High Pass filter at low intensity blended in Soft Light mode. The goal is a photo that looks clearer, not one that looks processed. If you can feel the sharpening when you look at it, you’ve probably gone one step too far. Walk it back in touch.
It’s also worth knowing that almost all digital imaging systems apply sharpening, often at a point where the user has no control — sharpening artificially enhances details to create the illusion of greater definition. So between your scanner software and your editing tool, sharpening can stack up fast. Mmm, that tends to sneak up on you.
Optional Upscale for Print
If you’re planning to print — especially larger than the original — an AI upscaling step before printing is worth considering. Modern upscaling models add genuine resolution rather than just blurring pixels into each other. This is particularly valuable for small wallet-size originals you’d like to print at 5×7 or larger.
Export your final file at the highest resolution you can manage, and hold onto that TIFF original like it’s irreplaceable — because it is.
Common Restoration Artifacts
Even experienced restorers run into these. And honestly, noticing them is half the battle.
Over-sharpening
The telltale sign: a bright halo or white ring around edges — hair against a background, the outline of a face, the edge of a jacket. This happens when Unsharp Mask or sharpening filters are applied too aggressively. If you spot it, reduce the sharpening amount or increase the radius threshold. Over-sharpening also makes skin tones look almost plastic, which tends to make old portraits feel strangely uncanny rather than restored.
Past me was so serious about sharpening. I have overcooked more than a few grandmother portraits in my early attempts. Bless my fiddly heart.
Color Shifts
AI colorization and color correction tools sometimes drift — reds bleed into orange, or a warm brown becomes a strange lavender. This happens when the algorithm misreads faded dye chemistry. The fix is usually simple: reduce the saturation of the offending channel with a targeted Hue/Saturation adjustment, or mask that area and correct it manually.
Worth noting too: colorization is interpretive, not factual. Added colors are digitally generated and may not reflect real historical tones — something to keep in mind if you’re restoring photos for family history or archival purposes.
Archiving + Export (Long-Term Storage)
There we go — you’ve done the restoration. Now, how do you make sure it survives the next fifty years?
TIFF is the preferred format for archiving: lossless, widely supported, and it won’t degrade with each save the way JPEG does. For web sharing or sending to family, export a separate JPEG or PNG copy — keep your TIFF master untouched.
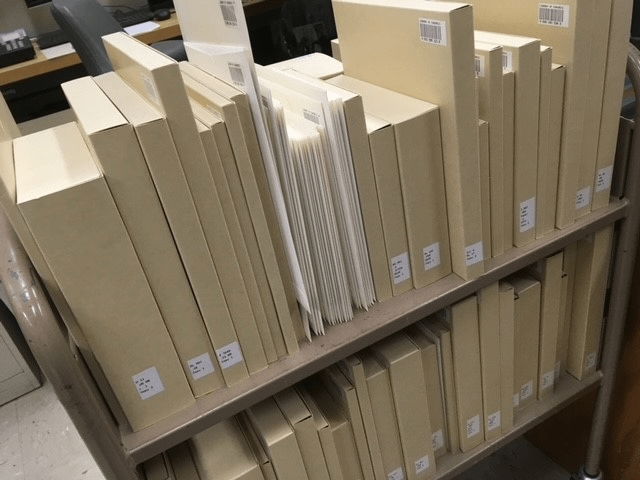
For digital preservation, the Library of Congress personal digital archiving guidelines are a wonderful, practical starting point. They recommend storing copies in different locations that are as physically far apart as practical — if disaster strikes one location, your photographs in the other place should be safe. Check your photos at least once a year to make sure you can read them, and create new media copies every five years.
For physical originals, the Library of Congress photograph care FAQ offers excellent, free guidance on storage environments, handling, and housing — worth bookmarking if you’re caring for a family collection.
FAQ
Q: Can I restore a photo that’s torn in half? Yes, often. If both halves survive, scan them separately and align them in editing software. Missing edges or corners can sometimes be reconstructed using Content-Aware Fill or by cloning similar texture nearby. Complex damage like this takes time, but it’s deeply satisfying when it works.
Q: Should I try to remove all the scratches? Not necessarily. Minor surface texture is part of the photo’s history. Focus on distracting damage — scratches across faces, large tears, heavy staining — and let small peripheral imperfections remain. The photo will feel more authentic for it.
Q: Is it better to restore in black-and-white first, then colorize? For severely faded color photos, yes — to convert them to black-and-white and restoring contrast first, then adding color selectively, often gives cleaner results than trying to correct both simultaneously.
Q: What DPI should I use to print a restored photo? For standard photo prints (4×6 to 8×10), 300 DPI at final print size is the general benchmark. If your scan resolution is lower, upscale before printing — modern AI upscaling handles this better than traditional interpolation. Adobe’s photo restoration guide is a helpful reference for Photoshop-specific workflows.
Q: How do I know when to stop editing? When the photo looks like it could have been taken that way — clear, clean, emotionally present — that’s usually the moment. If you’re asking “is this too much?”, it often is. Step away, come back in an hour, and trust your first instinct when you look at it fresh.
Q: What’s the best file format to save my restored photo? TIFF for your working master — always. For sharing, a high-quality JPEG (quality 90%+) is fine. PNG works well for images with text or sharp geometric edges. Avoid saving over your TIFF master repeatedly; keep it as the untouched original and export separately for every other use.
There’s something deeply satisfying about handing someone a restored image of their great-grandparents — clear-faced, present, there. The work doesn’t have to be perfect. It just has to be careful, and a little loving.
Try it with one photo first. Just one. See what wants to come back.
Until next time, bye~
Previous Posts:
Remove Noise from Photos: Denoise Without Losing Detail
Upscale Image to HD: Best Practices for Crisp Results
Photo Enhancer: What It Actually Does (Sharpness, Noise, Upscale)