Table of Contents
Hi, I’m Camille. If you run an online shop, handle product visuals for clients, or spend a suspicious amount of time nudging selection tools around fuzzy sleeves at 11 p.m.—this one’s for you.
Last month I had 63 product images due by 9 a.m. I’d shot them the day before: knitwear, two glossy skincare bottles, and a set of linen totes. Nice stuff. Painful to cut out one by one. My usual rhythm—open, mask, refine, export, repeat—would have taken me well into midnight. Instead, I was in bed by 10:30, every file delivered clean.
What changed wasn’t discipline. It was switching to batch background removal in Cutout.Pro, letting the AI process everything in parallel while I did literally nothing. Below is exactly how I set it up, what to watch for, and where I still spend the few minutes of manual attention that actually matter.
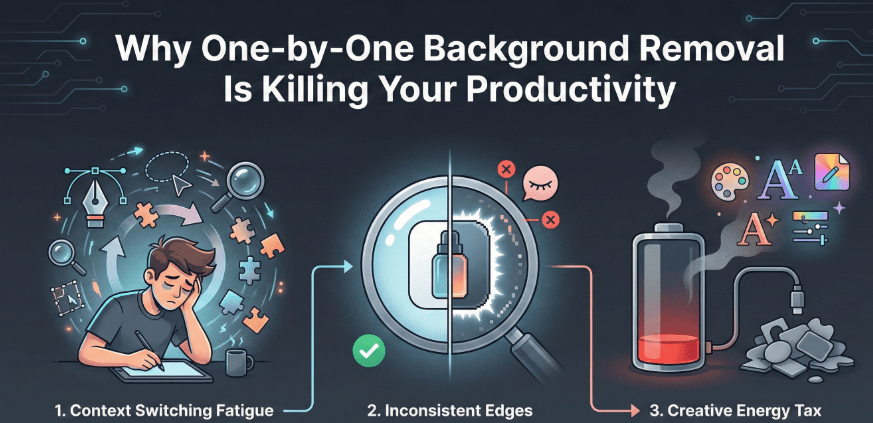
Why Going Image-by-Image Is Quietly Wrecking Your Day
Here’s the math no one talks about openly. A clean product shot with a simple background takes me around 2–3 minutes to cut manually—mask, refine, a little feathering on the edges. Hair, lace, or glass? More like 6–8 minutes each. On a 60-image set, that’s somewhere between three and five hours of pure repetitive labor.
And the time isn’t even the worst part.
By image 30, my edge tolerance starts drifting. I let a faint halo slide because I’ve been zoomed in for two hours and it “looks fine.” Then I upload everything, see the catalog in context, and realize three product listings have a ghost ring around them. Back I go. The creative energy I’d saved for color grading, typography, and the actual fun parts of design? Gone.
A few numbers from my April batch (I kept a rough log because I was curious):
- Manual estimate for 63 images: ~3.5 hours
- Actual total with batch processing: 37 minutes, including the download, my QC pass, and touching up two tricky shots
- Net savings: about 2 hours and 50 minutes
One of those bottles had a reflective sweep that left a faint halo—I fixed it with a quick levels pass. The knits came out cleaner than I expected. The linen totes were basically perfect. Ridiculously fast, and still steady.
How Cutout.Pro’s Batch Processing Actually Works
The rhythm is almost boring, which is the point.
Step 1: Group your images before you upload. I sort by product type—apparel in one batch, shiny objects in another. Similar material, similar edge behavior, similar results. It also makes QC faster because you’re comparing like with like.
Step 2: Drag the whole folder in. Cutout.Pro’s batch processing feature accepts JPGs and PNGs, mixed sizes, all at once. I’ve put 40+ images in at a time and watched them tick through simultaneously. It feels a little bit like popcorn—pop, pop, pop.
Step 3: Let it run while you do something else. I usually use this window to rename my export folders, make a cup of tea, or stare out the window for a few minutes like a person. My 63-image set finished processing in under 12 minutes.
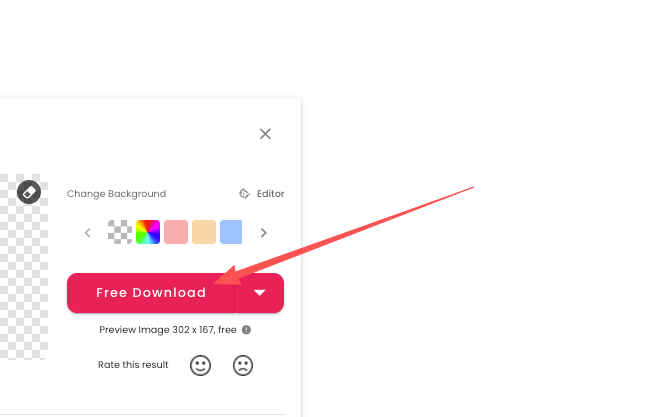
Step 4: Download the ZIP and do a quick spot check. Filenames stay matched to originals, which is a small gift if you’re working with product SKUs. I open 4–5 images at 100% zoom—usually one from each product type—and check the edge character. If they’re consistent, I ship. If something looks off in a subgroup, I refine just those.
No back-and-forth. No tool-hopping. One upload, one download, done.
Edge Quality: What to Expect Honestly
I’ve been testing this across different material types for a few months now, and here’s my field report:
Apparel with soft knits and fine hairlines: Honestly better than I expected. A few flyaway threads on the knit pieces needed a touch of cleanup, but the overall edge was clean. Older Camille would have spent two hours doing this by hand and felt proud. Present Camille laughed and moved on.
Glossy objects (bottles, cases, anything reflective): Usually clean, but if the original was shot with a bright reflective sweep, you might get a faint halo on one side. A quick interior shadow or levels adjustment cancels it. I now factor in about 2 minutes per glossy-object batch for this pass—still nothing compared to manual work.
Semi-transparent materials (glass, tulle, some packaging): The AI keeps plausible translucency, which is more than I expected. I still spot-check these by eye. The logic for semi-transparent edges is genuinely different from solid objects—Cutout.Pro’s guide on transparent material cutouts explains it well if you want to go deeper.
Hair and fur (if you’re doing lifestyle or pet product shots): Works fine for most cases. For editorial-level hero shots where the hairline really matters, I’ll do a quick manual refinement on just those 2–3 images. Everything else in the batch goes untouched.
One honest caveat: very low-light or noisy originals can confuse the edge detection in shadowy corners. I brighten those before uploading. The principle is one I come back to constantly—fix the asset first, before you blame the AI.

Setting Up a Repeatable Workflow (The Part That Actually Saves You Time Long-Term)
Batch removal works best when your inputs are consistent. Here’s the quiet checklist I run through before I even open Cutout.Pro:
Shoot clean. Soft, even lighting with no color cast gives the AI the clearest signal. I know this sounds obvious, but I have absolutely submitted a poorly-lit batch and gotten a messy batch back. The problem wasn’t the tool.
Decide your output format upfront. Transparent PNGs for compositing, JPGs if I’m putting everything on a brand-color background before export. Making this call once at the start means I don’t have a folder of files in the wrong format at the end.
Make a “Style & Edge” reference board. Three or four approved examples—how I like shadows, how tight the crop sits, how saturated the color feels. When I compare the batch output to this board, my touchup notes become fast and specific. “This one needs a warmer tint, these two need a soft ground shadow.” Clean and tidy.
File naming before you upload: I use a simple convention—productID_variant_color_view, like 8123_top_sage_front.jpg. The filenames persist through batch processing, so exports map back to SKUs without any hunting.
A note on backgrounds, since this comes up with clients: if you’re not going transparent, a whisper of warmth in the background white (not pure #FFFFFF, more like a 2% warm lift) reads more premium than flat white. Small detail, real difference. Once the color clicks, the whole thing starts to feel elevated.

When to Use the API Instead of the Web App
For most creative freelancers and small shop owners, the web app is plenty. Drag, wait, download, done. But there are moments where the Cutout.Pro API is genuinely the calmer path.
You probably want the API if:
- You’re processing hundreds or thousands of images per week and want them queued automatically
- You need outputs written directly to a storage bucket or product database with no manual steps
- You’re building a tool where clients upload images and get cleaned results without seeing any of the workflow
Practical notes: start with a small pilot batch of 5–10 images to validate edge quality and output format before you build anything around it. Log job IDs so you can retry gracefully if something times out. It’s not glamorous, but it keeps mornings peaceful.
Where I personally draw the line: anything under 20 images where I want to eyeball the edges myself, I use the web app. API is for volume and automation. Web app is for when I want to stay hands-on. Both have their place—understanding which is which saves a lot of unnecessary setup.
What a Real Batch Looks Like, End to End
Here’s the beauty set I mentioned earlier—72 images, a mix of tubes and glass jars:
- Upload: 2 minutes (dragging, waiting for confirm)
- Processing: ~9 minutes
- QC and light tint unification: 12 minutes
- Micro-shadow pass on the glass jars: 8 minutes
- Total: ~31 minutes for 72 product-ready images
What used to take half a day now takes under an hour. I genuinely have trouble going back to one-at-a-time after this. Once you get a taste of that kind of efficiency, it really is hard to unsee.
The two glass jars that needed extra attention? I would have spent 20 minutes on each manually. With batch doing the rough work first, I only spent about 4 minutes total on both. Three steps. I counted.
A Few Things I’ve Learned the Hard Way
Test a small batch before you run the full set. I learned this the embarrassing way—got to image 50 before realizing a lighting issue in my originals was causing consistent halo problems. If I’d run 10 first, confirmed the edges, and then queued the rest, I would have caught it in five minutes instead of having to re-process 50 files.
Don’t blame the AI before you check the original. Twice now I’ve started typing a complaint in my head, opened the source image, and realized the problem was in the shot. Muddy background, underexposed corner, weird green color cast. Fix the input, re-run, fixed output. The problem isn’t the tool—it’s the asset.
Extremely complex backgrounds with similar color to the subject need a cleanup pass. This is just true. Batch will get you 90% there; that last 10% on the tricky ones is still a few minutes of human judgment. That’s fine. Calling it there. Feels good.
Where to Start If You Haven’t Tried Batch Processing Yet
If you’ve been removing backgrounds one at a time, pick your next product shoot—even 10 or 15 images—and run them through Cutout.Pro’s batch tool instead of your usual method. Don’t overthink the settings. Drag them in, let it run, download the ZIP, and open a few at 100% zoom.
You’ll know within about ten minutes whether this changes your workflow. My guess is you’ll have the same reaction I did the first time, which was approximately: Oh. Oh, that’s much better.
According to Google’s guidelines on helpful content, the bar for useful content is whether it gives readers something they couldn’t easily find by skimming a product page. I hope this counted. Now go try it on your next batch—I’ll be here if you come back with questions.
Previous posts:
Background Remover for IDs: When It’s Allowed and When It’s Not
Remove Background from Signature: Create a Clean Transparent Stamp
Fur & Hair Background Removal: How to Get Natural Edges