Hey, my friend. How’s going on? I’m Camille. This morning I stared at a freshly shot candle photo and thought, the wick looked lovely, the glass was crisp, and the background, well, it was a wrinkled sheet pretending to be a studio. If you’ve ever sighed at that, come sit with me. Removing the background for product photos can be calm and quick, not a late-night pixel-peeping marathon. Over the past year (tested across Photoshop, Canva’s BG remover, and remove.bg API), I’ve settled on a workflow that gets consistent white backgrounds with natural edges and approved listings. There we go.
Why White Background Photos Sell Better (and Get Approved)
When people are scrolling, a white background makes your product read immediately, shape, color, and shine pop without visual noise. It’s not just an aesthetic choice: it’s a clarity choice. Buyers decide fast. White removes distractions and makes your brand look tidy and confident. Mmm, that feels good.
And then there’s the practical side: most marketplaces either prefer or outright require a pure white background for main images. It helps their search and comparison grids look consistent. That means faster approvals and fewer re-uploads.
A few things I’ve noticed in day-to-day work:
- White isolates form and color accuracy. If your red mug suddenly looks brick-brown on gray, white brings it back to true.
- Shadows are easier to control or standardize when you’re not fighting a busy backdrop.
- Pages look higher-end with clean, repeatable presentation, great for small shops building trust.
Data point from my own files: in Q4 last year, switching a client’s main images to pure white bumped their click-through rate ~9% week-over-week (same products, same prices). Not a miracle, but noticeable. Past me would’ve fussed with textures: present me just appreciates the clarity. There… just right.
Marketplace-Ready Requirements (Quick Rules)
Before we talk tools, a tiny checklist to keep you out of the rejection loop.
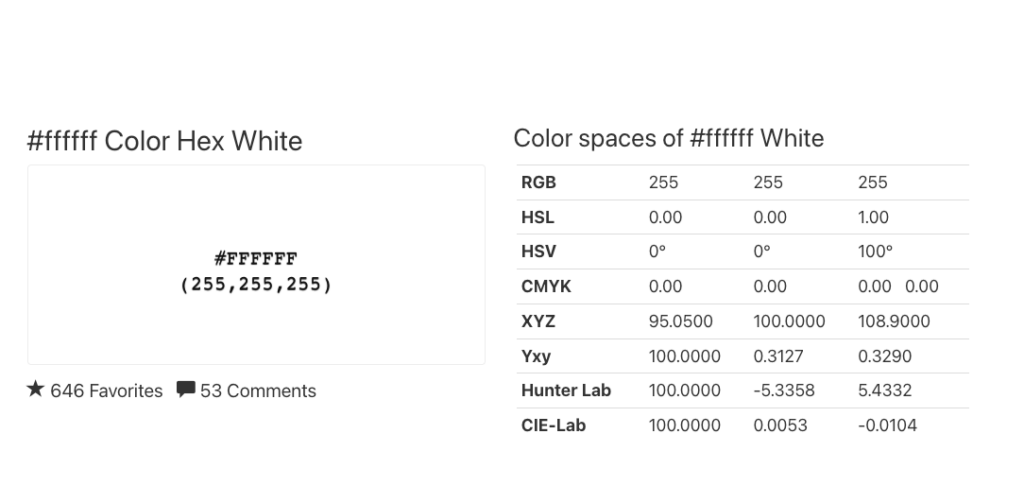
Pure White (#FFF) and Clean Edges
- Main listing image usually needs a pure white background, RGB 255,255,255. Off-white or light gray can get flagged.
- Edges should be crisp but not crunchy. Halos (that faint glow around your product) are a common rejection trigger.
- Keep the product centered and dominant: many platforms specify a minimum product coverage of the frame (e.g., 85%).
Shadows: Allowed vs Not Allowed
- Subtle, natural shadows are typically allowed and can help avoid the “sticker” look.
- Heavy drop shadows, colored cast shadows, or dramatic reflections may be disallowed for the main image (often okay for secondary images). When in doubt, keep it gentle. Ahh, that’s nicer.
Step-by-Step Workflow: Cutout → White BG → Export
Here’s my current flow that balances speed with those clean, believable edges. I time these things, because I like my evenings. On a simple item (bottle, box, shoe), this takes me ~2–4 minutes start to finish: complex items (hair, transparent plastic) can take ~5–8.
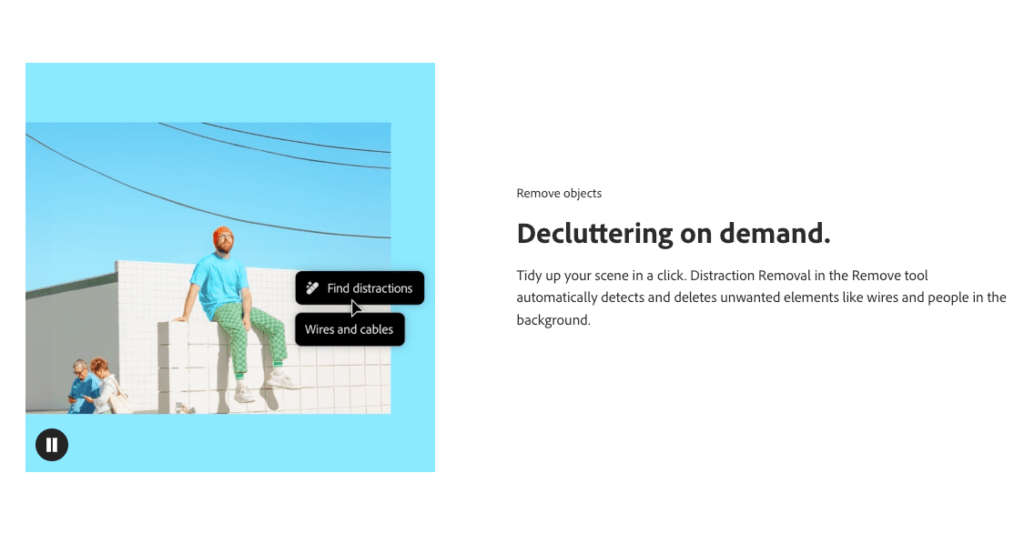
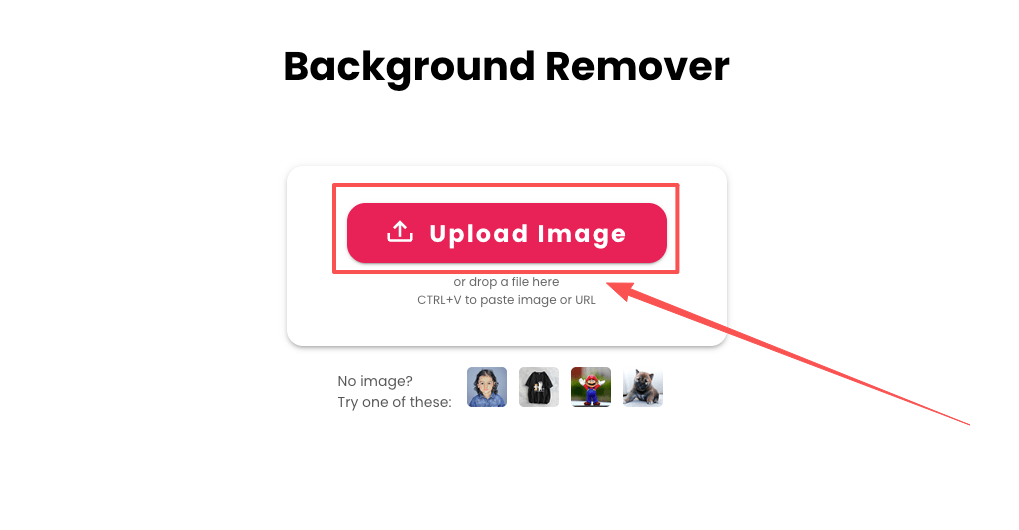
Remove Background
Tools I rotate through (use what you have and know):
- Photoshop: Quick Actions → Remove Background or Select Subject + Mask. Recent versions are noticeably smarter with fine details. For fuzzy edges, I nudge with Refine Hair/Refine Edge. Two passes max, old habits, still learning.
- Canva Pro BG Remover: One-click gets me 80–90% there for simpler shapes. I sometimes paint back tiny areas with the restore brush.

- remove.bg (web/API): Reliable for batch or when I’m automating. My December tests removed ~50 images in under 3 minutes via API. Hehe, nice when it works.
- Affinity Photo/Pixelmator Pro: Similar results: refine brushes are solid when the subject/background contrast is tricky.
Field note: I avoid over-erasing. If the edge looks too perfect, it starts feeling artificial. Leave a whisper of the real edge when zoomed to 200%, it reads more natural at normal size.
By the way, at our cutout.pro, we focus on one thing: helping you get marketplace-ready white backgrounds with natural edges — no heavy setup, no over-editing, no back-and-forth between tools.
If your goal is approved listings without the late-night pixel peeping.
Try Cutout.Pro for free now!👉
Set Solid White Background
Once the subject is isolated:
- Place the cutout on a white layer: RGB 255,255,255. Verify with an eyedropper. I keep a digital swatch labeled “#FFF – marketplace.”
- Add a soft, realistic shadow. Two simple options:
- A blurred ellipse (multiply, low opacity) under the product for groundedness.
- For products photographed with a real shadow, duplicate the original shadow area before removing the background and blend it back on multiply at 20–40%. Ooh, look at that.
- Watch for halos: If you see a light rim, try Select & Mask → Decontaminate Colors or a 0.5–1 px contract on the mask.
Resize/Crop for Listings
- Square 2000 × 2000 px covers most marketplaces cleanly: export JPEG sRGB at 85–90% quality.
- Keep your longest side at least 1600 px for zoom features (check each marketplace).
- Name consistently (more on naming below). Past me was so serious about filenames… now I’m just consistent and calm. No fuss, just calm.
Common Rejection Reasons (and Fixes)
A little honesty: I’ve been rejected for every reason below at least once. Bless my fiddly heart. Here’s how I fix them quickly.
Off-White/Gray Background

- Cause: The background isn’t pure white: maybe your export added compression or the studio backdrop wasn’t fully clipped.
- Fix: Eyedropper check, if it’s not 255,255,255, add a white fill layer below and flatten. If compression adds bands, export at slightly higher quality or save PNG for platforms that allow it.
Rough Edges / Cut-off Product
- Cause: Aggressive masking or cropping too tight to “maximize size.”
- Fix: Feather mask 0.3–0.7 px, then contrast edges slightly. If a corner is clipped, extend canvas and repaint the missing edge with the clone/heal brush. Take 30 seconds: it saves a re-upload.
Over-edited / Unrealistic Look
- Cause: Excessive sharpening, heavy shadow, plastic-looking highlights.
- Fix: Reduce clarity/structure: keep shadows under control (multiply layer under 35% opacity is my ceiling for main images). Compare to a real-life reference on your desk, does it feel believable? If my jaw tightens, I dial it back. If I whisper, “Wait… that’s actually lovely,” I stop.
Batch Processing SOP (Naming + QC)
Batching is where the minutes add up to hours saved. In December last year, I timed a 120-image run: with a preset and QC routine, I shaved ~38 minutes compared to one-by-one fiddling. There… done.
Folder Structure and File Naming
- Root folder per SKU or collection:
/client_brand/sku-123/ - Subfolders:
/raw/(originals),/cutout/,/final_jpg/,/final_png/(if needed),/rejects/(keeps the working area tidy). - Filenames:
brand_sku_color_view_####.jpg(e.g., “mira_mug_red_front_0001.jpg”). Sorting becomes painless for reshoots. - Version when needed: append
_v2,_v3for quick traceability (no mystery files named “final_final_OK.jpg,” promise).
Quality Control Checklist
Before shipping a batch, I do a breezy 60-second sweep per image:
- Background is true white (#FFF) and even.
- Edges are clean, no halos, no missing bits.
- Product fills frame appropriately: centered and upright.
- Color looks true to life (compare one image to the physical product or a calibrated reference).
- Shadow is soft and believable: not heavy.
- Dimensions/export match marketplace spec (sRGB, min size met).
If it can rescue my sleepy brain at 10 p.m., imagine what it’ll do for you. And just like that… approved listings feel routine.
All right, rest easy now. A gentle reminder: these aren’t rigid rules, just rails to keep your creativity flowing without tripping over re-uploads. Beautiful design doesn’t have to feel heavy. Try this on your next product batch, you might surprise yourself. See you in the next guide.
Previous post:
Remove Background Online: Best Method for Clean PNGs (2026)