
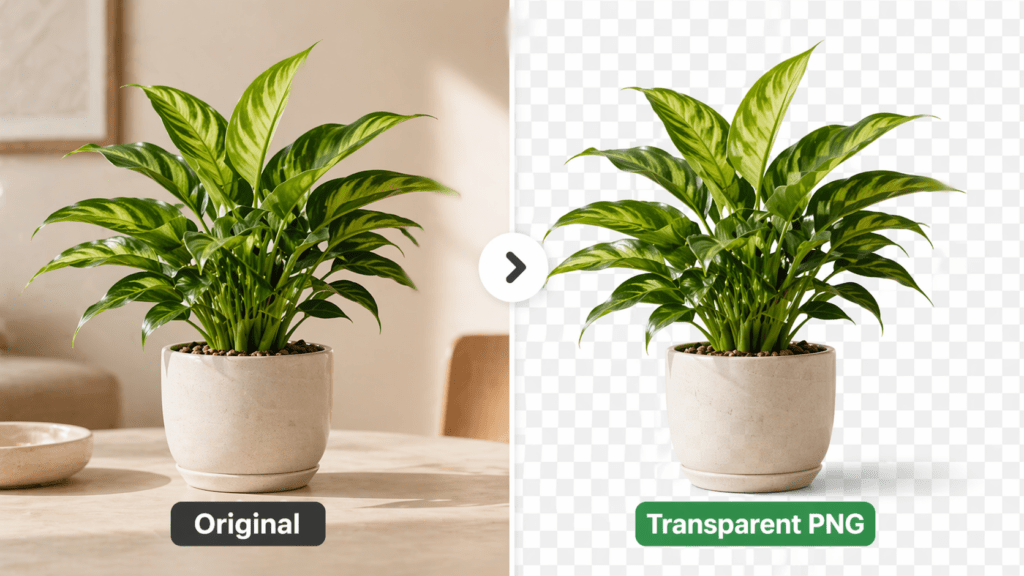
⚡ Quick Answer (10-Second Version)
If you only need the cutout, this is the whole flow:
- Open a browser-based remover (no install, no sign-up needed for one-offs).
- Drag your image in. The AI runs in 5–10 seconds for a 3000 px file.
- Download as transparent PNG. Done.
For 50+ images or hair-heavy portraits, you’ll want a refine brush — covered below. For one quick avatar or a single product shot, that’s literally the entire process.
How the Top Online Background Removers Compare
| Tool | Best For | Free Tier | Hair Edge Quality | Batch / API |
| remove.bg (web) | Quick single images | 1 free preview | Strong | API available |
| Adobe Express | Designers already in Adobe | Yes (with login) | Strong | Limited |
| Canva BG Remover | Inside Canva workflow | Pro only | Decent | No batch |
| Pixelcut | Mobile-first product shots | Limited free | Decent | Mobile batch |
| Cutout.Pro | Hair, batch, e-commerce | 5 free credits | Excellent | API + bulk |
I tested these across client projects through last quarter and into January 2026. Quality felt close on simple subjects. The differences show up on flyaway hair, translucent fabric, and glassware — and on whether you need to process 5 images or 500.
A Quick Hi Before We Start
Some images lift out clean on the first try. Others give you that pale ghost-edge you only notice after placing the cutout on a dark background. I’m Camille, and I write about everyday visual workflows for Cutout.Pro — but the tools I’m walking through here include competitors I genuinely use, because pretending they don’t exist would be silly.
If you’re a Shopify seller staring down 40 product images before tomorrow’s launch, a freelancer trimming portrait headshots between client calls, or just someone who needs one clean profile photo without paying for a subscription — this is the workflow I’d hand a friend. Mm, much better than the old way.
How These Tools Actually Work (30-Second Explainer)
Modern background removers combine two techniques: semantic segmentation (the AI knows “this is a person, that is a shoe”) and alpha matting (it preserves soft edges like hair, fur, and lace). Some also run a color decontamination pass so edges don’t glow when placed on a different background.
The phrases worth knowing when comparing tools:
- Alpha matting or refine edge: keeps wispy hair detail. Without it, hair gets chopped into a hard outline.
- Color decontamination or remove color fringe: stops the old background’s color from bleeding into edge pixels.
- API access: lets you batch hundreds of images server-side instead of dragging one at a time.
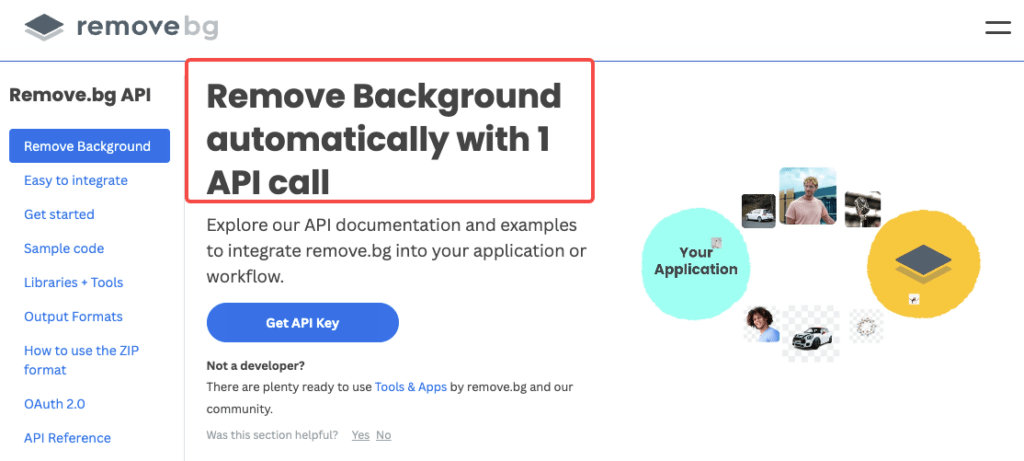
remove.bg’s public API documentation explains this well — they expose the alpha matte separately so developers can compose new backgrounds programmatically. That’s the same underlying logic most modern tools use; only the interface differs.
Why this matters: knowing what the model is good at helps you shoot smarter. High contrast = clean lift. When the model guesses wrong, you’ll know exactly what to tweak instead of spiraling into pixel-pushing. Past me was so serious about manual masks. Present me adjusts once and moves on.
Best Photos for Clean Cutouts (Setup Beats Cleanup)
Lighting and Contrast
Soft, even light is your friend. A key from one side, a fill from the other — enough to define shape without harsh shadows. Avoid blown-out hotspots; the AI reads them as edge confusion.
For people: backlight + a simple rim helps hair separate from the backdrop. For products: high contrast wins. When I shot matte black headphones against a medium-gray sweep, the cutout took 8 seconds and needed zero cleanup. Same headphones against a cluttered desk? The tool kept grabbing the cable nest.
Background Choices
Clean, non-reflective backdrops work best — paper, fabric, foam board. Patterned textures are okay if they’re soft and out of focus. Avoid translucent or mirrored surfaces unless you want the artsy challenge.
E-commerce note: place products a few inches away from the background to reduce hard, attached shadows. A bit of separation means the remover doesn’t have to decide whether the shadow is “product” or “environment.”

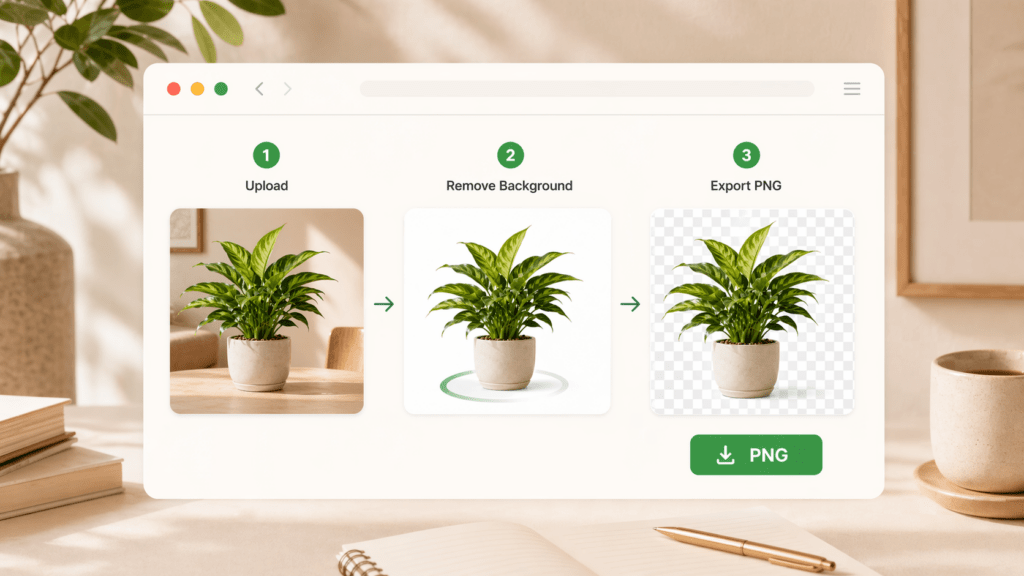
Step-by-Step: Upload → Remove → Refine → Export
Step 1 — Upload Your Image
For one-offs, drop your file into a browser tool. Use the highest reasonable resolution (2000–4000 px on the long edge is plenty for social and storefronts). Tiny files give jagged edges; huge files are slow with little visual gain.
For 50+ SKUs, switch to an API. In my December test, remove.bg’s API processed a 40-image set in about 3 minutes total — roughly half the time of dragging each one in manually.
Step 2 — Auto-Removal + Refine If Needed
Most tools run the lift in 5–10 seconds. Then comes the part everyone underestimates: the refine pass.
For solid backgrounds and clean edges, you can usually skip refining entirely. For hair, lace, or anything against a busy scene, plan on 30–60 seconds with a brush set to “keep” or “remove.” Zoom 200%, skim around the trickiest spots, and resist the urge to over-edit.
This is where I lean on Cutout.Pro myself for hair-heavy portraits and batch e-commerce work — disclosure, I write for them. The reason is narrow: their hair-edge handling and bulk processing are where the simpler web tools start to wobble. If you’re curious, you can test the background remover with your own image before signing up — that’s how I prefer to evaluate any tool.
For one-image jobs with simple subjects, honestly any of the five tools in the table above will do.
Step 3 — Download as Transparent PNG
Export as PNG to preserve the transparent layer. The format uses an alpha channel as defined in the W3C PNG specification — meaning every pixel can range from fully transparent to fully opaque, which is what gives you those soft, natural edges instead of a hard cookie-cutter outline.
Check the preview checkerboard before downloading — no faint halos, no semi-opaque white layer underneath. If you’re placing on colored backgrounds or gradients, PNG is still the safest base.
Fix the Three Edge Problems Everyone Hits
🔴 Hair and Fine Details
Hair is where serious tools earn their keep. If the first pass loses flyaways:
- Bump contrast on a duplicate (Levels or Curves), then re-run the remover. A little hacky, but I’ve rescued curly strands this way more than once.
- Toggle “refine hair” or “smart select” if the tool offers it. In my January 2026 check, both Adobe Express and remove.bg handled backlit hair decently after one refine pass.
- For tiny lace or mesh gaps: nudge the tolerance, or paint back a hint of the holes with a soft eraser mask on the final composite.
🔴 Halos and Color Spill
The pale fringe around dark subjects on light backgrounds is usually old background color bleeding into semi-transparent edge pixels. Two reliable fixes:
- Decontaminate colors: tools with “remove color fringe” subtly tint edges toward the subject’s color.
- Contract the mask: shrink by 1–2 px, then feather 0.5 px. On a 2500 px image, that tiny pull-in often makes halos vanish entirely.
If you’re placing on rich colors (deep teal, warm beige), preview on those tones before downloading. My jaw dropped the first time a nearly invisible halo became neon on a navy background.
🔴 Jagged Edges and Aliasing
Stair-stepping shows up when the upload is small or heavily compressed. Re-export the original at higher resolution if you can. If not:
- Add a 0.5–1 px feather to the mask.
- Soften edges by 0.3–0.7 px in the refinement panel — just enough to relax the crunch without blurring.
For shadows: I keep gentle, soft-edged contact shadows when they ground the subject. If the remover chews the shadow weirdly, I delete it and rebuild a clean soft ellipse later at 8–15% opacity.
PNG vs WebP vs JPG: Format Cheat Sheet
| Format | Transparency | File Size | Best Use |
| PNG (with alpha) | ✅ Full alpha | Largest | Master assets, marketplaces, editing |
| WebP (lossy or lossless + alpha) | ✅ Full alpha | ~26% smaller than PNG | Live websites, page speed |
| JPG | ❌ None | Smallest | Final flattened images, social posts |
WebP supports the same 8-bit alpha channel as PNG but at meaningfully smaller file sizes — Google’s WebP documentation reports lossless WebP files are about 26% smaller than equivalent PNGs, with transparency adding only ~22% overhead. For storefronts, I keep PNG masters in a tidy folder and export WebP for the live site. For marketplaces that still don’t love WebP, I ship PNG.
Browser support is no longer an issue in 2026 — WebP works natively across Chrome, Safari, Firefox, Edge, and Opera per caniuse.com. The old “what about Safari” warning is a leftover from 2020.
Quick QA Checklist (30 Seconds Before Download)
Before hitting download, I run this loop:
- Zoom 200% around hair, hands, shoes, metal edges — any jaggies?
- Toggle the subject over white, black, and a mid-tone color — any halo or color spill?
- Did a useful shadow get eaten? Re-add later if needed.
- Export size matches display size — no heavy downscaling later.
- Transparent PNG looks truly transparent — no matte, no stray pixels.
If everything passes, ship it.
FAQ
Can I remove the background of an image online for free?
Yes. Most tools offer at least one free download per session — remove.bg gives a free preview, Adobe Express is free with an account, and Cutout.Pro offers 5 free credits on sign-up. For higher resolution or batch processing, paid plans typically start at $0.10–$0.20 per image.
What’s the best file format for a transparent background?
PNG remains the safest choice for editing and marketplace uploads because of its full alpha channel support. For live websites, WebP is smaller and equally crisp. JPG doesn’t support transparency at all, so it’s only useful after you’ve placed the cutout onto a final background.
Why does my cutout have a faint white outline?
That’s halo or color spill — leftover background pixels bleeding into semi-transparent edges. Fix it by enabling “remove color fringe” in your tool, or shrink the mask by 1–2 px and feather 0.5 px. Always preview the cutout on a dark background before downloading; halos hide on white.
How do I remove backgrounds from many images at once?
For 20+ images, a web tool with a batch upload feature or an API is much faster than one-by-one. remove.bg’s API and Cutout.Pro’s bulk uploader both handle 40-image batches in roughly 3 minutes. Pixelcut offers mobile batch processing if you’re working from your phone.
Will online background removers work on hair, fur, or transparent objects?
Hair and fur work well with tools that support alpha matting — most modern removers handle them in one or two refine passes. Glassware and fully transparent objects are still the hardest case because the AI can’t distinguish “see-through” from “missing.” For those, expect 1–2 minutes of manual touch-up regardless of which tool you pick.
A Soft Landing
Beautiful design doesn’t have to feel heavy. With a little setup and a 30-second refine pass, even tricky cutouts come out clean — and once you find the workflow that fits your hands, you stop dreading the task entirely.
Try it on your next product shot or profile photo. Notice how the work moves more like a quiet breath than a grind.
Until next time, keep it light, keep it lovely. — Camille
Previous posts:
How to Remove Unwanted Objects from Photos (Free, AI, No Photoshop)
Remove Background for Clothing & Transparent Objects (Glass, Plastic)
How to Batch Remove Backgrounds from Images (100+ Photos in Minutes)
Photo Enhancer API: Batch Enhance Images for Ecommerce Catalogs
Seedance 2.0 Workflow: From Raw Photo to Final Video in 6 Steps