Table of Contents
Introduction
When you work with clients or coworkers, visual design files need to be organized and easy to send. A cluttered folder of files can lead to confusion and delays, something no designer wants.
In this article, we will share some effective and easy tips to organize and send visual design files. Follow the article till the end, as we have discussed all the points with attention to detail.
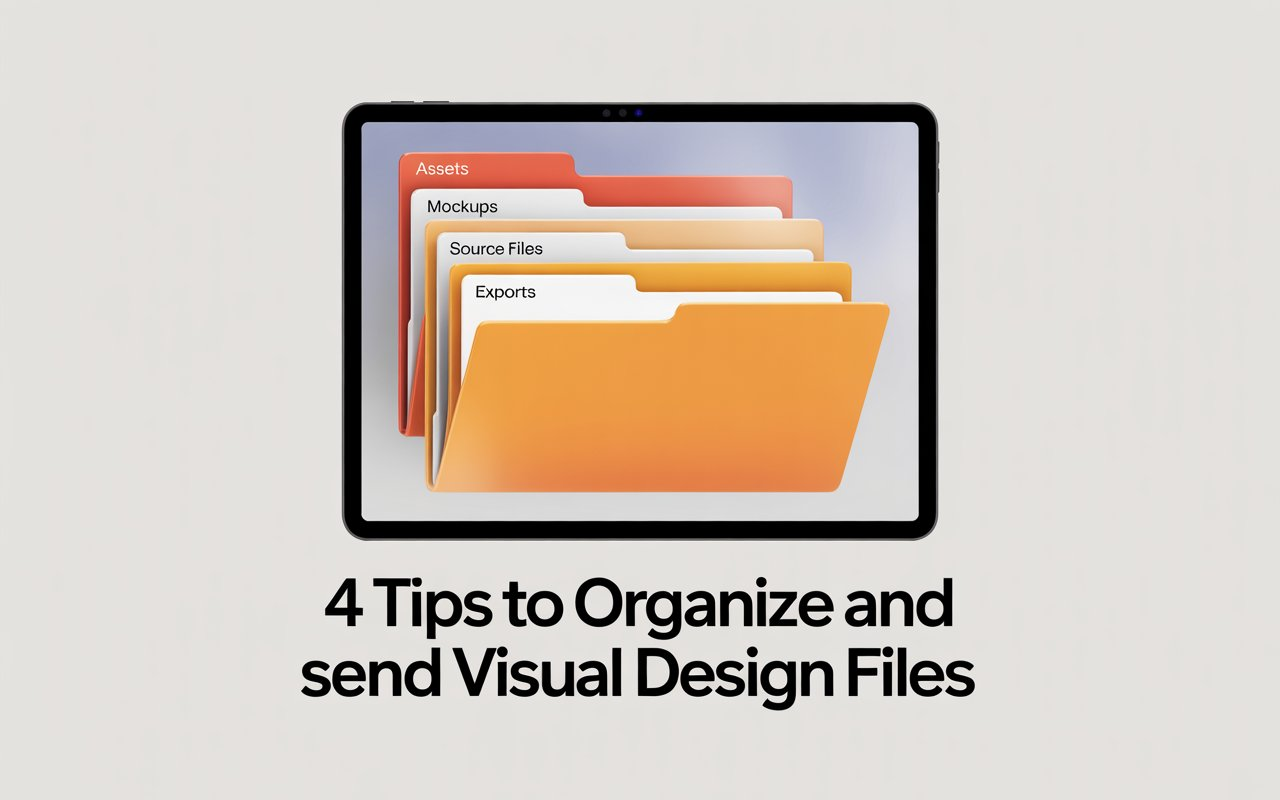
4 Tips to Organize and Send Visual Design Files
Below, we have shared four tips to organize and send visual design files. Each one looks at the subject from a different point of view so make sure you read each paragraph completely.
Use Clear and Consistent Naming Conventions
The easiest and quickest way to get started with this is to use clear and consistent naming conventions. Instead of going with generic titles like image231.jpg or draft.pdf, it is better to use names that specify the project, version, and date.
This means that anyone who is receiving the file knows exactly what is inside the file without opening it.
Organize Files in Folders
Another simple yet effective way to organize files is to make folders. For example, you could have different folders for drafts, final versions, and source files. Within each project folder, you may consider adding subfolders like “logos” or “print materials.”
You can now open folders and see all the relevant files in a single column. You won’t have to search your whole system for documents you need for yourself or to share with clients.
Compress and Consolidate Files for Sending
Sending a lot of pictures or design drafts at once can be too much for the recipient, which can cause files to be lost. Instead, consolidate everything into a single, shareable document.
Tools like the JPEG to PDF converter make this super simple, just upload your JPG files and convert them into a single, sleek PDF.
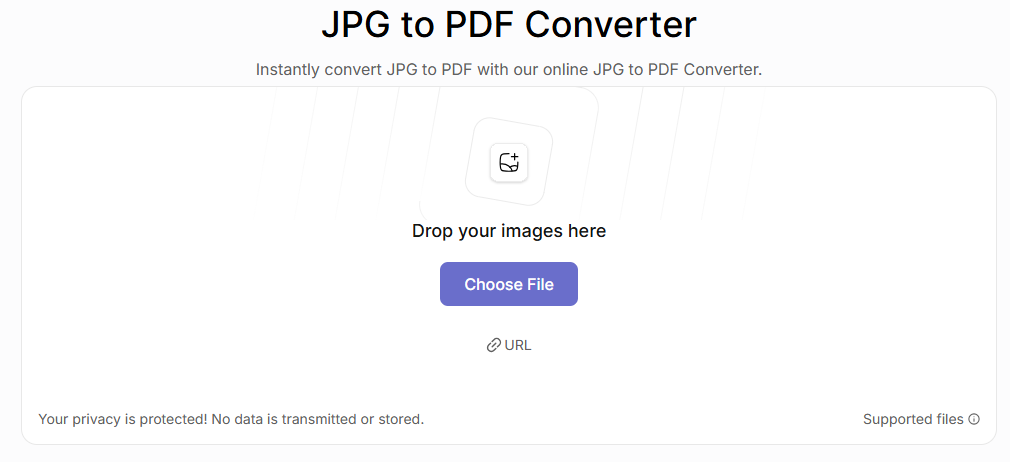
This keeps your visual designs looking the same on all devices and saves space.
Double-Check Resolution and Color Settings
Before sending your visuals, you must ensure that they are optimized for their intended use. For web or screen sharing, 72 dpi is usually sufficient, while print requires higher resolutions (300 dpi or more). Double-check color profiles, too: RGB for digital, CMYK for print.
Final Talk
Efficiently gathering and sending visual design files is an important skill for designers of all levels. No matter if you are a beginner or a pro-level designer, you need to know it.
Putting files in properly structured folders after naming them smartly and using tools like a JPEG to PDF converter will make your tasks easy. And your clients and business partners will be impressed by how much you care and how hard you work.