
Table of Contents
Hi, I’m Camille.It was 8:42 a.m. I had a client check-in at nine. On my screen: one very beige product shot, uneven light from a window, background that read more “studio apartment” than “clean catalog.” Past me would have opened Photoshop, made a careful selection, spent twenty minutes on it, arrived at the meeting slightly frazzled.
Instead, I dragged the file into a free AI photo editor, removed the background, nudged the color temperature, softened the shadow—and poured a second coffee before the call started.
If you’re juggling e-commerce visuals, social content, or client deliverables on a tight budget, this piece is for you. Over the last two months I’ve been testing five free AI editors across real projects: background removals on mugs and sneakers, portrait retouching for client bios, template-driven Instagram promos. I kept notes on what worked, what quietly annoyed me, where the free limits actually pinch, and what genuinely surprised me. Below is the honest version of that.
Why Free AI Editors Are Actually Worth Your Time Now
Two things shifted in the last year and I think they’re worth naming, because they change how you should think about these tools.
The models got sharper. Background removal on free tiers used to feel like a gamble—sometimes clean, often fringy, usually one more thing to fix by hand. Now it’s closer to a calm, competent assistant. On a ceramic mug I shot under uneven kitchen light—fine handle, slight warmth cast—the edge came back clean. No halo, no ghost ring around the rim. I looked at it twice.
Browser technology also caught up. WebAssembly and GPU acceleration mean complex edits now run directly in-browser without installing anything substantial. For people on older machines, shared devices, or client computers, that matters more than it sounds. You can open a flat-lay product shot, remove the background, adjust tone, and export a store-ready PNG before your tea cools.
For e-commerce sellers and social media managers running on lean budgets, that’s the difference between a late-night edit spiral and a “done before lunch” kind of day.
5 Free AI Photo Editors Worth Your Time
I tested all of these on real projects—not but not staged demo images. My criteria: how clean are the edges, how honest are the free limits, how much does it actually speed up a real workflow.
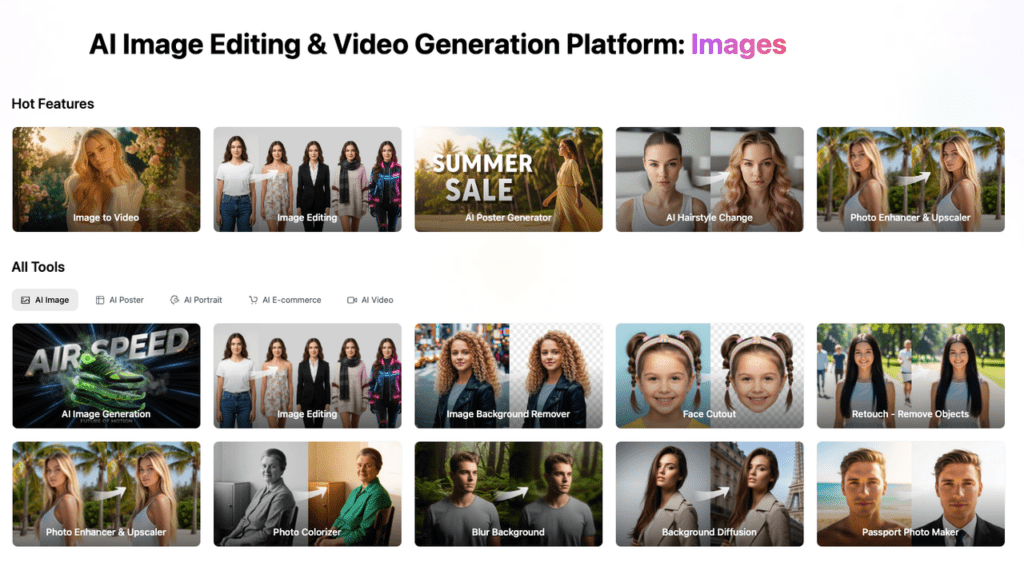
- Cutout.Pro — Best for E-Commerce Product Prep
This is my most-used tool for product work, and the one I reach for first when I have a batch to process.
What won me over early: a sneaker shoot where fine laces blended into a near-white backdrop—exactly the detail that trips up automatic tools. Cutout.Pro’s background remover handled it cleanly. Minimal fringing, edges stayed natural where the texture needed to breathe.
I’ve also leaned on their Enhance and Enlarge tools when a client sends something too small for the layout they want. It won’t conjure detail that was never captured, but the sharpening is clean rather than crunchy—and for a 900px hero image that needs to sit larger, that’s usually enough.
What the free tier covers: Background removal, face and body enhancement, some upscaling, colorize, and cartoonize, with daily credit caps. The web app works for basic tasks without sign-in; there’s also an API for anyone building automated workflows.
Where it pinches: Larger output sizes and batch volumes move through credits quickly. Worth checking the current pricing page before you design a workflow around it.
My numbers: In my tests, simple product isolations averaged 30–60 seconds including export—about 70% faster than my Photoshop path for the same task. On a 60-image batch, that math adds up fast. One pass. No back-and-forth grinding.
Best for: E-commerce product prep, headshot touch-ups, batch cleanups where consistency matters more than bespoke artistry.
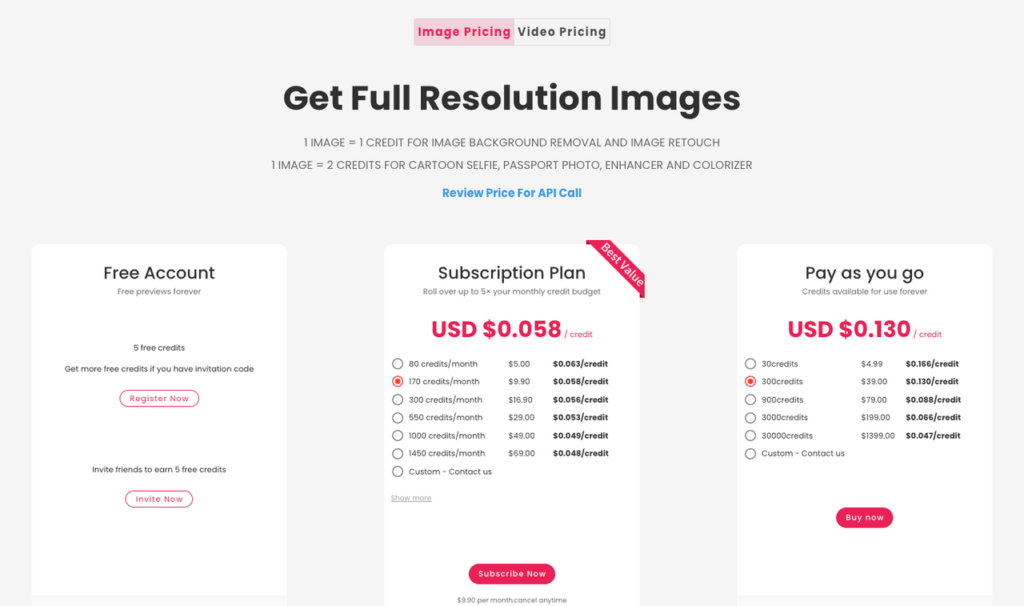
- Fotor — Best for Social Content That Needs Design Too
Fotor is where I go when I need photo editing and layout in the same place—an event flyer, a product announcement, a social post with both imagery and text that actually needs to look considered.
I used it for a same-day promo recently: background removal on a portrait, a light film grain pass, and a clean text layout, all in the browser before lunch. What I like is the “photo-plus-design” combo. For solo freelancers and small teams, fewer tool swaps means less cognitive load and fewer moments of “wait, where did I save that.”
Some advanced portrait features and premium stock are gated, and export sizes can cap out on the free tier. But for regular social content and on-brand graphics, the friction is genuinely low. The Fotor feature guide has a current breakdown of what’s available without a paid plan.
Best for: Creators and small teams who want photo editing and basic design in one place.
- Pixlr — Best for Layer-Based Editing Without Installing Anything
Pixlr has a nimble, open-and-go feeling that I appreciate when I’m on a borrowed machine or working somewhere I can’t install software. I used Pixlr E recently on a carousel project where I needed layers, quick masks, and a background remover—no setup, just work.
The free version runs ads and gates some newer AI features, but the essentials are solid: crop, heal, curves, overlays, a growing template set. For creators on older hardware or locked-down devices, genuinely browser-first editing removes a lot of headaches.
One honest note: I always spot-check color saturation on Pixlr exports against my sRGB preview before sending anything to clients. It’s a 30-second habit that’s saved a few awkward conversations. The Pixlr Learn hub has solid tutorials if you want to go deeper on layers or masking.
Best for: Layer-based editing on any machine, no installation required.
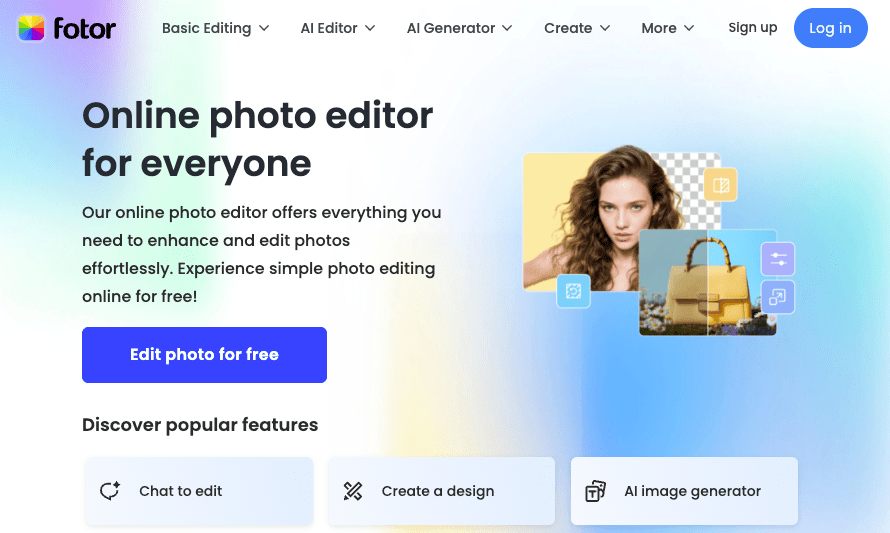
- Canva Free — Best for Template-Driven Brand Consistency
When I need to ship something polished quickly and keep it on-brand, Canva’s free tier with its AI features—Magic Edit, Background Remover—is where I land. I recently updated a storefront banner: dropped in a product cutout, softened the backdrop to a cream gradient, reached for a font pairing I’d already saved. Eight minutes, done.
Templates are the actual superpower here. Combined with simple AI adjustments, they prevent the “obvious template” look while keeping things fast. The key is saving your brand colors and font choices as a set so you’re not reconstructing from scratch each time.
The Canva Help Center has a clear breakdown of Free versus Pro—worth reading before a deadline, because some premium elements and print-quality exports require an upgrade. Finding that out mid-project is annoying.
Best for: Recurring brand content, social templates, anyone maintaining a consistent visual identity.
- Clipdrop — Best for Atmosphere and Relighting
Clipdrop is what I reach for when an image is technically fine but feels flat. The Relight tool is genuinely fun to use. I applied it to a coffee bag shot with harsh overhead light—added a soft top fill and a whisper of warmth on the label—and the image went from “acceptable” to “shelf-ready” in about two minutes.
Background replacement, upscaling, and text removal round out the toolkit. Free credits go faster than you’d expect if you’re batch-working, and full-resolution exports may require an account. But for individual products or quick ad units where atmosphere matters, it punches well above its price. See Clipdrop’s current tool list for updated credit limits—they adjust them periodically.
Best for: Single-product shots or ad visuals where the mood and lighting need lifting.
Quick Comparison
| Tool | Standout Free Features | Limits to Note | Best For |
| Cutout.pro | Fast background removal, image enlarge/denoise, headshot enhance | Credit caps, larger exports may require login or paid | Product shots, portraits, batch cleanups |
| Fotor AI | All‑in‑one: retouch, background remover, filters, design layouts | Some features/watermarks gated: export size caps | Quick posters, simple brand graphics |
| Pixlr | Browser-first editor, AI tools, layers, templates | Occasional ads: advanced features gated | On-the-go edits, social assets |
| Canva (Free) | Huge templates, Magic Edit/Background, brand-safe layouts | Premium assets locked: precise controls limited | Consistent social/brand visuals |
| Clipdrop | Cleanup, relight, upscale, replace background | Credit limits: full-res may require account | Product relighting, quick retouch |
Free vs. Paid: My Honest Threshold
After two months of testing side by side, here’s the actual answer: upgrade when the constraints start costing you time or consistency.
Batch volume is the clearest signal. If you’re processing 50+ product images a week, free credit caps and manual export steps quietly add an hour or two. A paid plan or API access tends to pay for itself within a few weeks of real use.
Output control is the second trigger. If you need 300-DPI print files, CMYK previews, or transparent WebP variants reliably, free tiers will frustrate you at the exact wrong moment. That’s not a flaw in the tools—it’s just what they’re built for.
Brand consistency is the third. If you’re leaning on one-click style presets, premium templates, or advanced relighting across multiple campaigns, Pro removes more fiddling than the cost represents.
That said: if you’re posting a few times a week, polishing Etsy or POD listings, or producing social content for one consistent brand, a good free AI editor covers the vast majority of real needs. No drama required.
Habits That Keep AI Output Looking Intentional
A few things I do consistently that prevent the “obviously AI-edited” feeling:
Give the model a good original. Decent light and clear subject-background separation matter even on free tiers. A phone shot by a window beats harsh ceiling light—not because the AI is fragile, but because it has more to work with. The problem often isn’t the tool; it’s the asset.
Add one human touch after the AI step. After background removal, I nudge the shadow or add a faint gradient behind the subject. Two subtle manual layers remove most of the “cut-out sticker” energy. The joy of caring about details, right down to the final edge.
Build mini-presets and save them. Brand colors, font pairings, a preferred layout. In Canva or Fotor, what takes 20 minutes the first time becomes a 5-minute refresh on the tenth. Once that rhythm is in place, things move.
Spot-check edges at 100%. Background removal is fast, but metallic objects and fine hair still need a quick look. I spend 20–30 seconds with the restore brush—still far faster than a manual mask.
Watch export settings. For web stores: PNG with transparency for hero images, JPEG at 80–90% for carousels, WebP where the platform supports it. Keeping file sizes under platform limits prevents surprise compression on upload.
When I timed a recent catalog refresh using these habits across three of these tools, my edit time dropped about 55%—from around 3.5 hours to just under 2—without losing the soft, intentional finish that I care about. Half the time, twice the payoff.
FAQ
Q: Do I need to create an account to use these tools?
For basic tasks, most of them let you start without signing in. Cutout.Pro, Pixlr, and Clipdrop all have no-account entry points for simple operations. Once you want saved presets, brand color libraries, or reliable credit tracking, signing up is worth the 90 seconds. It also prevents losing work mid-session.
Q: How well do free AI tools handle hair and fine edges?
Better than they used to. For most portrait and lifestyle content, the results are usable straight out of the tool. For editorial-level shots where a fine hairline really matters—curls against a complex background, delicate lace against a patterned surface—I’ll do a quick manual cleanup on just those two or three images and batch the rest untouched. One thing I always do: check the cutout on both a light background and a dark background before calling it done. A halo that disappears on white can look obvious on navy.
Q: I’m on a slow or limited connection. Which tool runs lightest?
Pixlr and Cutout.Pro both hold up reasonably well on slower connections. Pixlr because it’s designed for browser efficiency; Cutout.Pro because the processing happens server-side, so you’re waiting for a result rather than running heavy local computation. Canva can feel sluggish once you have a complex design file open. Clipdrop tends to be quick for single-image tasks. If you’re on a very limited connection, I’d start with Cutout.Pro for product work and Pixlr for anything that needs layers.
Q: What’s the difference between background removal and background replacement?
Background removal gives you a transparent PNG—subject isolated, ready to be placed on anything you choose afterward. Background replacement does both steps in one pass: removes the original and fills in a new one. Clipdrop and Canva’s Magic Edit lean toward replacement. Cutout.Pro leans toward clean removal first, which I prefer for product work because it gives me more control over what goes behind the subject. If you’re compositing multiple products onto one brand background, removal first is usually the cleaner workflow.
Q: My free credits ran out mid-project. What now?
First, check whether a free account gives more credits than a guest session—often it does. Second, look at whether a one-time top-up is available before committing to a monthly plan. For Cutout.Pro specifically, the credit system resets daily on the free tier, so queuing a large batch across two mornings is a legitimate workaround. If this happens regularly, that’s usually the signal to evaluate a paid plan—what you spend in time recovering from credit limits often costs more than the subscription.
Q: I want to upload client files. Should I be worried about privacy?
It’s a reasonable thing to ask. For most product photography—packaged goods, apparel, lifestyle shots—the practical risk is low. I suggest keeping a simple internal rule: product images and brand assets are generally fine to process through reputable tools; anything containing personal data, private correspondence, or confidential documents should stay offline or go through a tool with explicit enterprise privacy commitments. If a client is especially cautious, agree on which tool you’re using before you start, rather than after.
Q: I’m a developer. Can I automate any of these?
Yes. Cutout.Pro has the most accessible API for straightforward automation—the API documentation is a reasonable starting point. My suggestion: run a pilot batch of 20–30 varied images first, log job IDs and any edge-case failures (white-on-white subjects are the usual culprit), and cost out per 1,000 images before committing to scale. Most other tools on this list have some API access, but documentation quality and reliability vary. Get the basics working before you build anything complex around them.
Beautiful design doesn’t have to feel heavy, and it doesn’t have to cost much either. Pick one tool from this list that matches your most frequent task—background removal for product work, templates for social content, or relighting for atmosphere—and run your next real project through it before deciding anything else.
Go try it. I’ll be here when you come back with the result.
Previous posts:
Vidu Q3 vs Q2 Pro Reference-to-Video: Which One Should You Use?
7 Best AI Photo Editors in 2026 (Tested & Compared)
How to Write Prompts for Vidu Q3 Native Audio (Dialogue + SFX + BGM)