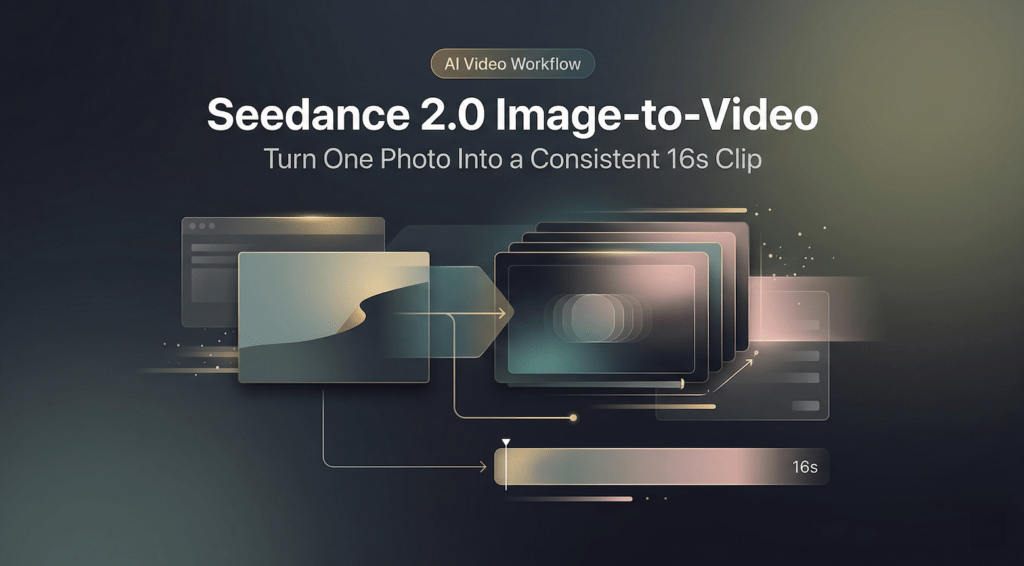
Hey, I’m Camille. I uploaded a product shot to Seedance 2.0, hit generate, and watched it bloom into a 16-second video clip. The lighting stayed consistent, the subject moved naturally, and I didn’t have to wrestle with keyframes or timelines. Just one reference image and a motion prompt—done.
But here’s the thing: not every photo plays nicely with image-to-video AI. I’ve learned (through some wonderfully awkward attempts) that your reference image setup decides whether you get smooth, character-consistent motion… or a face that melts halfway through like digital wax.
Let me walk you through what actually works when turning a single photo into video with Seedance 2.0—no hype, just the gentle rhythms I’ve found that deliver.
What makes a good reference image for Seedance 2.0
Your reference photo is doing heavy lifting here. It’s not just the starting frame—it’s the identity anchor for the entire 16-second generation. Get this part right and everything downstream gets easier.
Resolution requirements (minimum 768px on short side)
Seedance 2.0’s official image-to-video documentation states the minimum resolution clearly: 768 pixels on the shortest side. I tested lower resolutions once (a 512px Instagram save, because I was lazy), and the output had this soft, dream-like blur—not in a good way.
Higher resolution gives the model more detail to preserve. I typically use 1024px or 1536px references for product work and portraits. The motion stays crisper, and facial features don’t drift as much during camera moves.
Framing — full-body vs headshot behavior differences
Here’s where it gets interesting. A tight headshot (shoulders-up) tends to preserve facial identity better across the clip, but you’ll see less dynamic motion range. The AI treats close-cropped faces more conservatively—gentle head tilts, subtle eye movement, soft lighting shifts.
Full-body shots unlock more motion freedom. You can prompt walking, turning, dancing, or object interaction. But the trade-off? Face consistency drops slightly as the model juggles more spatial information. Not a dealbreaker—just something to know when you’re planning a shot sequence.
I lean toward mid-shots (waist-up) for e-commerce product demos and character work. It’s the sweet spot: enough body language for expressive motion, tight enough framing to keep the face stable.
Background: transparent PNG vs solid color vs complex scene
Transparent PNGs are my favorite starting point. With the background removed, Seedance 2.0 focuses purely on the subject—no distraction, no competing motion in a busy environment. The AI can generate a clean, contextual background that moves naturally with your subject.
Solid color backgrounds work too, especially for product shots where you want controlled lighting. Flat gray or white gives the model a clean canvas.
Complex scenes? Use them carefully. If your reference has a detailed background (a cafe, a park, a bookshelf), the AI will try to animate everything—leaves swaying, people moving, reflections shifting. Sometimes it’s beautiful. Sometimes it’s chaos. Test it first on a quick generation before committing to a full workflow.
Prepping your reference image before upload
This is where a little upfront work saves so much cleanup later. I used to skip this step and then wonder why my motion outputs had wobbly edges or identity drift. Silly.
Why a clean cutout gives more stable motion output
When your reference image has a precise, clean edge, the AI knows exactly where the subject ends and the background begins. This clarity reduces edge artifacts—those shimmery halos or pixel-jitter issues that creep in during motion.
A clean reference cutout also gives you flexibility. You can drop the character into any environment, adjust lighting, or composite multiple shots without weird fringing.
Step-by-step: remove background with Cutout.Pro
I use Cutout.Pro for this because it’s fast and handles edge detail well. Here’s the quick flow:
- Upload your reference photo to Cutout.Pro’s background removal tool
- Let the AI detect the subject (usually instant for portraits and products)
- Check the edges—zoom in on hair, fine details, transparent areas
- Download as PNG with alpha channel preserved
The whole process takes maybe 30 seconds. And the edge quality? Noticeably better than manual masking in most cases.
Edge quality checklist before uploading
Before I upload to Seedance 2.0, I do a quick visual check:
- Hair and fine details: Are the edges clean or jagged?
- Semi-transparent areas: Do fabrics, glass, or soft shadows look natural?
- No leftover background pixels: Zoom to 200% and scan the perimeter
If something looks off, I’ll refine the cutout or adjust the edge feathering. A clean input = stable motion output. Every time.
Motion prompting for image-to-video
This is where the magic happens—or where things go hilariously sideways if you’re too ambitious. Seedance 2.0 image to video generation responds best to clear, simple motion descriptions.
Small motion recipe (safest for identity preservation)
When I want rock-solid character consistency, I keep the motion prompt minimal:
- “Gentle head turn to the left, soft smile”
- “Slow camera push-in, subject remains still”
- “Eyes blink naturally, slight breathing motion”
Small, controlled movements let the AI focus on preserving facial features and texture detail. The 16-second clip stays smooth, and the character’s identity holds across every frame.
Big, fast motions (running, jumping, dramatic gestures) can work, but they stress-test the model’s consistency engine. Save those for hero shots where you’ve already dialed in your reference and motion strategy.
Camera move vs subject motion — when to separate them
Here’s a trick that saved me hours of frustration: separate camera movement from subject movement in your prompt.
Camera-driven motion:
- “Slow dolly-in on subject’s face”
- “Orbit camera 45 degrees around character”
- “Crane shot lifting upward”
Subject-driven motion:
- “Character walks forward confidently”
- “Hand reaches toward camera”
- “Hair flows in gentle breeze”
When you layer both (camera orbiting while the character walks), the AI has to choreograph two motion systems simultaneously. Sometimes it nails it. Sometimes the face drifts or the motion feels floaty.
I typically choose one motion type per generation, then composite multiple clips in editing if I need complex choreography.
Audio pairing with image-based generations
Seedance 2.0 photo to video outputs are silent by default, but motion timing follows natural rhythm. When I pair audio later (voiceover, music, ambient sound), I look for beats that match the motion arc.
A slow camera push-in pairs beautifully with rising music or gentle narration. Quick subject motion (a turn, a gesture) wants a sharper audio cue—a drum hit, a word emphasis, a sound effect.
The 16-second clip length is perfect for social media pacing. One key motion moment per clip, clear audio sync, done.
Keeping identity consistent across shots
If you’re building a character-driven sequence (product demo, tutorial, narrative short), maintaining visual consistency across multiple clips is critical. This is where a solid reference role strategy makes all the difference.

Using the same reference image across a series
I keep one hero reference image for each character and use it across every generation in a project. Same lighting, same resolution, same edge quality. This gives the AI a stable identity anchor.
Even small variations in the reference photo (different angle, different lighting) can introduce drift. The model sees them as separate subjects, and consistency suffers.
Naming and organizing reference assets for reuse
I organize reference images like this:
character-name_hero-ref_1024px.png(main reference)character-name_motion-ref-smile.png(expression variation)character-name_style-ref-outfit2.png(wardrobe change)
Clear naming saves time when you’re juggling multiple projects. And when I need to regenerate a shot months later, I know exactly which reference to use.
When to use hero / style / motion reference roles
Seedance 2.0 character consistency improves when you assign reference roles strategically:
- Hero reference: The identity anchor (face, body, core visual traits)
- Style reference: Outfit, color palette, lighting mood
- Motion reference: Specific gesture or expression you want to replicate
For most work, I stick with a single hero reference. But when I need precise control over wardrobe changes or specific expressions, layering style and motion references gives me that flexibility without losing facial identity.
Fixing common issues
Even with clean references and careful prompting, you’ll hit occasional hiccups. Here’s what I’ve learned from my own “oops” moments.
Face drift and texture melt — root causes
Face drift happens when the model loses track of the reference identity mid-generation. Common causes:
- Too much motion: Fast camera moves or complex subject choreography
- Low-resolution reference: The AI doesn’t have enough facial detail to preserve
- Competing visual elements: Busy backgrounds or multiple subjects confusing the focus
Texture melt (that waxy, morphing-face look) usually means the motion prompt exceeded what the model can maintain consistently. Dial back the motion intensity or shorten the clip duration.
Edge shimmer and halo artifacts
Those flickering edges around your subject? That’s usually an input quality issue. Either the reference cutout had jagged edges, or the transparent PNG had leftover background pixels.
Go back to your prep step. Re-export the reference with cleaner edges. A few extra seconds of edge refinement eliminates hours of cleanup later.
Motion too fast / too slow
Seedance 2.0 reference image generations interpret motion prompts at a default pacing. If your output feels sluggish, add intensity cues: “brisk walk” instead of “walking,” “quick camera pan” instead of “camera movement.”
If motion feels too fast or jittery, soften the language: “slow, smooth turn,” “gentle camera drift.”
The model responds to these subtle prompt adjustments. A little tweak in wording can shift the entire motion feel.
FAQ
Q1: Can I use a product photo instead of a portrait?
Absolutely. I use Seedance 2.0 for product shots all the time—cosmetics, tech gadgets, packaged goods. The same rules apply: clean cutout, clear reference, simple motion prompts. A rotating perfume bottle or a slow zoom on a sneaker works beautifully.
Q2: What if the generated motion is too subtle?
Bump up the motion intensity in your prompt. Instead of “gentle movement,” try “confident stride” or “dramatic gesture.” You can also extend the generation time or use motion reference images that show more dynamic poses.
Q3: Does it work with illustrated or anime-style images?
Yes, but results vary. Photorealistic references tend to preserve identity better across motion. Illustrated or anime-style characters can work, especially with simplified features and clean linework, but expect more stylistic drift. Test it on a quick gen first.
Q4: Can I upload multiple images as references?
Currently, Seedance 2.0 accepts one primary reference image per generation. But you can layer style and motion references in supported workflows (check the official docs for updates—this area’s evolving fast).
Q5: Why does my character’s face change mid-clip?
Usually one of three things: resolution too low, motion too complex, or the reference image had inconsistent lighting. Simplify the motion prompt, use a higher-res reference, and ensure even lighting on the face.
Previous posts:
How to Use Seedance 2.0 Text to Video: Step-by-Step Guide for Beginners
Seedance 2.0 Pricing: Free Tier, Plans, and How to Estimate Your Monthly Cost
Seedance 2.0 Workflow: From Raw Photo to Final Video in 6 Steps
What Is Seedance 2.0? Features, Native Audio, and How It Works
Photo Enhancer API: Batch Enhance Images for Ecommerce Catalogs