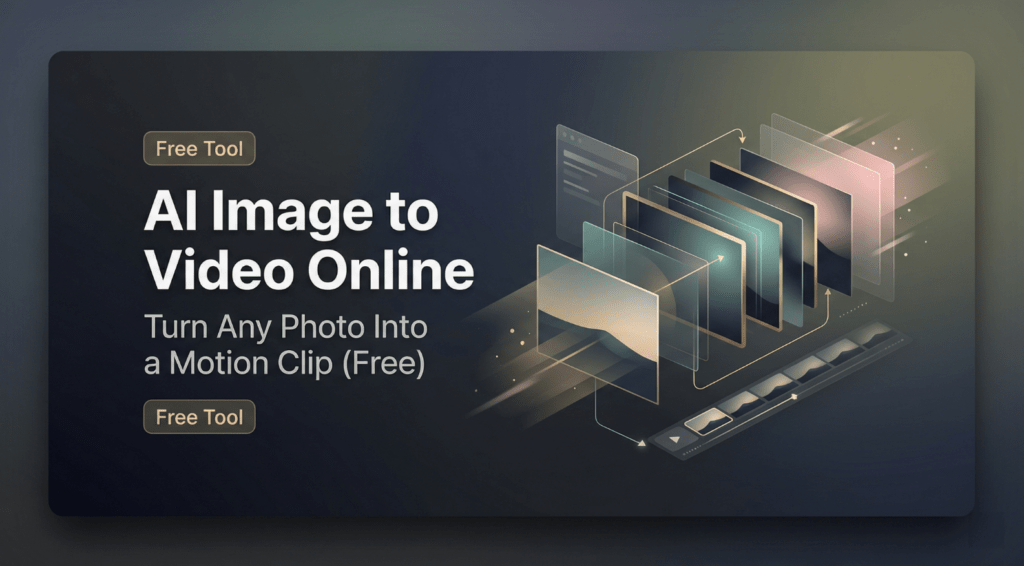
Hello, I’m Camille. Yesterday I took a product photo from last month’s shoot and turned it into a 6-second video clip. The lighting shifted naturally, the subject moved smoothly, and I didn’t touch a camera or timeline editor. Just one still image and an AI that understands motion.
The whole thing took maybe three minutes. No green screen, no keyframing, no “please film this from five angles” conversations with photographers. Just upload, generate, export.
Here’s what caught me off guard: AI image-to-video isn’t just a novelty anymore. It’s become genuinely useful for content creation, especially when you need video assets but filming isn’t practical. Let me show you what actually works when turning photos into motion clips.
What AI image-to-video does (vs traditional video production)
I used to think video meant cameras, lighting rigs, and multi-take shoots. Then AI image-to-video tools showed me a different path—one that starts with a single still frame.
How the AI predicts motion from a still frame
Modern image-to-video models analyze spatial relationships, depth cues, and contextual patterns within a photo to infer plausible motion. The AI doesn’t just apply generic movement—it reads the scene structure (foreground, background, subject positioning) and generates motion that respects physics, lighting, and perspective.
Think of it like this: when you look at a photo of a person standing outdoors, your brain automatically imagines how they might move—a head turn, a step forward, a gentle sway. AI image-to-video models do something similar, using training on millions of video sequences to predict what motion would look natural in that frozen moment.
The result? A video clip that feels less like an animated slideshow and more like footage you could’ve captured with a camera.
Realistic expectations: what it handles well vs not
Here’s where I’ve learned to set honest expectations. AI image to video excels at:
Smooth, simple motions: Camera pans, slow zooms, gentle subject movements (head turns, breathing, slight gestures) Stable environments: Indoor shots, controlled lighting, clean backgrounds Portrait and product focus: Single-subject compositions where the focal point is clear
It struggles with:
Fast, complex choreography: Running, jumping, intricate hand movements often introduce artifacts Busy scenes: Multiple subjects or chaotic backgrounds can confuse the motion prediction Long-duration clips: Most tools cap at 6-10 seconds before motion consistency drops
I’ve stopped asking it to do things traditional video handles better (action sequences, multi-angle coverage). Instead, I use it for the moments where filming isn’t practical—quick social posts, product demos, profile animations.
Best input photos for stable AI video output
Your source photo makes or breaks the final video quality. I’ve learned (through some delightfully weird early attempts) that certain photo qualities lead to smooth motion—and others create flickering, warping, or general chaos.
Resolution and framing requirements
Minimum resolution: 1080 x 1080 pixels for square compositions, 1920 x 1080 for landscape. Lower resolutions can work, but the AI has less detail to preserve during motion, and edges get softer.
Optimal resolution: 2048 x 2048 or higher. The extra detail gives the model more information to maintain consistency across frames.
Framing tips:
- Center your subject: Off-center compositions can work, but centered framing gives the AI a clear focal point
- Leave breathing room: Don’t crop tight to the subject’s edges—give the AI space to work with depth and perspective
- Avoid extreme angles: Straight-on or slight angles work best; dramatic low-angle or overhead shots can confuse motion prediction
I typically shoot or select photos with the final video frame in mind. If I know I’ll animate it later, I frame it like a video thumbnail—clear subject, clean composition, balanced lighting.
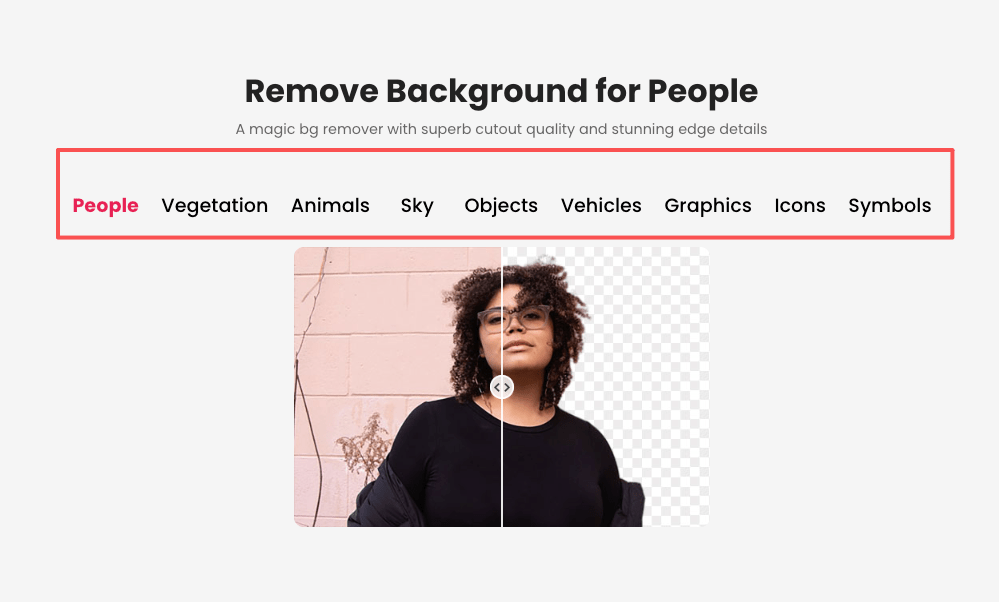
Why clean backgrounds produce more stable motion
Busy backgrounds are the number one cause of flickering and unstable edges in AI-generated videos. When the background has too much detail (patterned wallpaper, cluttered shelves, busy street scenes), the AI tries to animate everything—and often creates competing motion artifacts.
That’s where background removal becomes your best friend. When you remove background for cleaner motion, the AI focuses purely on the subject. No distracting elements, no edge shimmer, no weird warping in the periphery.
A transparent or solid-color background gives you:
- Cleaner edge definition: The AI knows exactly where the subject ends
- Smaller file sizes: Fewer pixels to process = faster generation
- Flexibility: You can composite the animated subject onto any background later
I now prep almost every photo with background removal before animating. The motion output is noticeably more stable—edges stay crisp, and the subject moves naturally without background interference.
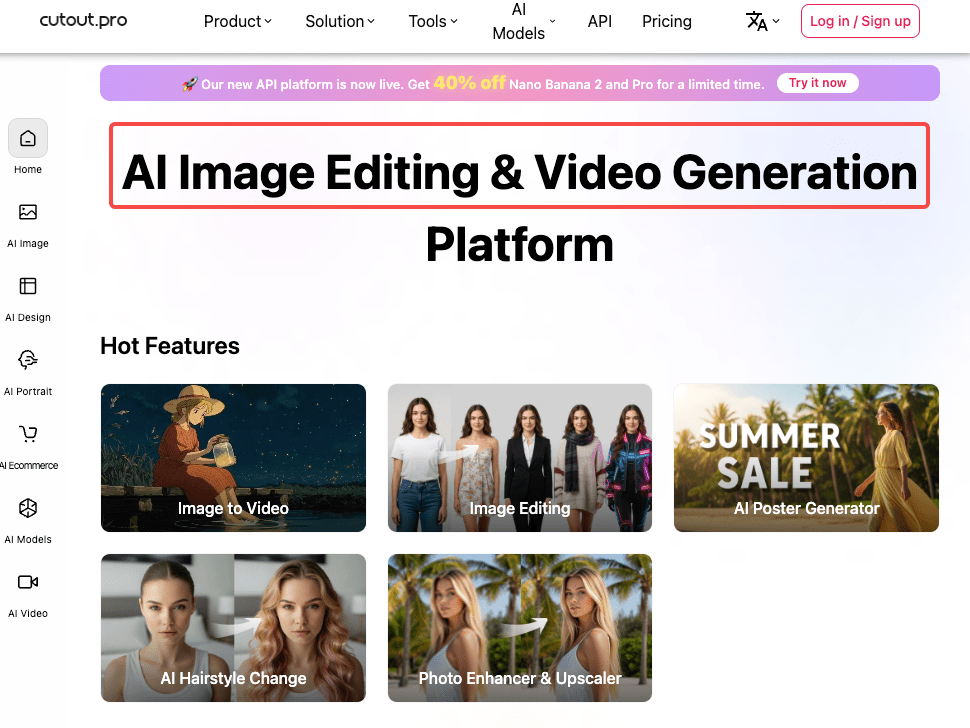
Step-by-step: image to video with Cutout.Pro
Alright, here’s the actual workflow. I’m using Cutout.Pro’s tool because it’s browser-based, free for basic use, and handles both simple and nuanced motion well.
Upload → select motion style → generate → export
Head to Cutout.Pro’s AI image to video tool. Upload your photo (JPEG or PNG—transparent backgrounds work beautifully here).
You’ll see motion style options:
- Zoom in/out: Gentle camera push or pull
- Pan left/right: Horizontal camera slide
- Subject motion: Head turn, blink, smile (for portraits)
- Depth shift: Parallax effect that creates 3D-like motion
- Custom prompt: Describe the motion you want in natural language
Pick your style, preview the motion loop, and hit generate. Processing usually takes 30-90 seconds depending on resolution and motion complexity.
Once it’s done, you’ll see a preview loop. If the motion feels right, export. If not, tweak the style or prompt and regenerate.
Choosing camera move vs subject motion
Here’s a trick that saved me a lot of frustration: separate camera movement from subject movement.
Camera-driven motion:
- Slow zoom into a product shot
- Pan across a landscape or scene
- Orbit around a static subject
Subject-driven motion:
- A person turning their head or smiling
- A product rotating on its axis
- Fabric or hair moving in a breeze
When you layer both (camera panning while the subject moves), the AI has to choreograph two motion systems simultaneously. Sometimes it works beautifully. Sometimes it creates floaty, unnatural movement.
I typically choose one motion type per clip. If I need complex choreography (camera move + subject action), I generate two separate clips and composite them in post.
Export formats for TikTok, Reels, and Shorts
Platform specs matter. Each social platform has preferred video formats and aspect ratios:
TikTok: 1080 x 1920 (9:16 ratio), MP4, H.264 codec Instagram Reels: 1080 x 1920 (9:16 ratio), MP4 YouTube Shorts: 1080 x 1920 (9:16 ratio), MP4 Instagram Feed: 1080 x 1080 (1:1 ratio) or 1080 x 1350 (4:5 ratio)
According to TikTok’s video specifications guide, videos should be under 287 MB for uploads, with H.264 encoding and AAC audio. Most AI image-to-video tools export in these formats by default.
I export vertical (9:16) for social platforms and square (1:1) for feed posts or ads. If I need multiple formats, I generate once and re-export at different aspect ratios.
Use cases by content type
AI image-to-video shines in specific scenarios. Here’s where I use it most—and where it delivers real value.
E-commerce product demos
A static product photo is fine. An animated product shot? That stops the scroll.
I use AI image to video for:
- Slow 360° rotations: A skincare bottle, a tech gadget, a piece of jewelry rotating smoothly
- Zoom reveals: Starting wide and pushing in to show product details
- Lighting shifts: Subtle glow or highlight movement that emphasizes texture
These clips work beautifully in carousel ads, landing page hero sections, and Instagram Reels. No need for a full product video shoot—just one clean photo and 90 seconds of AI processing.
Social media content without a video shoot
Sometimes you need video content but don’t have footage. Maybe the event already happened, maybe filming isn’t practical, or maybe you just need something today.
AI image-to-video fills that gap:
- Turn event photos into short recap clips
- Animate behind-the-scenes stills for Stories or Reels
- Create profile or header videos from headshots
I’ve built entire social campaigns from photo archives, adding motion to existing assets instead of organizing new shoots.
Common issues and fixes
Even with clean inputs and careful setup, you’ll occasionally hit hiccups. Here’s what I’ve learned from my own “well, that’s interesting” moments.
Flickering or unstable edges
Edge flicker usually means one of two things:
Input quality issue: The source photo had jagged edges, compression artifacts, or a messy cutout. Solution: Go back and re-export with cleaner edges, or re-process the background removal.
Motion too intense: Fast camera moves or dramatic subject motion can stress the AI’s frame consistency. Solution: Dial back the motion intensity or choose a gentler style.
I’ve also noticed that low-contrast edges (like blonde hair on a white background) are more prone to shimmer. Boosting edge contrast in the source photo helps.
Unnatural motion artifacts
That weird warping or “melting” effect? It’s usually caused by:
Competing visual elements: Busy backgrounds, multiple subjects, or unclear focal points confuse the AI. Solution: Simplify the composition or remove the background.
Too much motion complexity: Asking for intricate hand gestures, fast movements, or multiple motion layers simultaneously. Solution: Stick with simple, single-motion prompts.
Low-resolution input: The AI doesn’t have enough detail to maintain consistency. Solution: Use higher-resolution source images (1080p minimum, 2K preferred).
FAQ
Q1: How long can the output video be?
Most AI image-to-video tools cap at 4-10 seconds. Cutout.Pro and similar platforms typically generate 3-6 second clips. Longer durations are possible, but motion consistency drops after 10 seconds. For social media, 3-6 seconds is usually perfect—enough for one smooth motion cycle.
Q2: Does my photo need to be high resolution?
Higher resolution = better results. Minimum 1080 x 1080, but 2048 x 2048 or 1920 x 1080 gives the AI more detail to preserve. Low-res inputs (below 720p) tend to produce softer edges and more artifacts.
Q3: Can I control the direction of motion?
Yes—most tools let you specify camera direction (zoom in/out, pan left/right) or subject motion (turn left/right, tilt up/down). Custom prompt fields give even more control: “slow camera dolly forward” or “subject turns head to the right and smiles.”
Q4: Is there a free tier?
Many AI image-to-video tools offer free tiers with limitations (watermarks, lower resolution, or limited generations per day). Cutout.Pro provides free basic access—check the platform for current limits and premium options.
Q5: What formats does it export?
Standard exports include MP4 (most common), MOV, and WebM. Some tools also offer GIF for looping animations. For social media, MP4 with H.264 encoding is the safest bet—universally supported across platforms.
Previous posts:
Seedance 2.0 Product Promo Workflow: Packshot to Motion Video in 5 Steps
Seedance 2.0 Cutout Workflow: Prep Product & Character Assets That Stay Consistent
Remove Background from Product Photos for Amazon, Etsy & Shopify (Standards + Workflow)
Seedance 2.0 Flicker Edge Cleanup: How Asset Cleanup Fixes 70% of Shimmer Issues
How to Remove Video Background Without Green Screen (Free, Automatic)