Table of Contents
Hi, I’m Camille. If you’ve ever nudged a lasso tool around a fuzzy sleeve and felt your soul leave your body just a little, same. I make social covers, product shots, and little looping videos for clients every week, and while I love polishing the final look, I don’t love the drag of removing backgrounds one by one.
Here’s the gentle fix: batch remove background. Let the AI do the heavy lifting in parallel while you sip something warm and plan color stories. Over the last few months, I’ve been using Cutout.Pro for quick batches, and it’s become one of those “oh, that’s lovely” parts of my workflow, quiet, dependable, and fast enough to feel like a small superpower.
Why One-by-One Background Removal Is Killing Your Productivity
If your day is anything like mine, you’re juggling: a product carousel for Instagram, thumbnails for a video, a few e-commerce shots, and maybe a last-minute banner someone swears is “just a quick tweak.” Background removal is the sneaky time sink under all of this.
Here’s what happens when you go image by image:
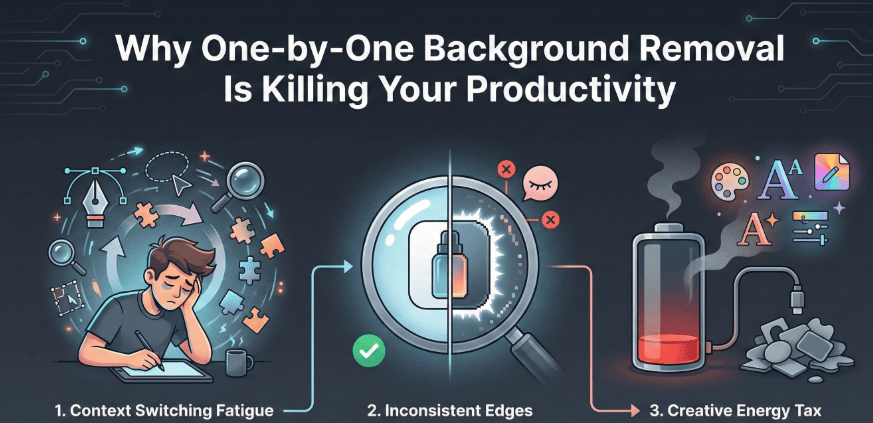
- Context switching fatigue: Every photo is a new little puzzle. Mask, refine, feather, zoom, un-zoom, repeat. Bless my fiddly heart.
- Inconsistent edges: As you tire, your tolerance for tiny halos creeps in. You don’t notice until everything is uploaded and live.
- Creative energy tax: By the time you’re done cutting, you’ve got less sparkle left for styling, color, and typography, the fun part.
A little math from my last e-comm sprint: manual cutouts took me roughly 2–3 minutes per image (simple products), 6–8 minutes for hair, lace, or glass. On a set of 60 photos, that’s easily 3–5 hours. With batch remove background in Cutout.Pro, my upload took 2 minutes, processing ran in parallel (I watched them tick to complete like popcorn), and the whole set zipped back to me in under 12 minutes. I still checked a handful of edges and cleaned two tricky images, but the net time was ~35 minutes end-to-end. I saved at least two and a half hours, plus my shoulders felt much less crunchy.
Why it matters in real life:
- Your turnaround improves without rushing quality. Clients feel it.
- Consistency climbs. Uniform edges and output settings make brand systems look considered.
- You get to re-invest time into styling and post-lighting, the pieces that actually make visuals sing.
How Batch Background Removal Works in Cutout.Pro
The rhythm is simple, and blessedly boring (in a good way). I utilized the batch processing feature of our Cutout.Pro, which is applicable to various types of clothing, mugs, and a smooth skincare bottle.
What it feels like in practice:
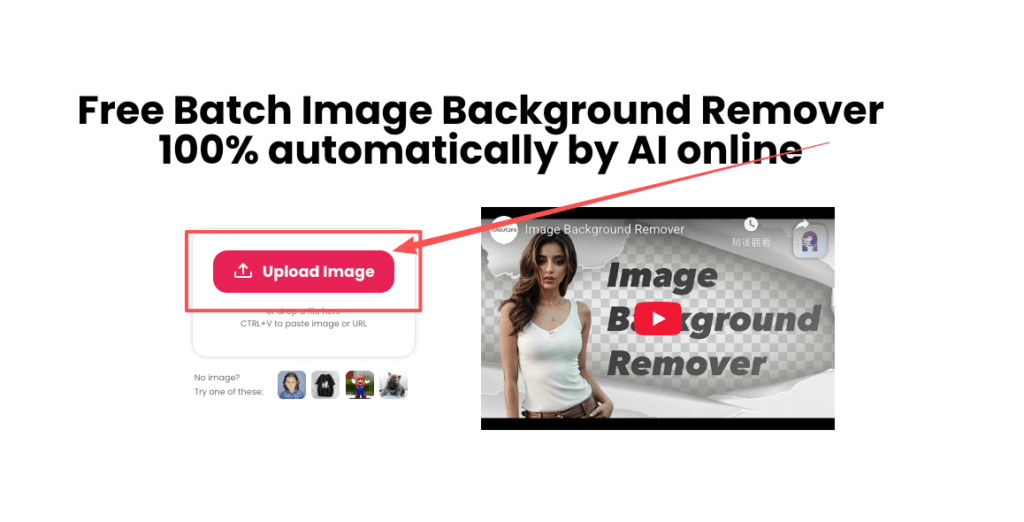
- I drag a whole folder of images into the web app.
- The AI chews through them side by side, little progress ticks everywhere.
- I peek at a few edge previews, then download the whole set as a ZIP. There… just right.
Edge quality notes from my field file:
- Apparel with soft knits and hairlines: surprisingly clean, with only a few flyaway strands needing touchup.
- Glossy objects: sometimes a faint halo if the original shot had a bright, reflective sweep. A quick levels pass or a soft interior shadow usually cancels it.
- Semi-transparent materials: the AI keeps plausible translucency, but I still spot-check. Old habits, still learning.
If you’ve been nervous about the “AI look,” I get it. On solid-lit product sessions (light gray sweep, no harsh spill), the output feels natural, not crunchy. On more chaotic lighting, I do a little post-styling, soft drop, tiny ground shadow, a hair of clarity on the product edge, and it lands.
Upload All → AI Processes in Parallel → Download as ZIP
- Upload all: Select or drag a batch, JPGs, PNGs, mixed sizes. Keep originals high-res: the AI does better with clean detail.
- Parallel processing: No waiting for one-at-a-time. I’ve watched 40+ images churn at once while I named my export folders. Hehe, nice when it works.
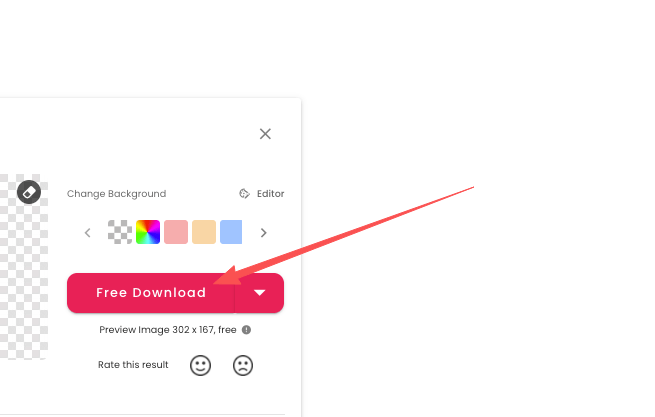
- Download as ZIP: One click, you get the entire set packaged. Inside, filenames match the originals unless you change them, handy for re-pairing with product IDs later.
Limits and little caveats:
- Extremely low-light or noisy images can confuse the edge in shadowy corners. I brighten those first.
- Busy backgrounds with similar colors to the subject may need a tiny cleanup pass.
- If your client wants a premium, editorial edge on hair, plan a minute or two for manual refinement on the hero shots only. Save the rest for batch. Fast as hell and still rock-solid.
Setting Up a Repeatable Workflow
Batch remove background really shines when your setup is consistent. Here’s how I keep things breezy across client projects.
My gentle checklist before I even upload:
- Shoot clean: soft, even light: avoid color casts. Great input equals great cutouts.
- Group by product type: apparel in one batch, shiny things in another. Similar edges, similar success.
- Decide outputs upfront: transparent PNGs for compositing, or white/brand-color backgrounds for quick publishing.
A small ritual I love: I make a “Style & Edge” reference board with 3–4 approved examples, how we like shadows, how tight we crop, and how saturated colors should feel. When I compare the batch to this board, my tweaks are calm and quick. “Ahh, that’s nicer.”
Where the time savings stack up:
- Fewer touchpoints: I upload once, I download once.
- No tool-hopping: I do quick visual QC in one sitting.
- Predictable exports: The files slot straight into my layouts or the client’s CMS.
File Naming, Format Prep, and Consistent Output Settings
- File naming: I use productID_variant_color_view, like 8123_top_sage_front.jpg. After batch remove background, the names stick, so my exports map back to SKUs without hunting.
- Format: For e-comm, transparent PNG preserves clean edges and avoids background mismatches. For social, JPG is lighter: I’ll composite onto brand-color backgrounds first, then export.
- Aspect & size: Decide one or two output sizes per channel (e.g., 2000 px square for catalog: 1080×1350 for IG posts). Resizing after cutout is cleaner than before.
- Background color choice: If you’re not going transparent, I like soft off-whites (a whisper of warmth reads more premium) or a gentle brand tint. A 2–4% warm lift can make neutrals feel alive.
- Shadows and grounding: Subtle is your friend. If your cutouts feel like they’re “floating,” add a very soft, low-opacity ellipse shadow. It grounds without screaming, “I was edited.” Ooh, look at that.
- QC pass: I open 3–5 random images at 100% zoom. If edges look consistent, I ship. If not, I refine settings and re-run just that subgroup. One and done, no back-and-forth nonsense.
From a recent beauty set: 72 images, mixed tubes and glass jars. The batch took ~9 minutes to process: I spent another 12 minutes on light tint unification and micro-shadows. Total: ~25 minutes. Past me was so serious. Present me? “Well, that settled nicely.”
When to Use the API Instead of the Web App

Sometimes the web app is perfect, drag, sip coffee, download ZIP. But if your work needs automation, consistency across large volumes, or direct app integration, the API is the calmer path.
Moments the API quietly shines:
- You publish at scale: hundreds or thousands of images per week. Queue them, process in parallel, and store results automatically.
- You need non-negotiable consistency: same output settings every time, no human drift.
- You want hands-free workflows: pull from a product database or cloud bucket, send to Cutout.Pro, write results back, notify Slack, no human in the loop.
- You’re integrating into a tool: let clients upload, call the API behind the scenes, return cleaned images.
Practical notes from my tests and client handoffs:
- Read the docs first: Cutout.Pro API docs. They outline auth, endpoints, request parameters, and expected responses.
- Start small: send a 5–10 image pilot set to validate edge quality, filenames, and output sizes.
- Logging and retries: treat it like any production service, log job IDs, handle timeouts, and retry if a request hiccups. Not glamorous, but it keeps mornings peaceful.
- Webhooks or polling: if you’re building a UI, consider a status check so users see progress in real time. Little quiet happy moment~
- Privacy and latency: move originals and outputs through secure storage: process close to your region if possible to reduce transfer time.
Where I draw the line:
- If the set is under 20 images and I want to eyeball edges personally, I stick with the web app.
- If a campaign needs heavy compositing and bespoke art direction per image, I do batch removal first for speed, then I hand-tune hero shots. Creating feels like afternoon tea, easy, cozy, satisfying.
Gentle reminder: no tool is magic. But when batch remove background handles the heavy lift, you get to play more. Colors hit just right and suddenly it’s luxury. See? Feels better.
Until next time.
Previous posts:
Background Remover for IDs: When It’s Allowed and When It’s Not
Remove Background from Signature: Create a Clean Transparent Stamp
Fur & Hair Background Removal: How to Get Natural Edges