Table of Contents
Hey, my friends. I’m Camille.
If you’ve ever spent too long making a background disappear, clicking, erasing, zooming in like a cartographer, you’re in good company. I’ve been refining how to remove background in Canva for quick social covers, storefront images, and those tidy little headshots that make profiles feel polished. Let me show you what’s working for me in early 2026 (tested on Canva for Web, Feb 2026, with a few iOS checks), where it shines, and where I still reach for a backup. Easy now.
Two Ways to Remove a Background in Canva
Canva Pro, Background Remover (built-in)
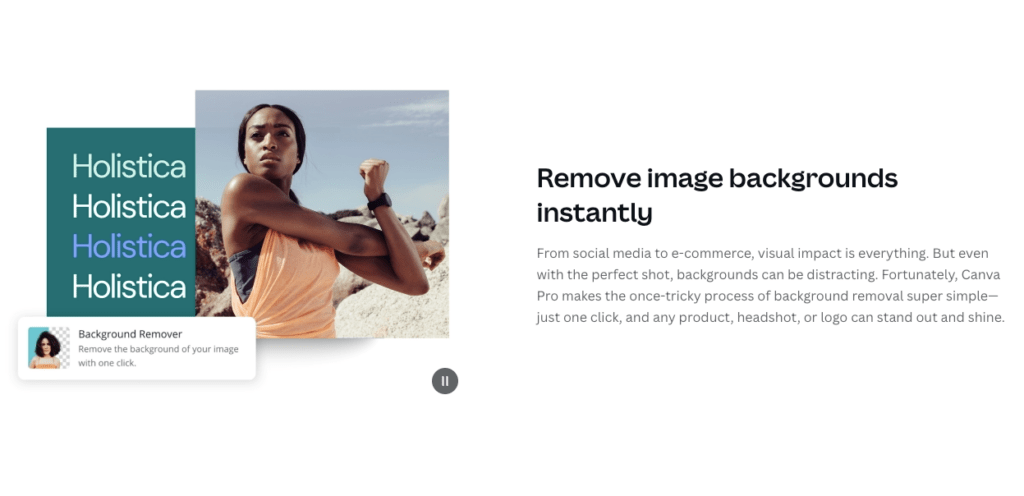
If you’re on Canva Pro, the Background Remover is right there in the Edit Image panel. You click once, it thinks for a blink, and, poof, the subject lifts cleanly from most backgrounds. On my Wi‑Fi, portraits and simple product shots took about 2–4 seconds per image. That’s “cut the time in half, double the wow factor.” For day-to-day social graphics, thumbnails, and catalog updates, it’s honestly a calm little miracle. Ooh, look at that.
Real notes from my week:
- I processed 18 product photos (basic tabletop shots) in roughly 8 minutes end-to-end, including a couple of manual brushes. Past me would’ve fussed for 45.
- Edge handling around rounded bottles and phones was reliably crisp. Glossy highlights behaved, which I didn’t expect.
- Hair? Decent with well-lit, mid-contrast portraits. Wispy curls still need love, more on that later.
Free workaround, remove externally, re-import
If you’re on the free plan, or you hit an edge case, an external remover can save the day. I’ve had consistent results with these, then I re-import into Canva for layout and brand polish:
- remove.bg(fast, accurate on hair, limited free credits)

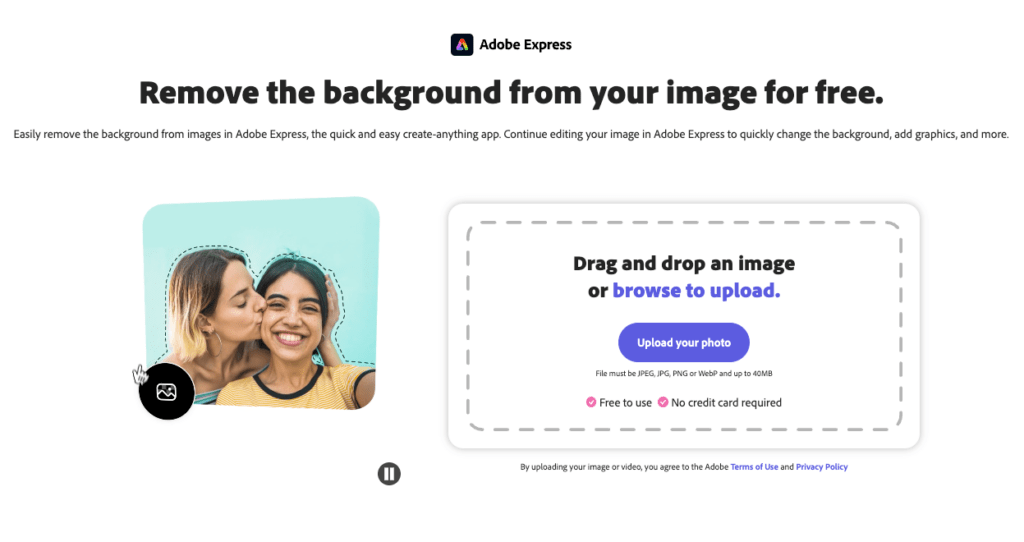
- Adobe Express Quick Actions (browser-based, solid with people)
- PhotoRoom (nice on products, watch for sharpening)
- iOS/Android subject lift for quick grabs (surprisingly handy on the go)
Workflow-wise: export the trimmed PNG, drop it into Canva, then finish with brand colors, shadows, and type. It’s still fast enough for most posts, and you keep that Canva layout flow. No fuss, just calm.
Step-by-Step: Using Canva’s Background Remover
Here’s how I’ve been removing backgrounds in Canva Pro lately, simple, reliable, and friendly to sleepy late-night brains.
- Start with the right image
I know, obvious. But contrast matters. If your subject blends into the background, black sweater against a charcoal wall, any remover struggles. When I shoot quick product photos, I go for soft daylight and a plain backdrop. Even a pillowcase taped to a chair helps. Bless my fiddly heart~
- Drop your image into a new design
- Open Canva and pick your canvas size (Instagram Post, Story, A4, whatever fits your plan).
- Drag your photo in and select it. A crisp canvas gives cleaner previews, which oddly makes me more decisive. Mmm, that feels good.
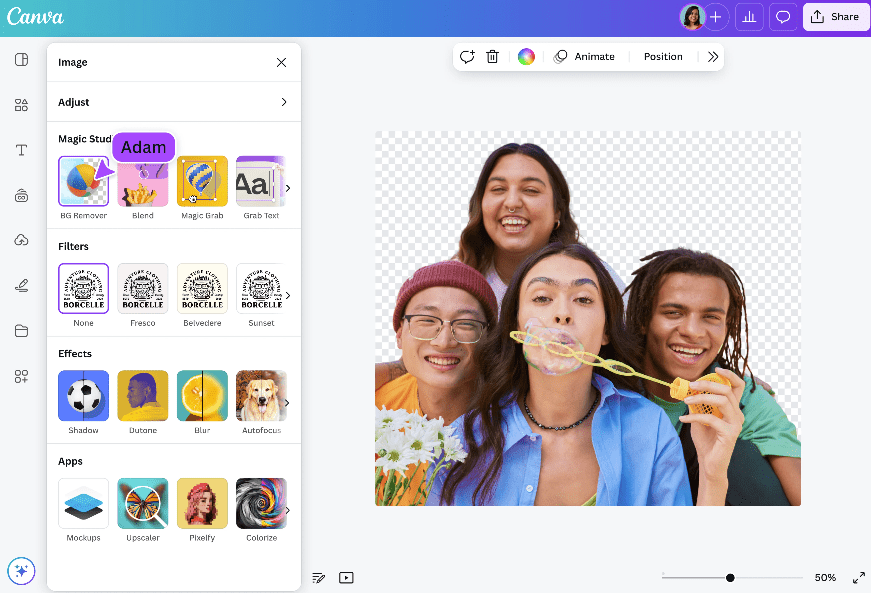
- Edit Image > Background Remover
- Click Edit Image, then Background Remover. Canva analyzes edges and hair first, watch the faint progress shimmer.
- After a couple of seconds, you’ll see your subject pop forward. If it’s already “there,” feel free to skip to styling. If not, a quick refine usually does it.
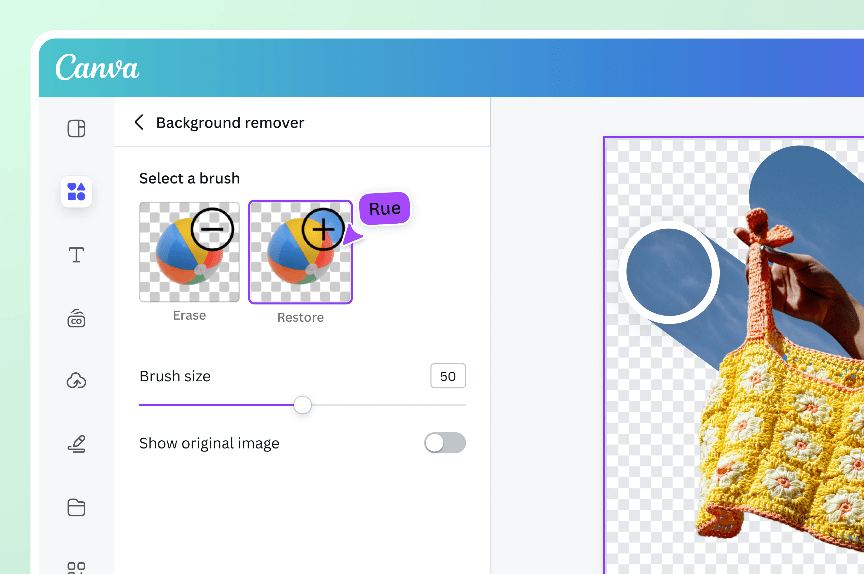
- Refine with Erase/Restore
- In the Background Remover panel, choose Erase to nudge out stubborn bits (table corners, shadows that stuck around). Use Restore to bring back pieces it accidentally ate (earrings, watch bands, plant stems).
- I use a small brush near tight details and a bigger one for broad areas. Zoom in at 200% for corners. Two minutes here often upgrades a “good” cutout to “looks like a studio.” There… just right.
- Add soft shadows for realism
- With the subject selected, open Edit Image again and try Shadows. Drop Shadow or Backdrop works for a simple, believable anchor.
- Keep opacity shy (20–35%), blur generous (20–40), and angle consistent with any scene lighting you plan to add. It’s subtle, but it sells the cutout.
- Place on brand colors or textures
- Drop your brand color as the background or try a gentle gradient. Desaturated pastels or off-whites look luxe for e‑commerce.
- For mood pieces, I’ll use a paper texture or a quiet grain at 8–12% opacity, adds a touch of warmth without shouting.
- Export thoughtfully
- For transparent backgrounds, export PNG with transparency on. Great for logos, stickers, or layered mockups.
- For social posts or product tiles, JPG usually keeps file sizes small and crisp. I check 80–90% quality, sharp, but not heavy.
Tiny field notes from Feb 2026 tests:
- Portraits against parks or streets: 1–2 clicks + 30 seconds of Restore around hair where the sky peeked through. Acceptably natural on Instagram at 1080px.
- Matte products on white: one-click clean. I actually giggled when the bottle outline matched perfectly on the first try. Well, that settled nicely.
- Busy studio floors: 1–3 minutes of Erase cleanup, mostly along shadows and stands.
What this looks like in real life
- Social cover refresh: Swapping a plain selfie for a polished cutout on color took me 3 minutes, start to exported PNG. The vibe jump was immediate, “Wait… that’s actually lovely.”
- E‑commerce tile: 10 shoe photos, one-click each, light shadow, batch export, about 12 minutes total. Not flawless, but “ship it” ready.
💡Camille’s take: Looks good? Ship it.
If it can rescue my sleepy brain at 10 p.m., imagine what it’ll do for you. Ahh, that’s nicer.
Where Canva Falls Short
Hair, complex edges, no batch processing, real limitations
I adore Canva for momentum, but it’s not a magic wand. Here’s where I still notice friction:
- Flyaway hair and translucent bits
Wisps, veils, and motion blur around hair can look crunchy. Canva’s Restore brush helps, but sometimes it’s faster to prep the image externally. remove.bg and PhotoRoom often catch hair strands better: Adobe Express is decent, too. When I care about every filament (beauty banners, print), I’ll do a quick external pass, then re‑import. One and done, no back‑and‑forth nonsense.
- Complex textures and overlapping props
Think lace on patterned fabric, or a glass bottle against a busy shelf. You may see halos or leftover pixels. I usually add a gentle inner shadow or manually refine edges at 200–300% zoom. It’s not hard, just fussy. Past me was so serious.
- No true batch background removal in Canva
As of Feb 2026 tests, there’s no native “apply remover to 50 images at once” that processes them in the background. You can duplicate pages and click through quickly, but it’s still manual. For store-wide updates, I lean on external tools with bulk modes, then bring the assets back into Canva for layout.
- API and automation caveats
If you’re building automated pipelines, Canva’s strength is design and collaboration: background removal at scale is better handled upstream. I’ve had smoother runs letting an API handle cutouts, then piping PNGs to Canva templates for final brand dressing. Atmosphere maxed out, everyone’s obsessed.
I’m not sponsored by Canva or any tool mentioned here. Just sharing what consistently saves me time without flattening the creative spark. Beautiful design doesn’t have to feel heavy. Try it on your next project, you might surprise yourself. There… feels gentle, doesn’t it?
Until next time, dears.
Previous posts:
How to Remove Background from a Photo — Hair, Glass & Tricky Edges Done Right
Remove Background from Product Photos for Amazon, Etsy & Shopify (Standards + Workflow)
How to Batch Remove Backgrounds from Images (100+ Photos in Minutes)