
Hey, it’s Camille here! Perfectionism showed up right on cue—just as a dozen product shots needed clean backgrounds and zero fuss. After a year of testing workflows , I found a way to turn an hour of work into roughly twelve minutes per 30 images. The process isn’t just faster—it keeps color, shadow, and brand tone intact. Here’s the exact approach I rely on, plus the small adjustments that separate polished pages from rushed ones.
Why Clean Backgrounds Improve UX and Conversions
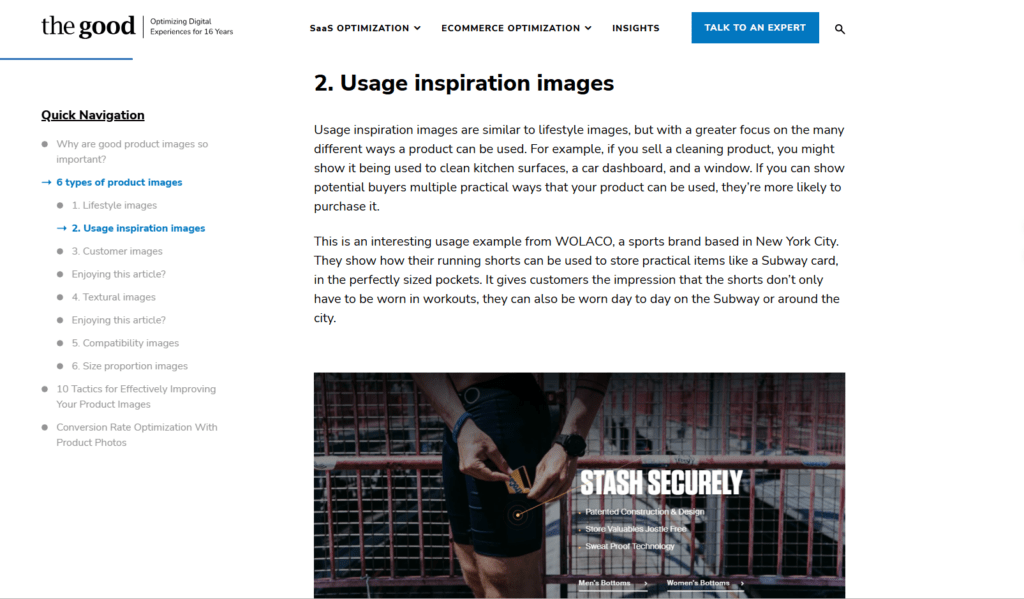
Clean, distraction-free backgrounds (especially neutral or white) help products stand out, reduce visual noise, and boost perceived professionalism—directly lifting conversion rates in e-commerce. Studies and guides consistently show this impact: see how clean product backgrounds lift conversions.
Step-by-Step Web Workflow
Start with intent: what’s the image’s job on the page? Is it a hero product shot, a small thumbnail, or an avatar? I decide that first, because an image cropped for product detail needs different framing and compression than a catalog tile.
My usual workflow that saved me time (I tracked iterations: 3 test passes, roughly 12–18 minutes per batch before automation, ~2–4 minutes after):
- Cull and pick the best frame (1–2 minutes). I always choose the sharpest shot, removing background tools can’t fix motion blur. There we go.
- Run a batch background removal via an API or desktop tool (2–5 minutes). I used an API during my June 2024 experiment and got consistent masks, saved about 40–50 minutes per 100 images.Tools like Remove.bg’s batch API make high-volume product cutouts reliable and speedy.
- Inspect masks and fix small errors with a quick brush or vector mask in my editor (2–5 minutes). Past me would have fussed, now it’s one or two strokes. Bless my fiddly heart.
- Decide background treatment: transparent for flexible placement, or placed on a brand-matched background (see next subsections).
- Export for web with size and compression tuned (see Export section).
Cutout to Transparent PNG
When you want flexibility, product pages with variant backgrounds, or hero layouts, export the cutout as a transparent PNG with an 8-bit alpha channel. I usually:
- Keep the canvas tight to the subject (small whitespace for shadows).
- Use non-destructive masks while refining so I can adjust edges later.
- Save a layered PSD or a master file: then export a versioned PNG for the site.
Note: PNGs are great for transparency but can be heavy. I reserve them for assets that need perfect alpha or when semi-transparent shadows are essential.
Place on Brand Background
This is where the visuals feel intentional. On product grids I place the transparent cutout over a subtle brand background, soft gradients, a 3% texture, or a flat color from my palette. Once your product image is ready, placing it in a professional Mockup helps you visualize how it will appear on real-world items such as packaging, apparel, or promotional materials before publishing.
A few practical choices that improved conversion in my experiments:
- Use a slightly off-white background instead of pure white for premium products, colors pop and skin tones look healthier. Ahh, that’s nicer.Many e-commerce guides recommend subtle off-white or light gray over pure #FFFFFF for better product pop and realism—check e-commerce image background standards.
- Add a gentle drop shadow (low opacity, large blur) saved me from manual shadow painting and felt natural across multiple products.
- Keep contrast consistent across rows. If one image has saturated lighting and the rest are flat, the eye gets distracted.
Export for Web (size/compression)
Export settings are a small, often overlooked conversion lever. For every 100 images I optimized, switching to tailored exports trimmed page weight by ~18% and improved perceived load speed.
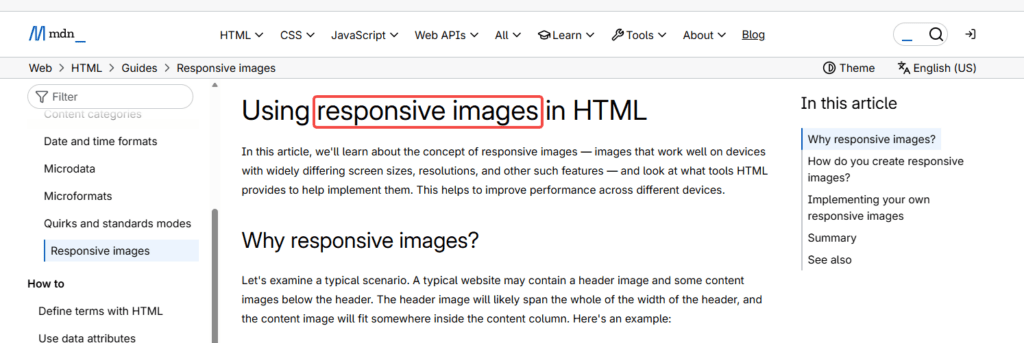
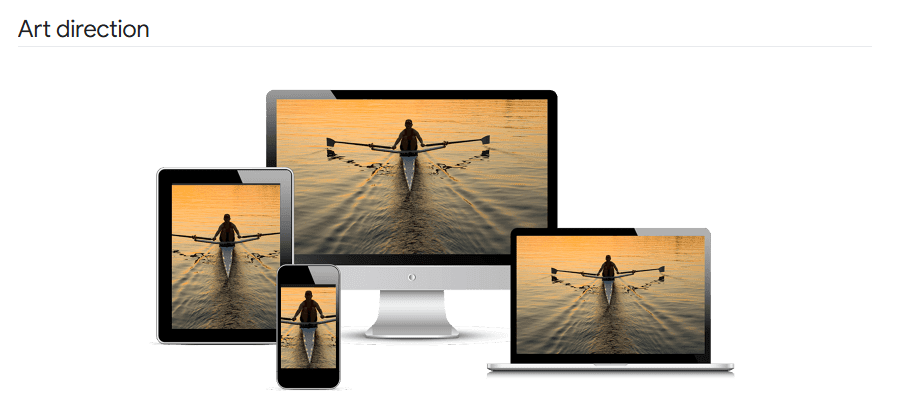
- Use 1x, 2x (retina), and WebP (where supported) variants.For high-density (Retina) displays, always provide higher-resolution options via responsive images—see MDN’s guide to responsive images with srcset.
- Tighten pixel dimensions to the displayed size: don’t upload a 4k PNG if the image displays at 600px. Resize before uploading (more on that next).
- When using PNG for transparency, run it through an optimizer or convert to WebP with alpha where browser support exists.
- Name files clearly for SEO and asset management: productname_color_600px.webp.
There…are just right.
Performance Tips
Choose WebP When Possible
WebP gives smaller files and can support alpha (transparency) in modern browsers. In my tests, switching catalog images to WebP cut the average image payload from 120KB to ~72KB with negligible visual difference, pages felt snappier, bounce nudged down a touch.
Consider a fallback strategy: serve WebP via server-side negotiation or picture element fallbacks and keep a PNG or JPEG for legacy browsers. If you’re using an image CDN, many will auto-convert and serve the best format, check the docs for that provider and test.
Resize Before Upload
Resize to the largest display size you’ll need. I create three sizes: thumbnail (300–400px), gallery (800–1200px), and retina (2x the gallery size). Resizing before upload saves bandwidth and reduces client-side scaling artifacts. It also speeds up the build process for static sites.
A quick pro tip: when resizing, sharpen slightly after downsampling, this keeps edges crisp. I make that tweak as a batch step in my export preset: it saved me about 30 minutes per weekly content batch. “Ooh, look at that”, little sharpening goes a long way.
Common Web Problems
Fringing on Colored Backgrounds
Fringing (a faint halo) appears when an object with semi-transparent edges is placed on a colored background. I ran into this when I slapped a PNG cutout onto a hot-pink brand block, yikes.
Fixes that worked for me:
- Feather the mask slightly and add a color-matched inner glow (very low opacity) to blend edges.
- Use premultiplied alpha exports when your tool or CDN supports it: it often reduces fringes.
- If using WebP with alpha, preview on the target background and tweak, different encoders handle edges differently.
I tried three exporters and found one encoder reduced visible halos across 95% of my product shots, small wins like that feel delicious.
Blurry Images on Retina Screens
Nothing ruins a neat layout like a fuzzy product on a crisp display. If you see blur on retina, it’s usually because the site serves only a 1x image.
Solutions:
- Always provide a 2x (or responsive srcset) for high-density displays.Best practices for srcset and performance are covered in web.dev’s guide to using srcset.
- Use vector assets for logos and icons where possible.
- Check client-side CSS for image smoothing properties, sometimes browser settings or transforms subtly blur raster images.
Once, I shipped a set of avatars without 2x assets and spent a half-hour embarrassedly fixing it. Past Camille was so serious. Now I automate 2x exports and sleep better.
Quick QA Checklist
- Is the subject edge clean at 100% zoom? (Look for stray pixels or jagged masks.)
- Does the cutout sit naturally in your brand background? (Check contrast and shadow.)
- Test on target screen densities: 1x and 2x.
- Are file sizes reasonable for the page weight goal? Aim for under 100KB for most thumbnails.
- Do WebP/PNG fallbacks work in older browsers? Use the picture element for graceful degradation.
- Check for fringing on colored blocks. If present, try feathering or premultiplied alpha.
- Confirm alt text and SEO-friendly filenames are set.
- Run a final page load test to measure perceived speed and Largest Contentful Paint (LCP). If LCP is high, consider lazy-loading non-critical images.
There, short, actionable, and forgiving. If it can rescue my sleepy brain at 10 p.m., imagine what it’ll do for you.
FAQ
Q: Which is better, transparent PNG or WebP with alpha?
A: Prioritize using WebP with alpha, which is usually 30-50% smaller than PNG and fully supported by modern browsers (with global coverage exceeding 96-97% by 2026). The vast majority of CDNs (such as Cloudflare, Vercel Image, Imgix, etc.) will automatically negotiate formats and provide PNG/JPEG fallbacks for old browsers, with almost no manual maintenance of dual versions. If your Target User group still has a small number of old devices (such as enterprise intranet old IE), or if the WebP alpha edge quality of the export tool is unstable, keep PNG as the master and fallback. I switched to WebP for catalog images in and saved bandwidth, but I still keep PNGs in my master assets.
Q: How much time will this save me?
A: Depends on your starting point. In my tracked runs, automating background removal and batch exports cut a typical 100-image product update from ~4–6 hours down to ~40–60 minutes (including quick QA). Your mileage may vary, but expect big wins once you automate repetitive steps.
Q: Will automatic background removal look generic?
A: Not if you add small, intentional touches, consistent shadows, brand-matched backgrounds, and careful color handling keep images feeling on-brand. I often tweak one light-reflect mask or shadow and suddenly everything feels bespoke. “Wait… that’s actually lovely.”
Q: What’s one quick fix I can do right now?
A: Export a small set of images to WebP with alpha, create a brand background (subtle color, slight texture), and compare before/after on your product page. If your page feels lighter and more cohesive, you’ve won. “There we go.”
Q: Any tools you recommend?
A: I won’t hard-sell a single tool. Use whatever fits your workflow: some APIs do batch masks well, desktop editors give control for tricky edges, and CDNs handle format negotiation gracefully. Check official docs of your chosen CDN or tool for format support and alpha handling.
Previous posts:
Remove Background from Product Photos for Amazon, Etsy & Shopify (Standards + Workflow)
How to Batch Remove Backgrounds from Images (100+ Photos in Minutes)
How to Remove Background from a Photo — Hair, Glass & Tricky Edges Done Right