Hello, I’m Camille. Last weekend, a friend asked me to help turn a group photo from her birthday dinner into a little sticker pack for their family chat. Nothing fancy—she just wanted each person’s face on a circle background, big and silly, something they could throw into WhatsApp conversations. I opened my laptop thinking, “Okay, how long is this going to take me?” An hour later, we had twelve stickers. Most of that hour was us laughing at the photos, not editing.
If you’re the unofficial “photo person” in your friend group, or you run a small team that wants a Slack emoji pack with everyone’s face on it, or you’re putting together props for an event booth next weekend—this is for you. I’ll walk through the workflow that actually worked for me, where it got a little messy, and the small things that made the final stickers look clean instead of templated.
What face cutouts are actually used for
Face cutouts—sometimes called “bigheads”—are just isolated faces placed on a clean background (or no background at all). Tiny idea, surprisingly versatile.
Event props and photo booths
Wedding photo booths, office parties, launch events—printed bighead cutouts on sticks are still a thing, and they’re still funny. I made a set for a friend’s 30th last spring: six of her closest friends, printed on foam board, 18 inches tall. Everyone ended up in photos holding someone else’s face. It cost about the same as a bad bouquet.
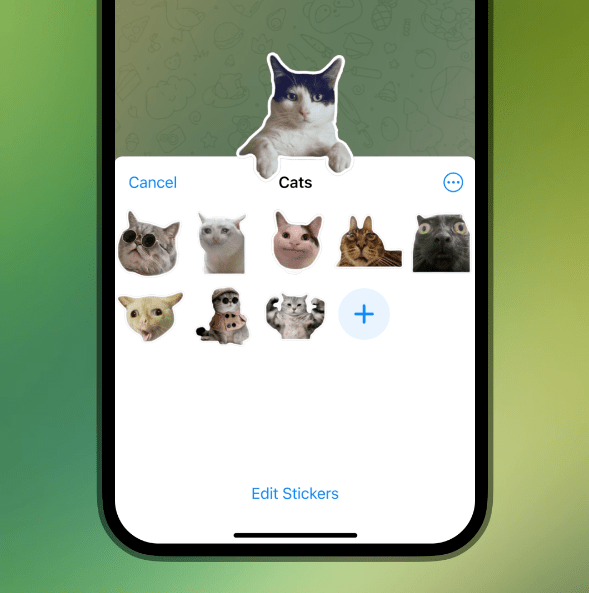
WhatsApp / Telegram sticker packs
This is where most of my requests come from now. A custom sticker pack of your friends’ reactions is objectively better than a generic one. Boss says something weird in the group chat? Drop a sticker of your coworker’s raised-eyebrow face. Done.
Team pages, Slack avatars, meme formats
Teams use face cutouts for About Us pages, onboarding docs, and Slack custom emoji. Memes, too—if you’ve ever wanted your own face as a “this is fine” dog, a face cutout is step one.
What makes a good source photo
Honestly, most sticker failures happen here, not at the editing stage.
Ideal framing, lighting, and background
The photos that cut out cleanest tend to have soft, even lighting (overcast daylight is magic), the face taking up at least a third of the frame, and a background that’s clearly different from the person’s hair and skin. A white wall behind dark hair? Easy. A beige couch behind a beige cardigan? Your cutout is going to struggle no matter what tool you use.
One thing I always check: is there motion blur in the eyes? If yes, skip it. Blurry eyes make a sticker feel off in a way that’s hard to fix later.
Group photos vs solo portraits
Group photos work, but only if the faces aren’t too small. My rough rule: if a face takes up less than about 150 pixels across in the original photo, the cutout will look soft once you zoom in to sticker size. Solo portraits are almost always safer, but group shots have more personality—so there’s a trade-off worth thinking about.
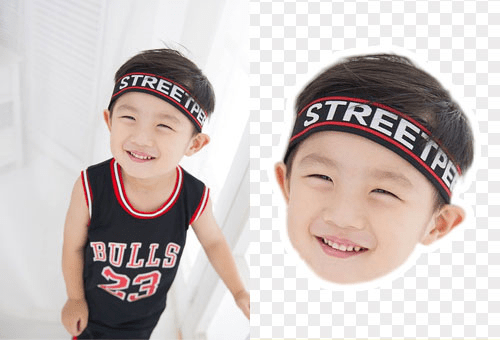
Remove the background first for cleanest edges
This is the step most people skip, and it’s the reason their stickers look a little fuzzy around the hairline.
Why background-free portraits give sharper sticker results
When you remove background from the full portrait before doing the face crop, you give the next tool a cleaner starting point. No leftover color bleed around the hair. No halo when you place the sticker on a dark chat background. The edge detection has less work to do, so it does it better.
I tested this both ways on the same photo last week—straight to face cutout vs. background removal first. The “background first” version had noticeably cleaner edges around the hair. Not life-changing, but visible. And once you see it, you can’t unsee it.
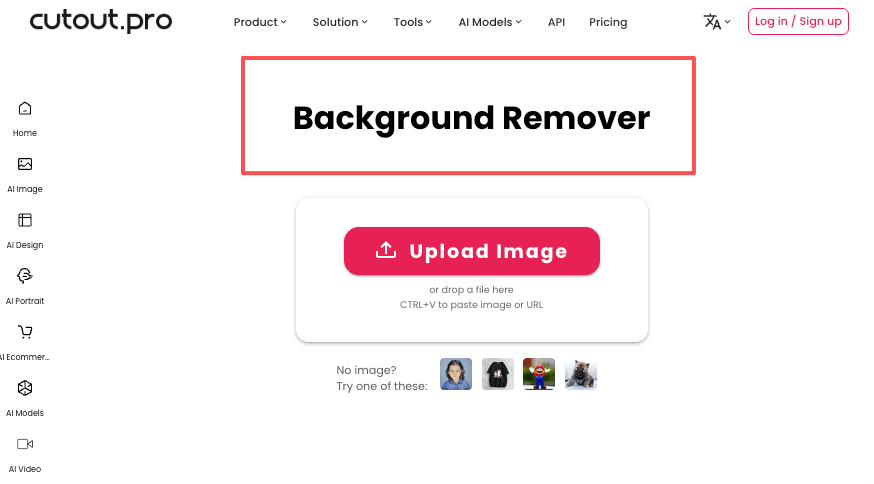
Step-by-step: create a face cutout with Cutout.Pro
Here’s the flow I use now. Takes about a minute once you know where to click.
Upload portrait → auto face detect → crop & frame
Open the face cutout tool, drop in your portrait (ideally the already-background-removed version from the step above, but it handles regular photos fine too). The tool auto-detects faces and shows you a crop frame around each one. For group photos, you’ll see multiple detected faces and can pick which to keep.
Choosing cutout shape (circle, oval, bighead frame)
Circle is the safest bet for stickers—it works on every messaging platform and doesn’t fight with the chat UI. Oval feels a little softer, nice for more “portrait” energy. The bighead frame (where the head is slightly oversized relative to the shoulders) is where the humor lives, and it’s the one I use most for sticker packs.
Small thing worth noting: if you’re making stickers for WhatsApp specifically, keep the subject inside a 480×480 safe area even though the canvas is 512×512. WhatsApp’s sticker guidelines recommend a small margin, and tight crops can get visually cramped.
Export as PNG (transparent) for sticker use
Always PNG with transparency. JPG will give you a white box around your sticker and that’s instantly the “amateur cousin” look. Also—double-check the exported file on both a light chat background and a dark one before you commit. Some edges only reveal their flaws on dark backgrounds.
Platform sticker sizing cheat sheet
Every platform has its own pixel rules. Getting these right once means you never get a rejection message later.
| Platform | Dimensions | Format | Max file size |
| WhatsApp (static) | 512×512 | WebP (PNG source works) | 100 KB |
| WhatsApp (animated) | 512×512 | WebP animated | 500 KB |
| Telegram (static) | 512px on one side | PNG or WebP | 512 KB |
| Telegram (animated) | 512×512 | TGS (Lottie) or WEBM | 64 KB / 256 KB |
| Slack / Discord custom emoji | 128×128 | PNG, GIF, JPG | 128 KB |
WhatsApp sticker: 512×512px
Per WhatsApp’s Business API documentation, static stickers must be exactly 512×512 pixels and stay under 100 KB. The file size ceiling is the real challenge—complex photo-based stickers often need compression to squeeze under the limit. Save for web, reduce colors where possible, and test before uploading a full pack.
Telegram animated sticker specs
Telegram’s sticker system is more flexible than WhatsApp’s. According to Telegram’s official sticker documentation, static stickers only need one side at exactly 512 pixels—the other side can be anything up to 512. Animated stickers are trickier: the TGS (Lottie-based) format has a strict 64 KB limit, which sounds tiny until you try to fit three seconds of animation inside it.
Slack / Discord emoji: 128×128px
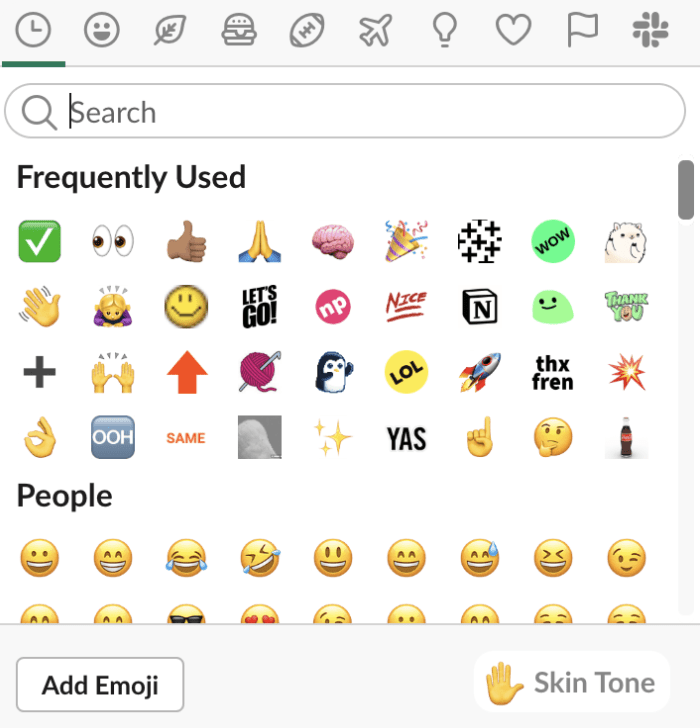
For workplace emoji, Slack’s official guidance recommends 128×128 pixel squares under 128 KB, with transparent backgrounds. Because they display at around 22 pixels in messages, bold shapes and simple faces read best. Tiny details just disappear. For a team emoji pack, I usually design at 128 and then check how it looks at actual message size before approving.
FAQ
Q1: Can I make bighead cutouts from group photos? Yes, as long as each face is large enough in the original—aim for at least 150 pixels across per face. The tool will detect multiple faces and let you pick each one separately. If the photo is too wide-angle and faces end up tiny, you’ll see it in the final result.
Q2: Will hair edges look clean? Usually, yes—especially if you remove the background first. Curly hair and flyaways are still the hardest case for any tool, mine included. If you’re working with really complex hair, check the result on a dark background; that’s where fringing shows up.
Q3: Can these be used commercially? For your own brand visuals, team pages, and internal sticker packs, generally yes. For anything involving other people’s faces in public-facing material, get their permission. Not a legal opinion—just the thing I always do before putting a coworker’s face on a public website.
Q4: Does it work on pet photos? It works, but face detection is tuned for human faces, so results vary by pet. Cats with clear, forward-facing poses do okay. Dogs with long snouts sometimes get cropped oddly. If the auto-detect doesn’t land well, you can always do a manual crop on a background-removed photo instead.
Q5: Can I bulk-process multiple faces? For a full sticker pack, I usually process photos one at a time because I want to check each result. But if you have a consistent batch (say, a team headshot set all shot against the same backdrop), a batch workflow through remove-background → face cutout is doable and saves real time.
One last thing before you close the tab: the best sticker packs are the ones that sound like the people in them. Bighead cutouts are a frame—the humor comes from the photos you choose. Pick the ones that make you laugh when you scroll past them, and the pack will work.
Previous Posts:
Remove Background from Images for Website: Faster Pages + Clean Design
How We Handle Your Images: Privacy, Retention, and Safe Usage
Why HappyHorse-1.0 Hit #1 on the AI Video Leaderboard