Brand logos
Compare curves, corners, and negative space to see how a logo holds up at a larger size.

Give your existing artwork a new role in your next project. cutout.pro turns PNG, JPG, GIF, and WebP images into scalable SVG files, with automatic tracing and optional color and detail adjustments. Convert logos and illustrations, compare the results, and download your file in your browser, with no desktop software to install.
Your image opens in the vectorizer. Sign in to convert it; credit costs are shown in the tool.
Drag the divider to compare the original image with the SVG. Check outlines, color boundaries, and fine details, or click an image to open a larger view and decide what works for your artwork.
Compare curves, corners, and negative space to see how a logo holds up at a larger size.
Inspect geometric edges and small gaps before adapting an icon for different screen sizes.
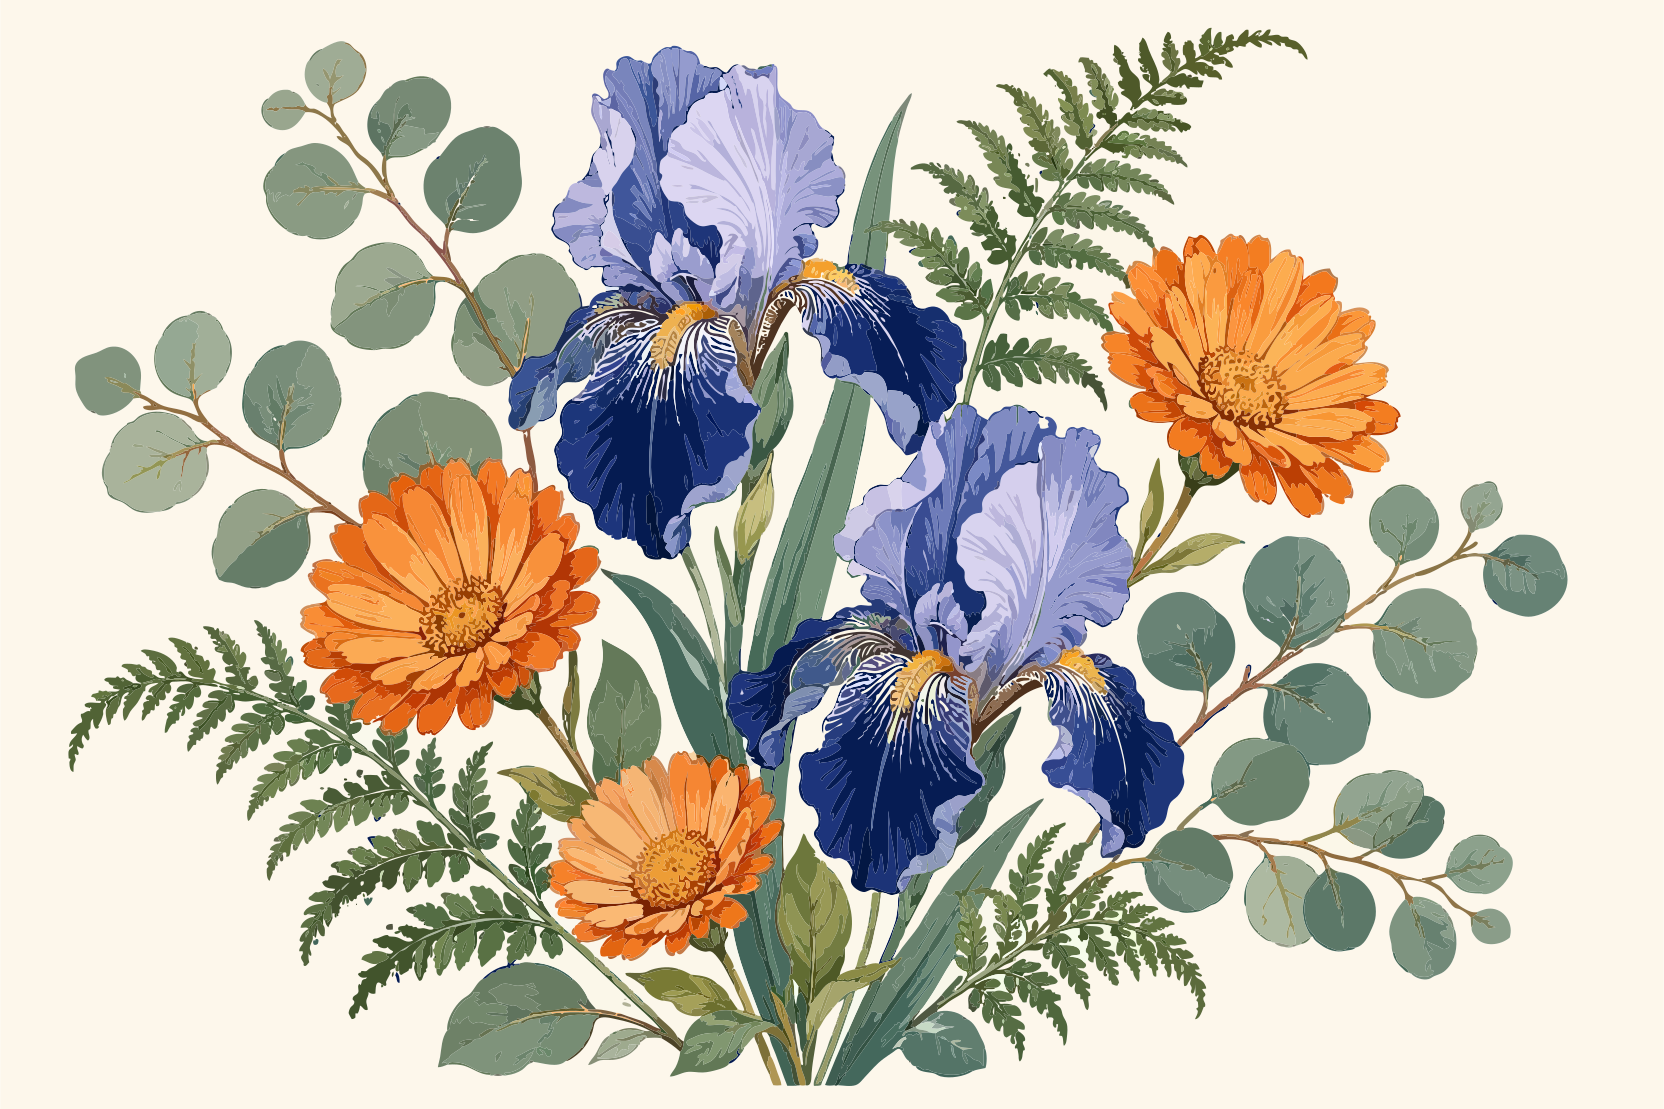
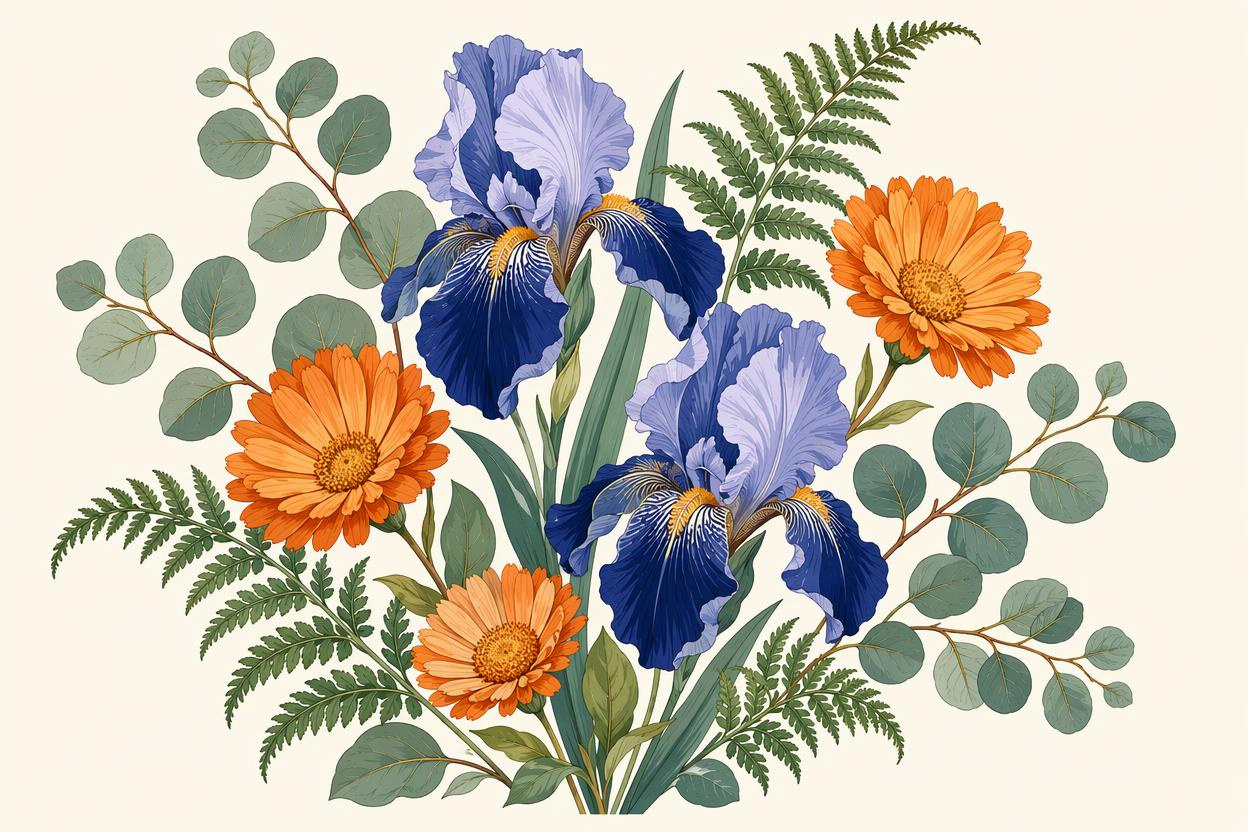
Look closely at leaf outlines and neighboring colors to compare shapes and tonal detail.
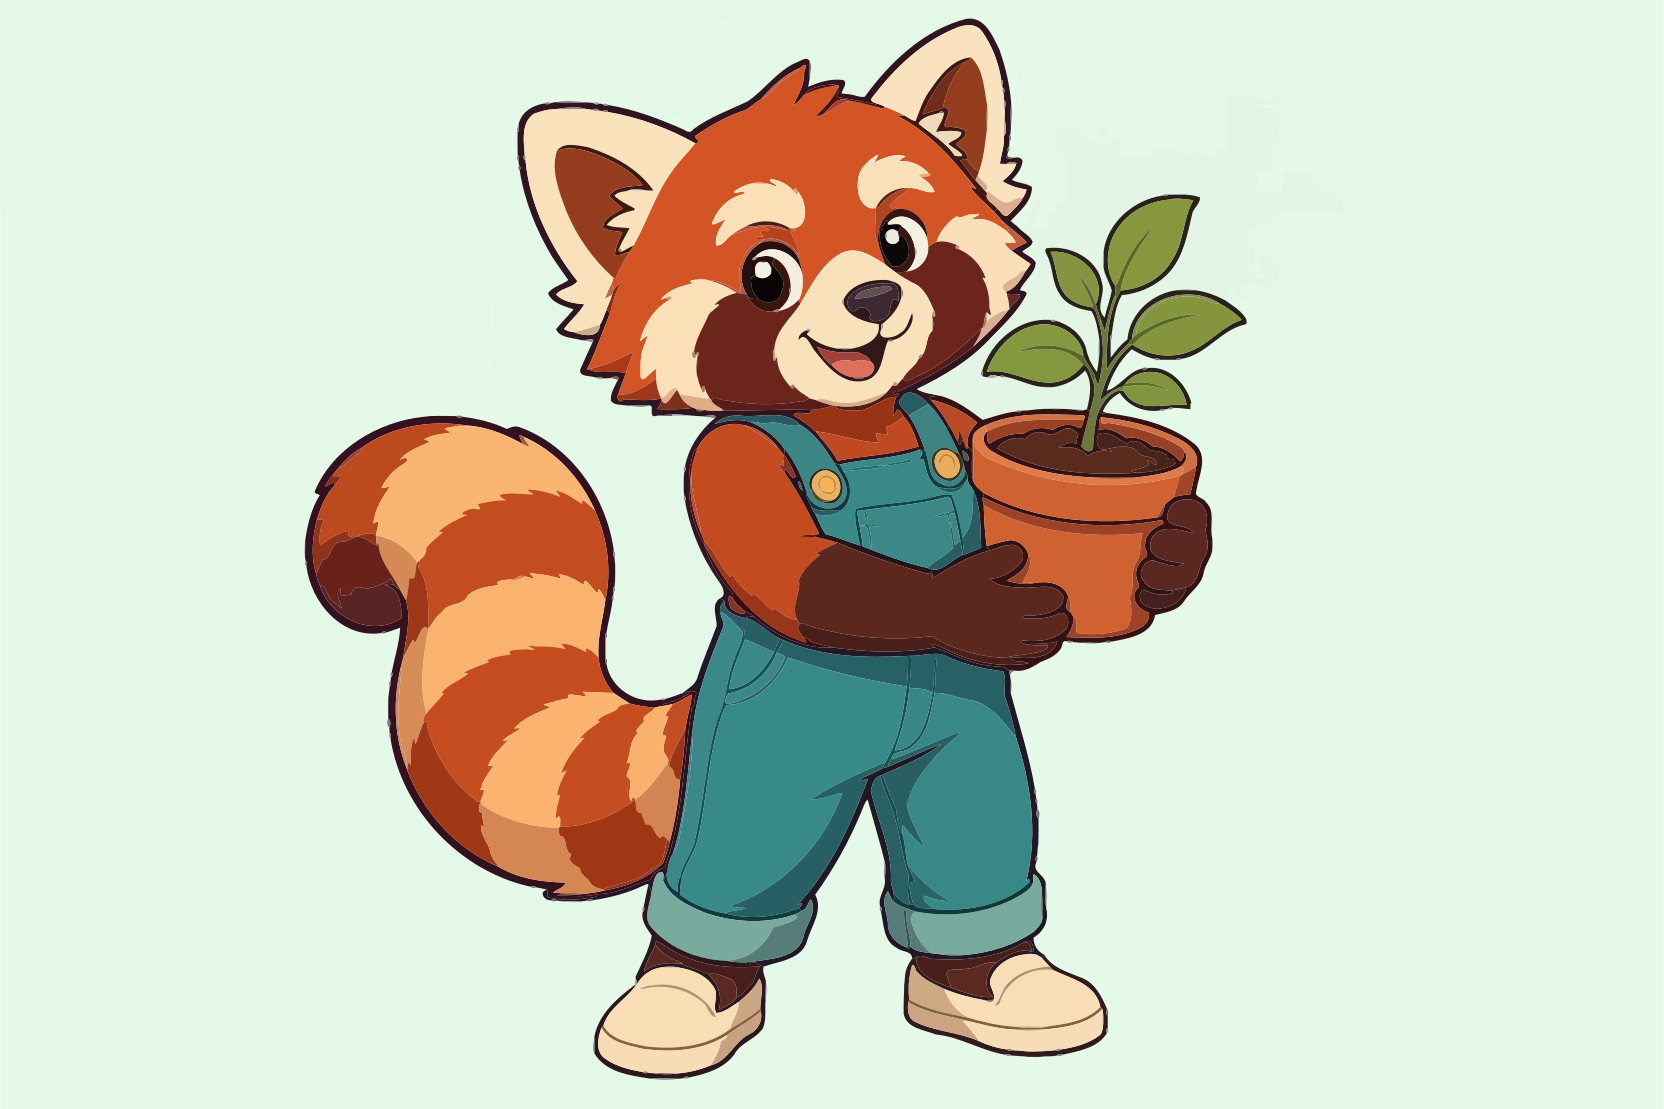

Check silhouettes, facial features, and filled areas to see which character details are preserved.
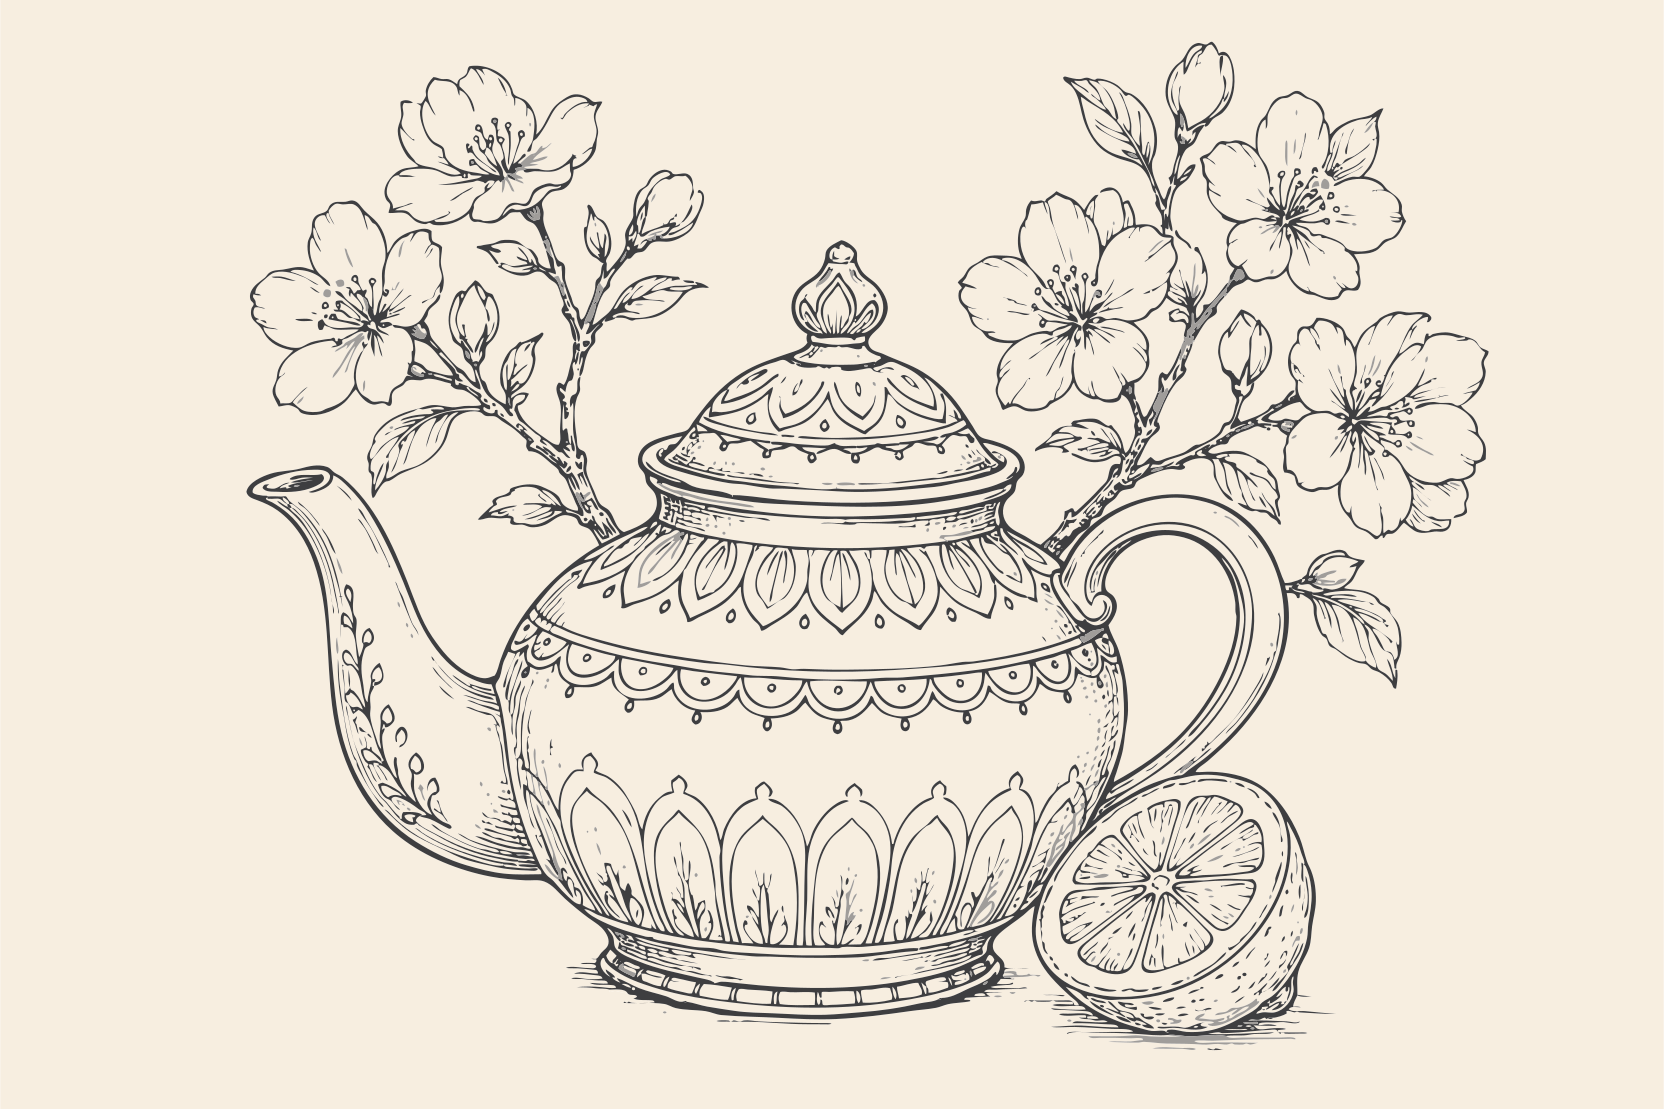
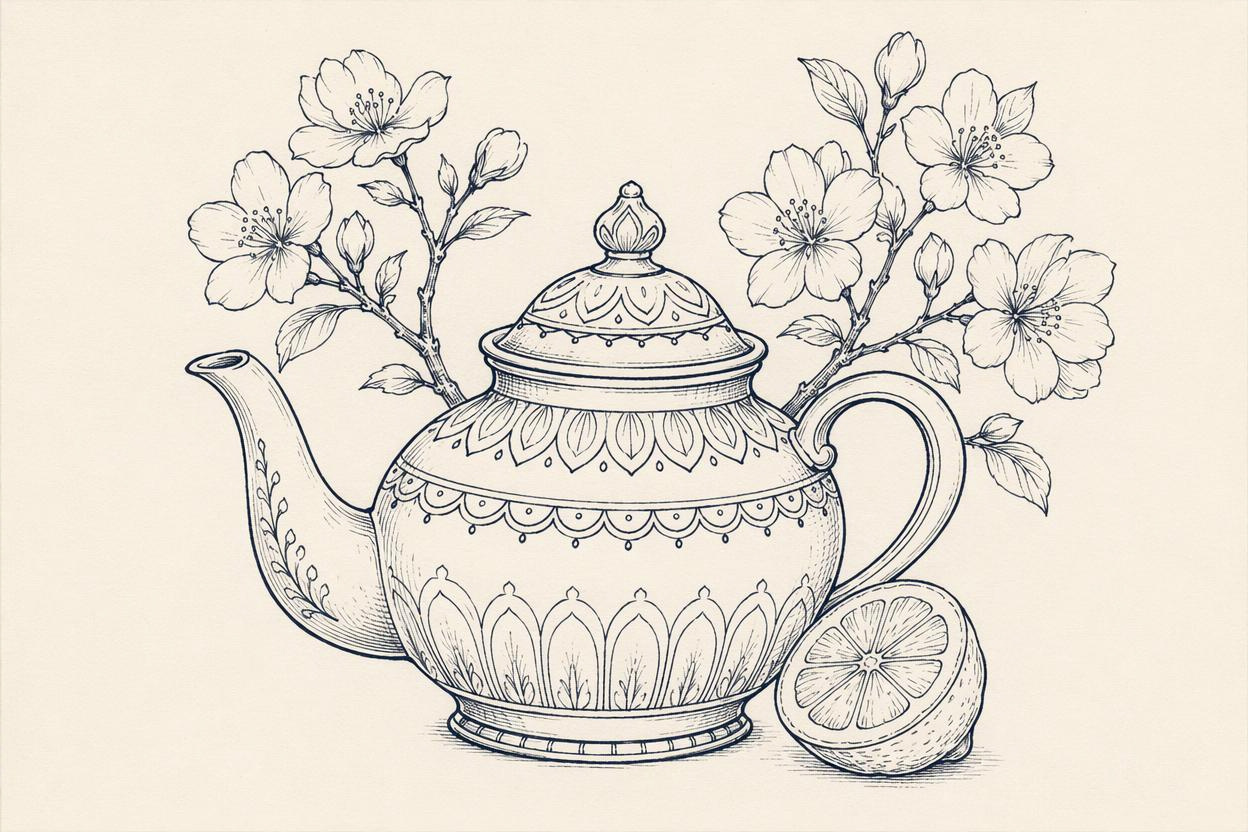
Explore how a scanned or photographed drawing becomes outlines you can continue editing.
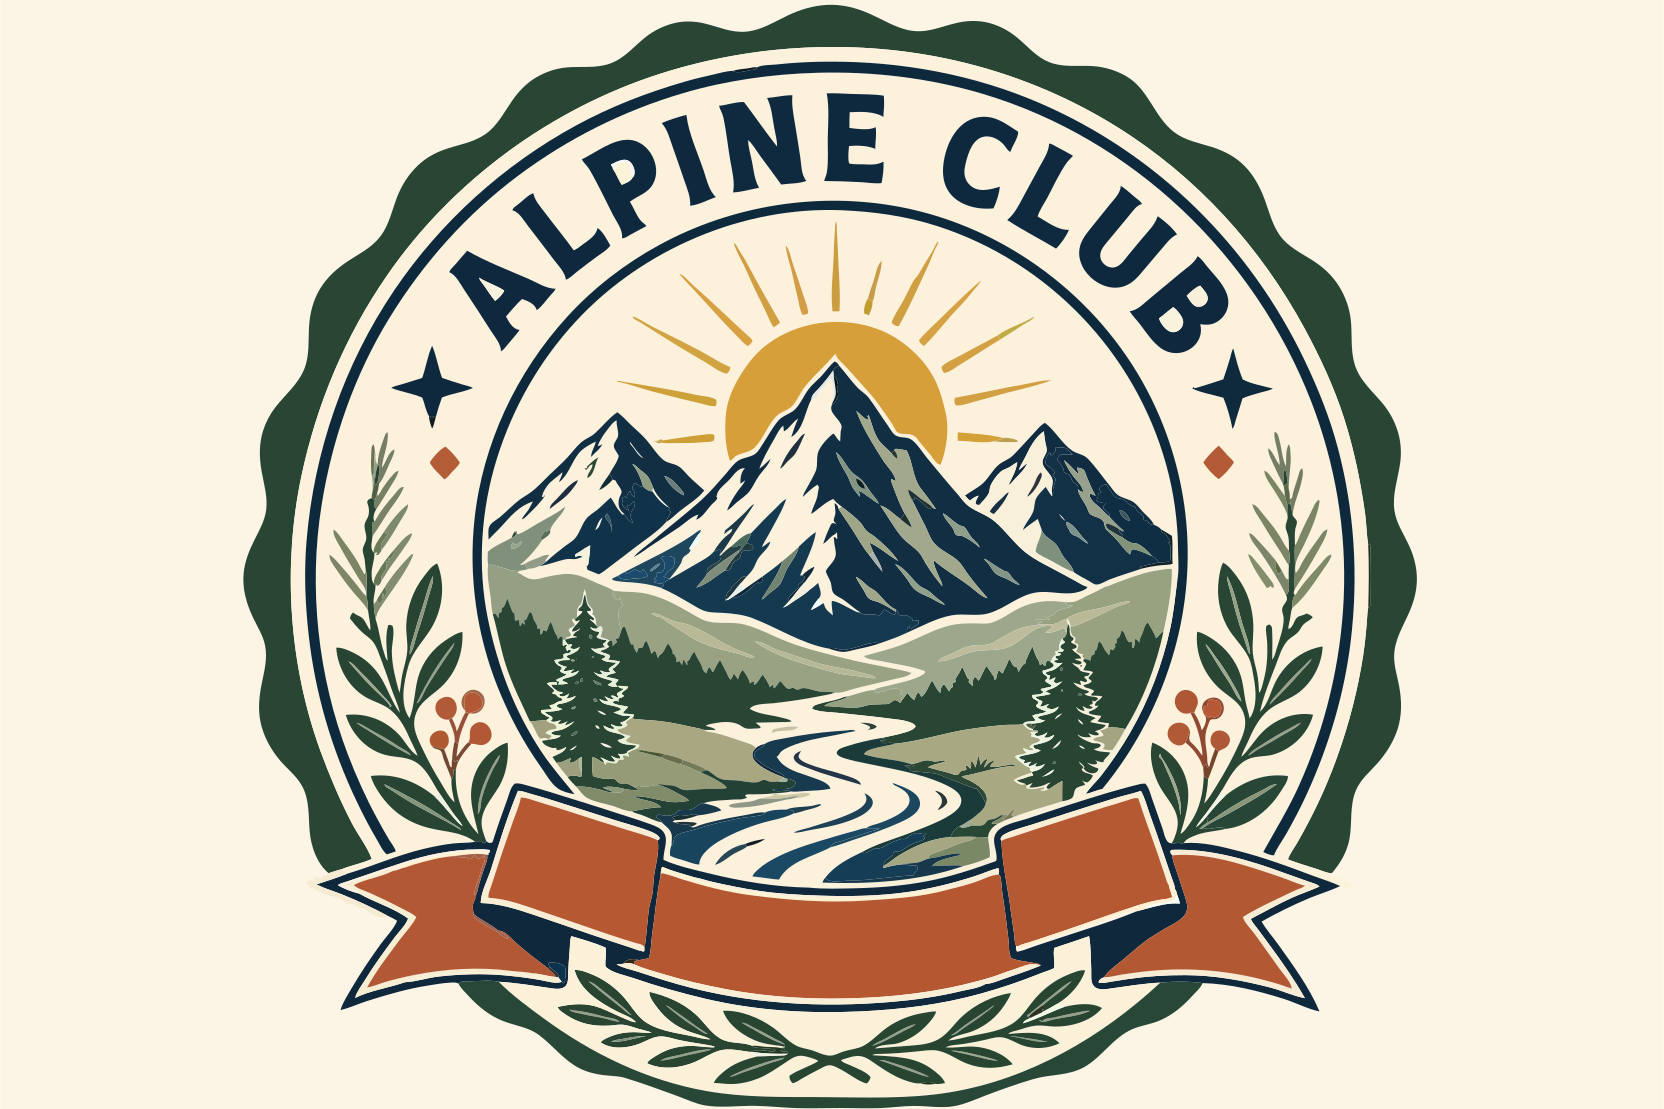
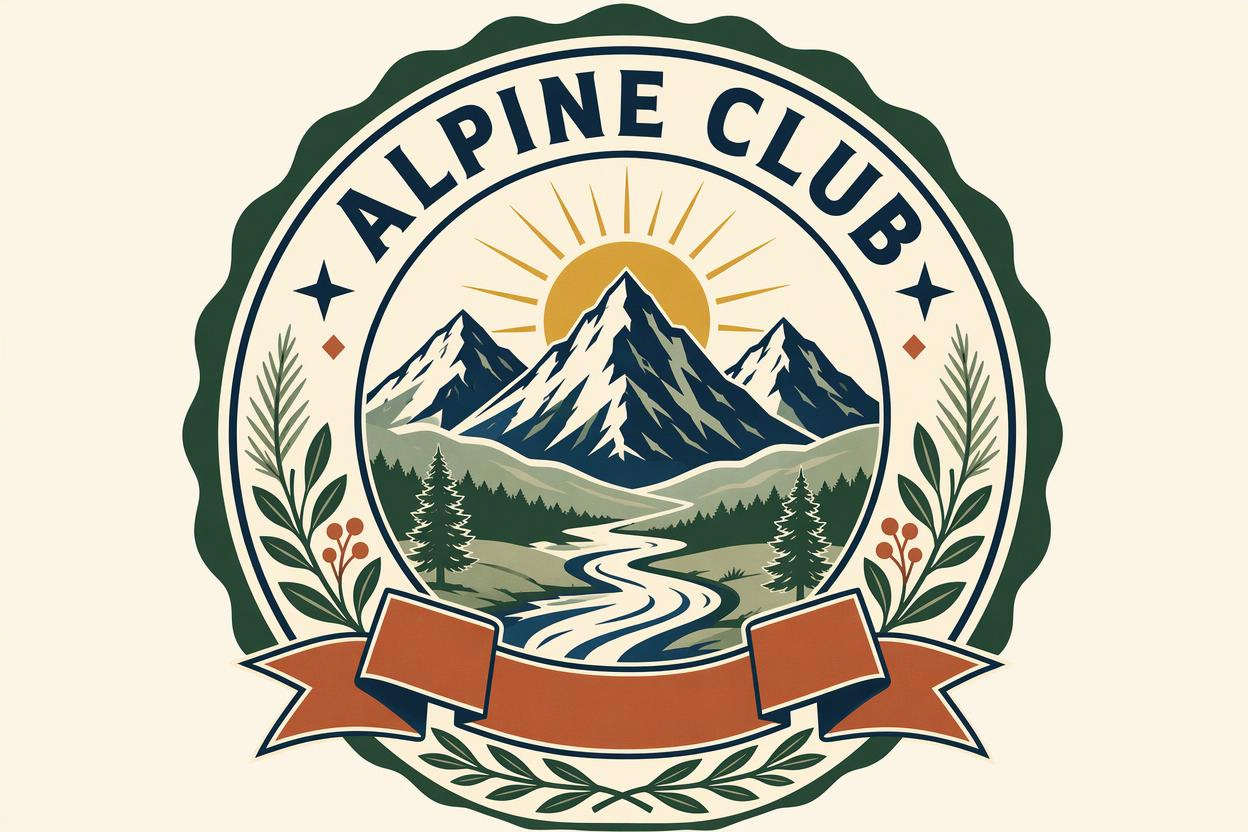
Inspect borders, lettering, and decorative elements to judge where further cleanup may be needed.
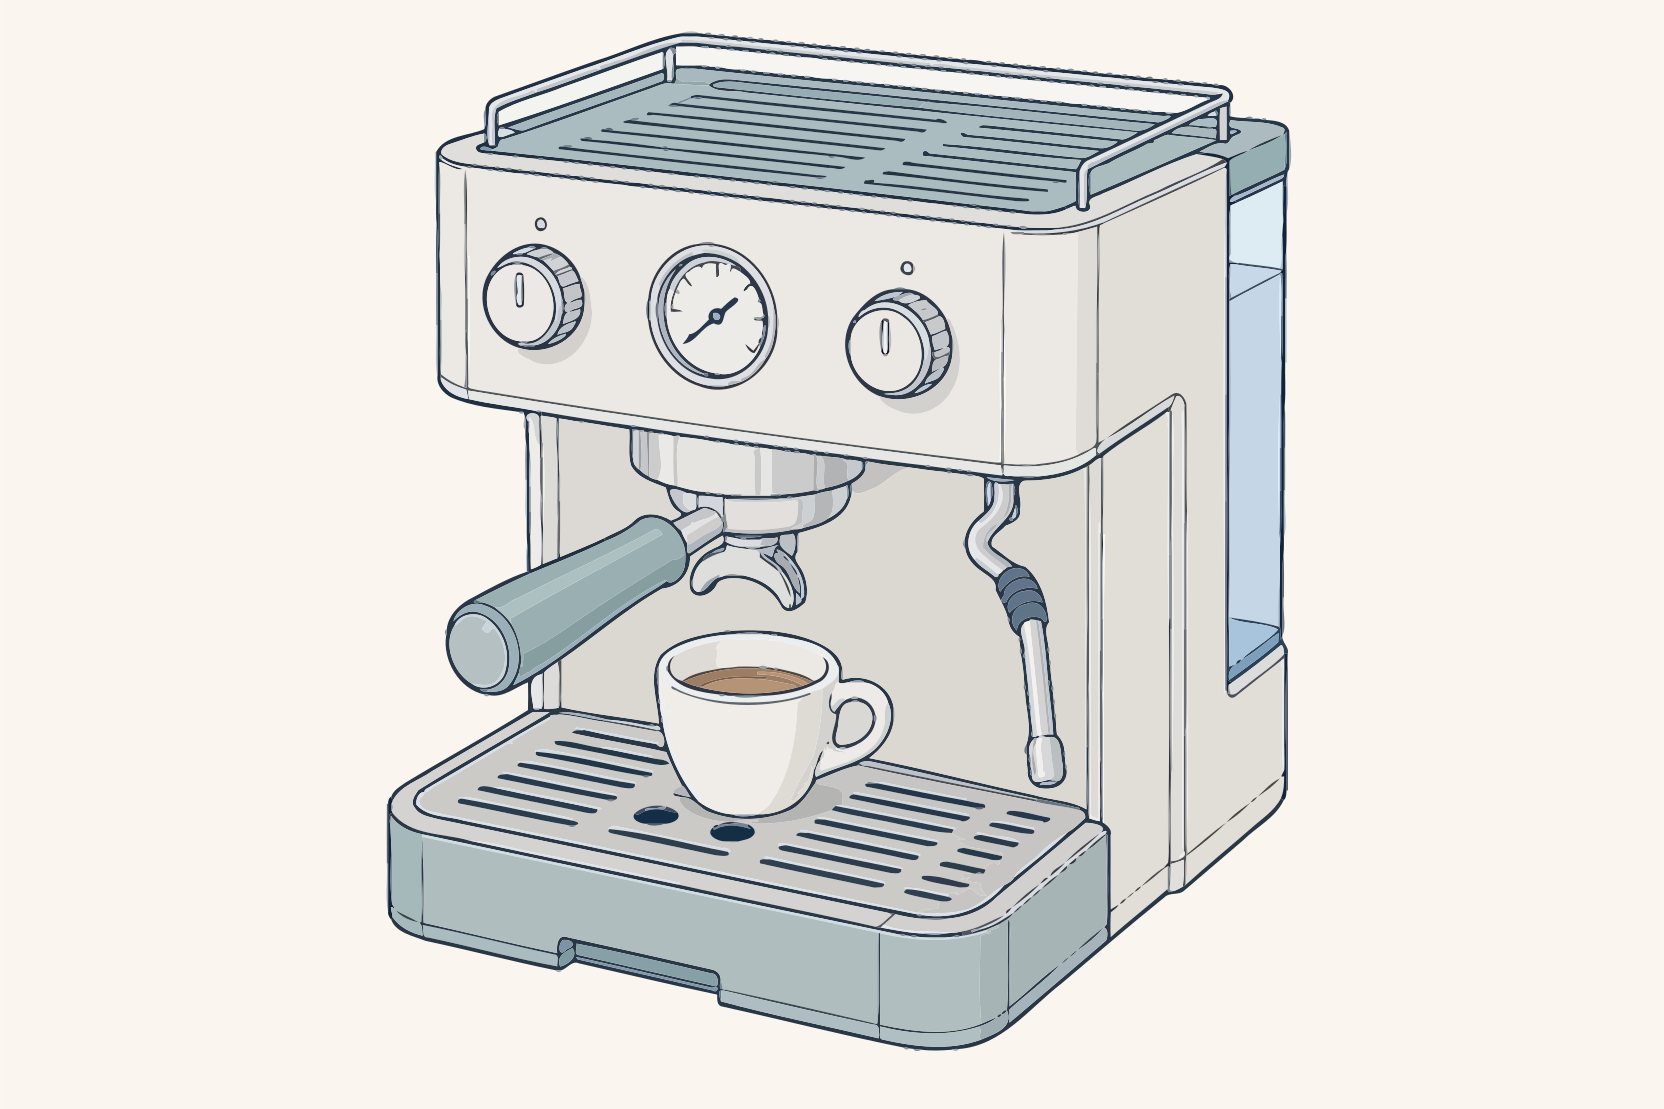
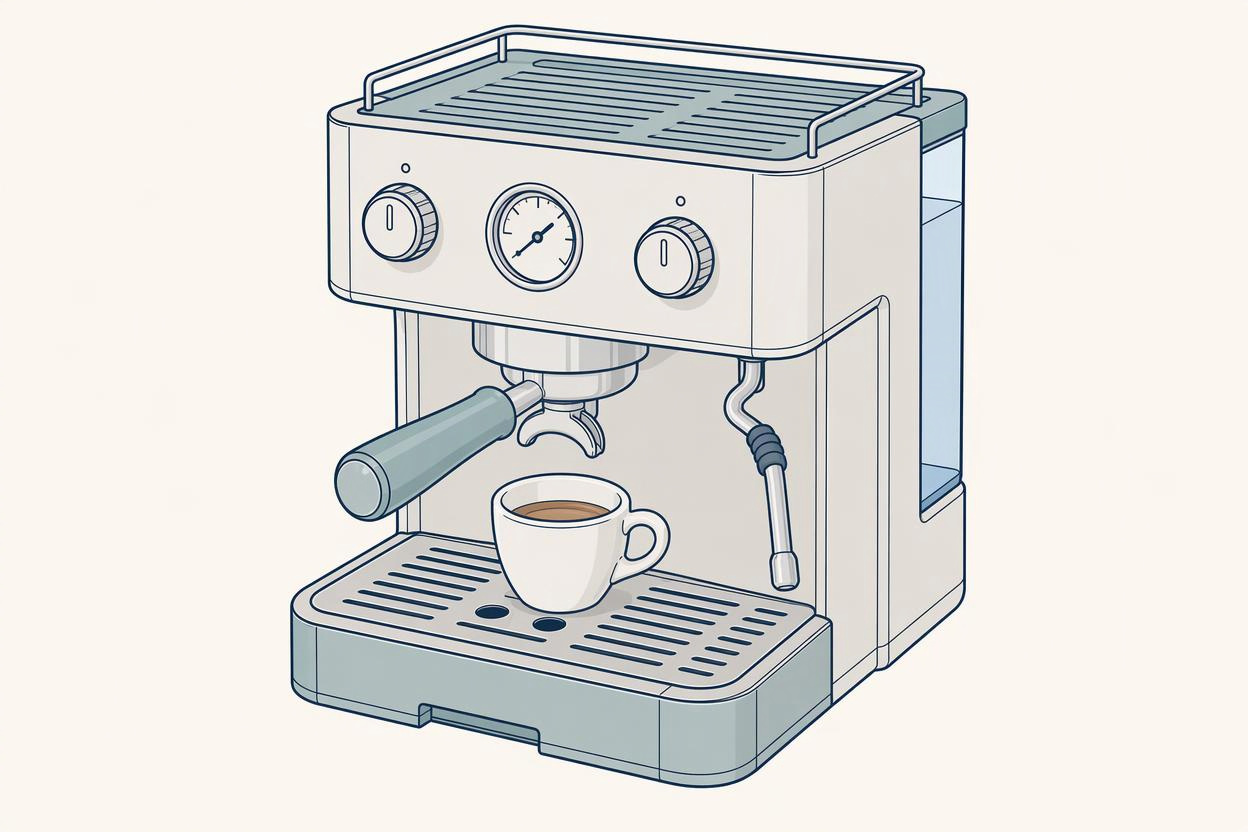
Compare straight lines, curves, and connecting shapes when preparing reusable product graphics.
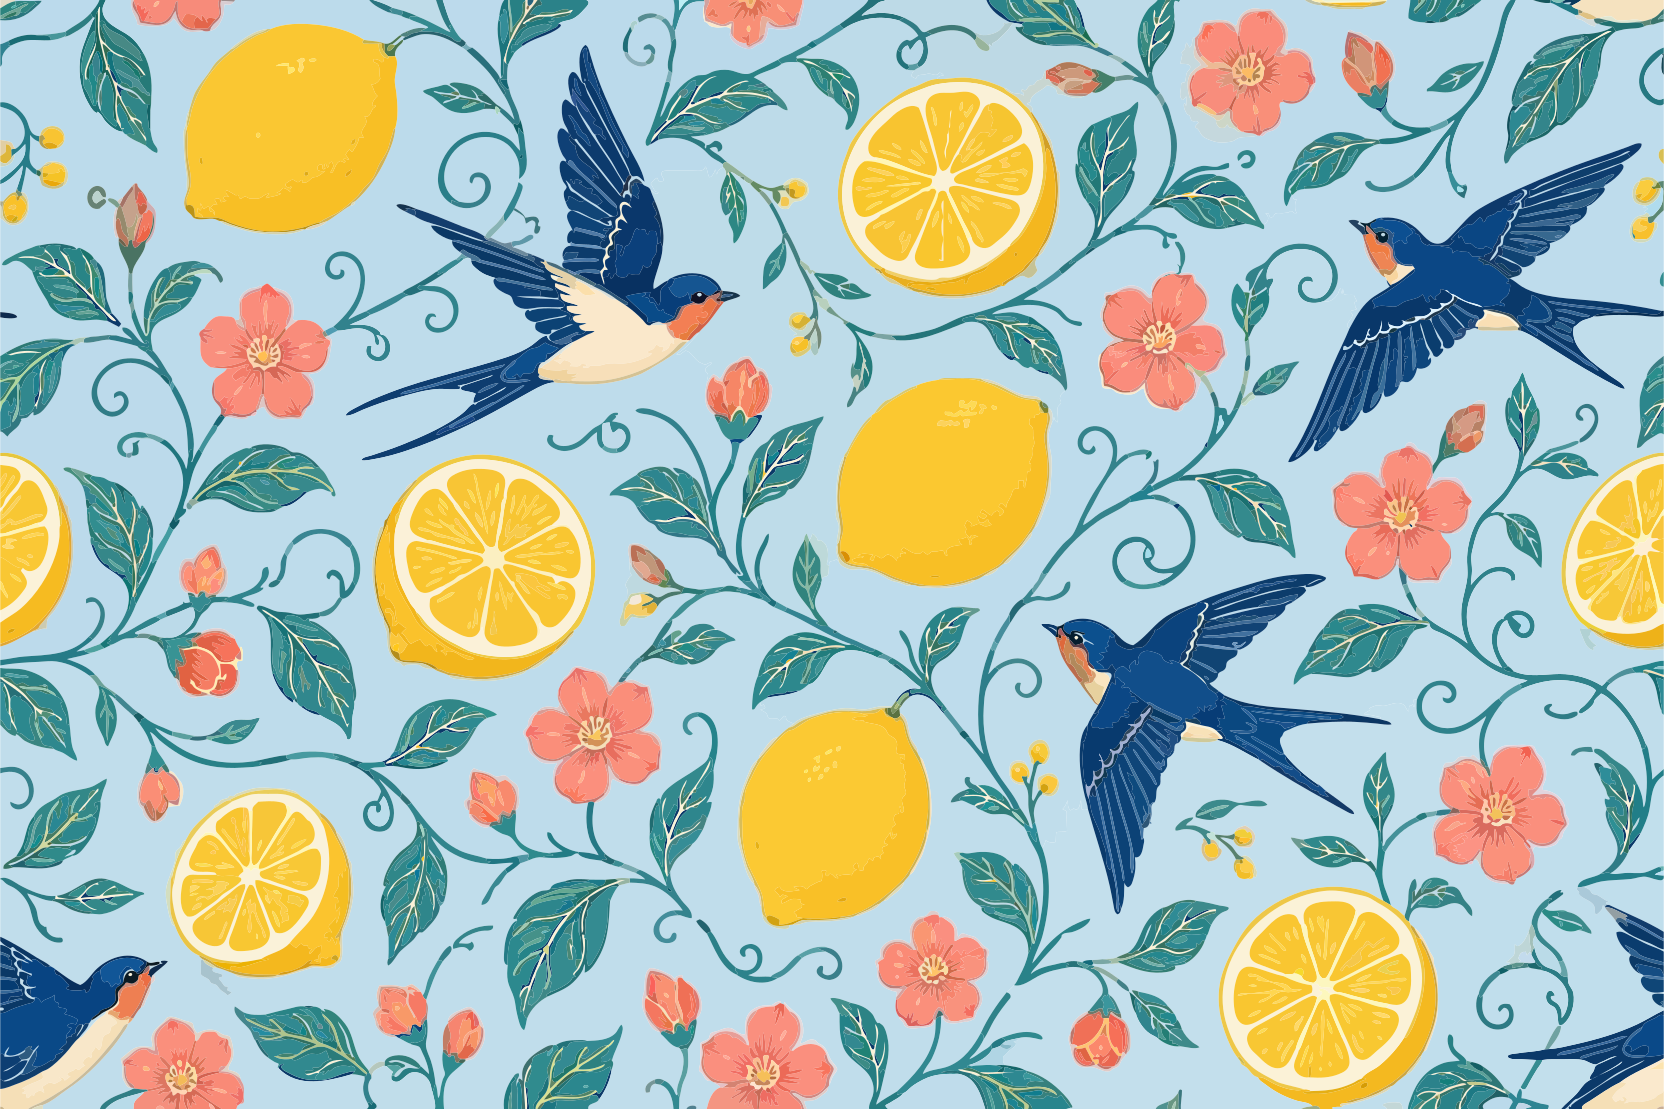
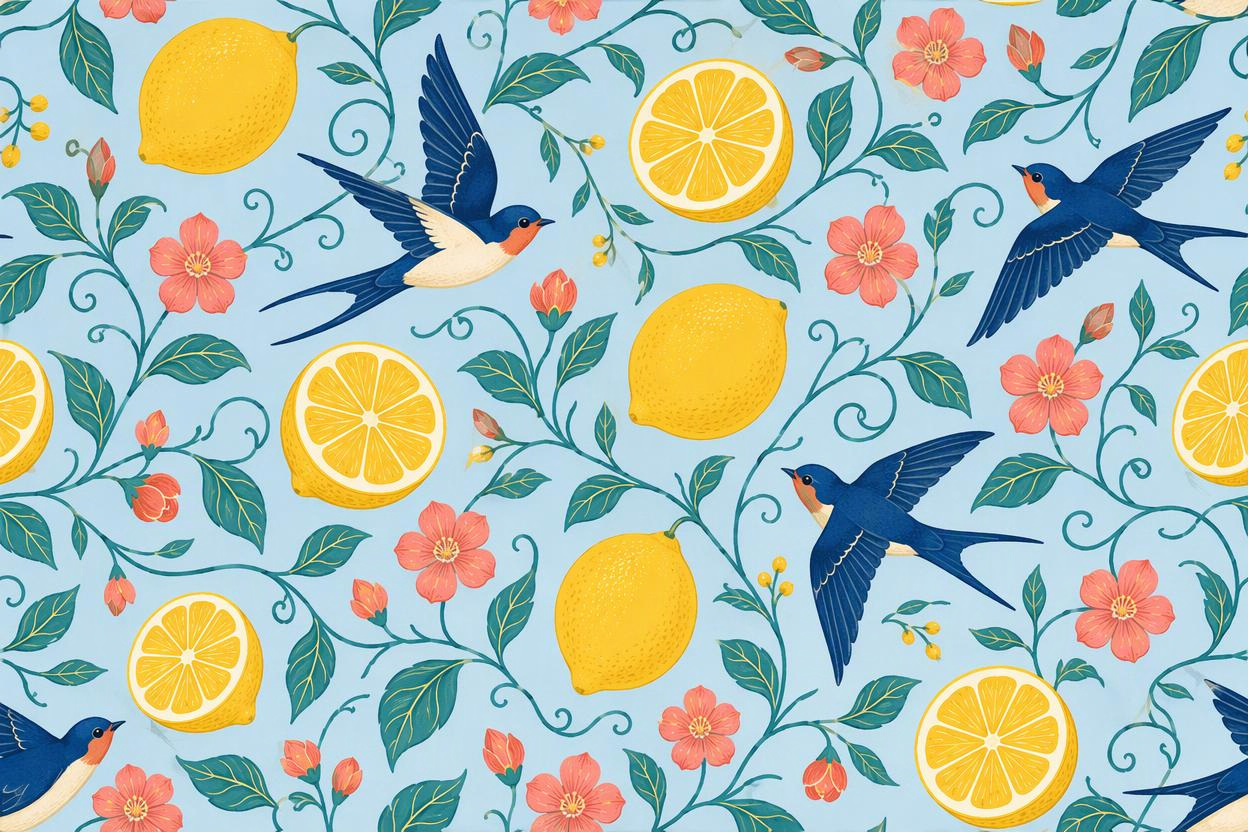
Examine individual motifs before resizing them for a new layout or repeating design.
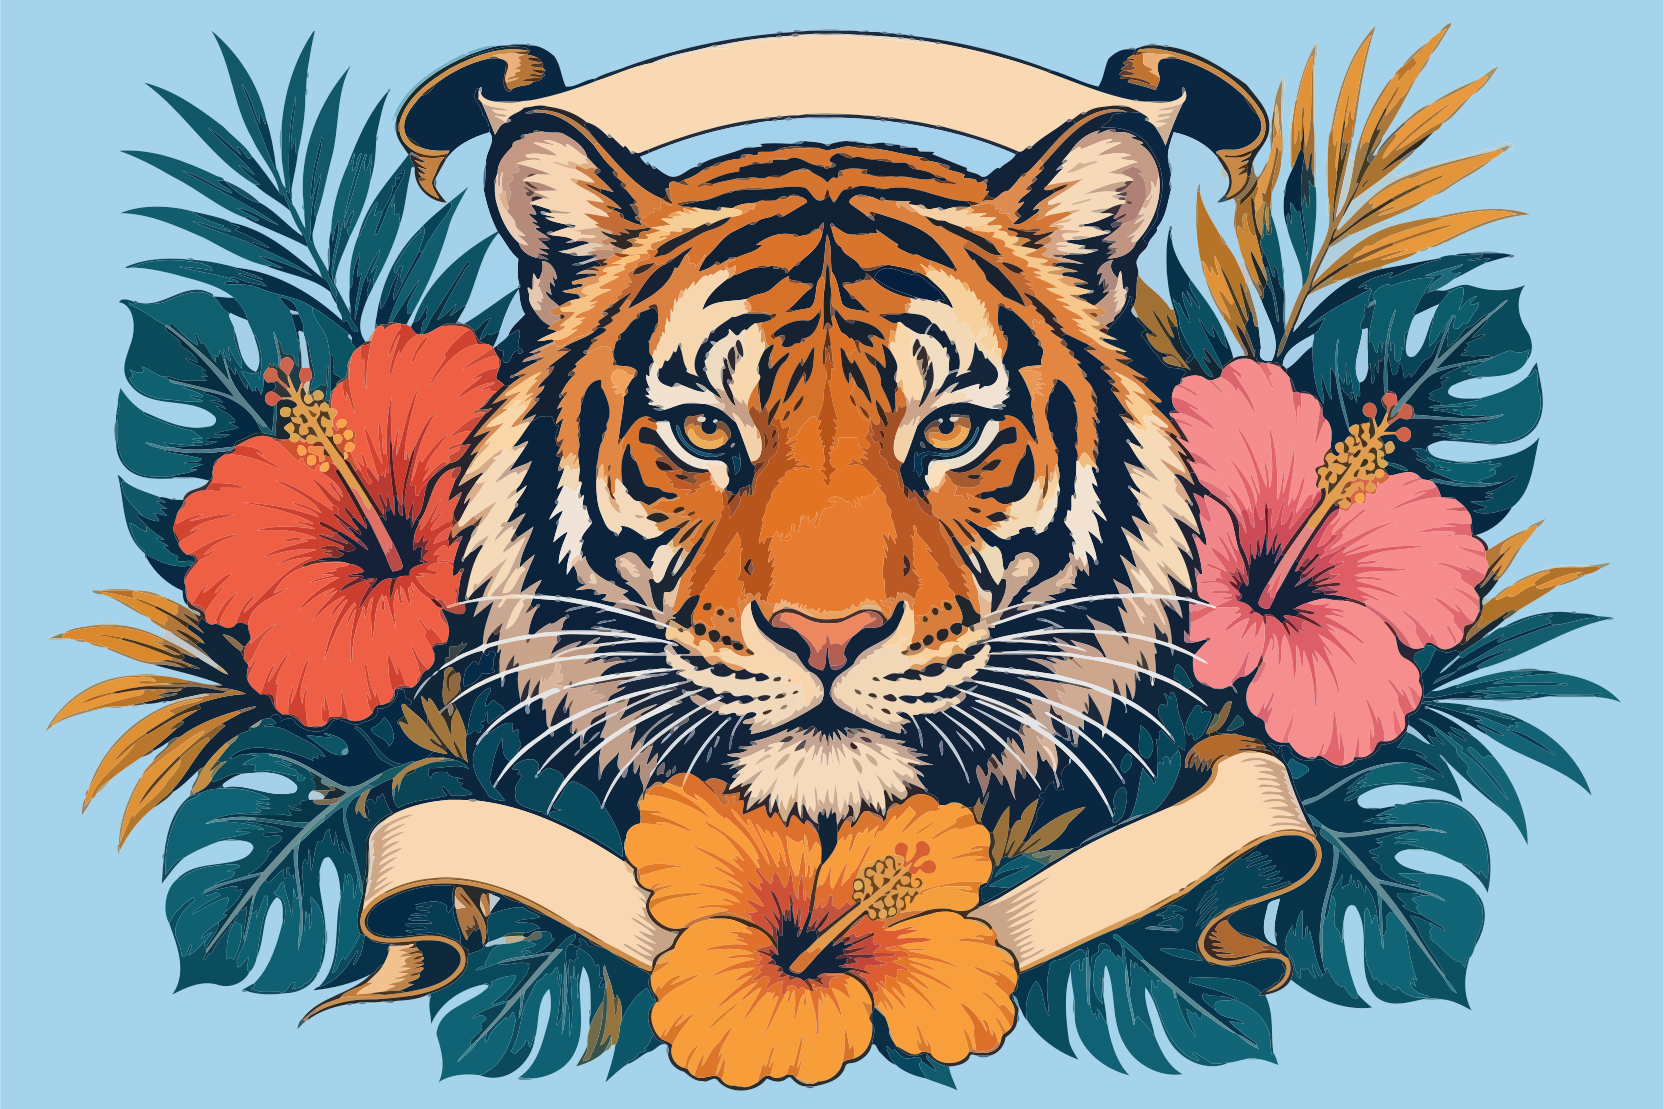
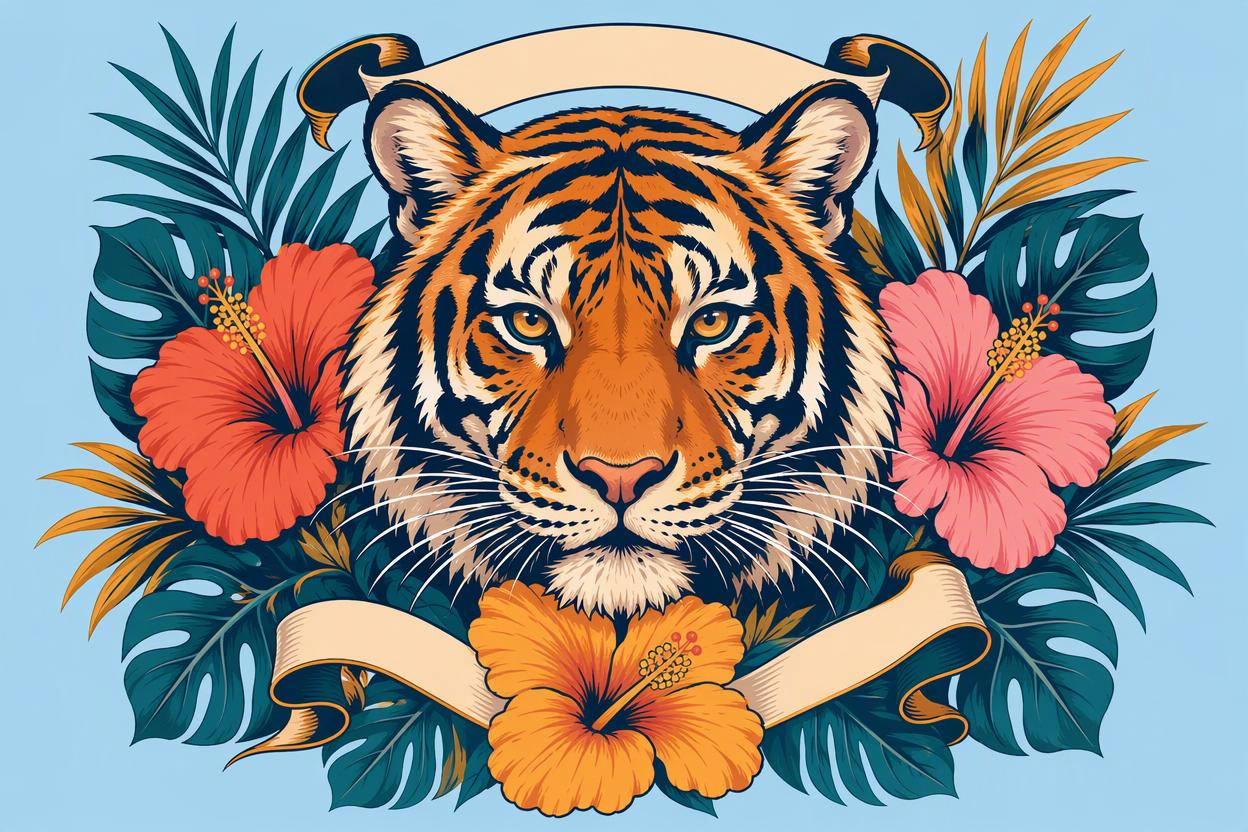
Compare color areas and fine details when preparing vector artwork for a print layout.
When choosing an alternative to Vector Magic, consider how you will adjust the result, inspect details, and move the file into your next project. cutout.pro brings automatic tracing, optional adjustments, image comparison, and SVG downloads into one online workflow.
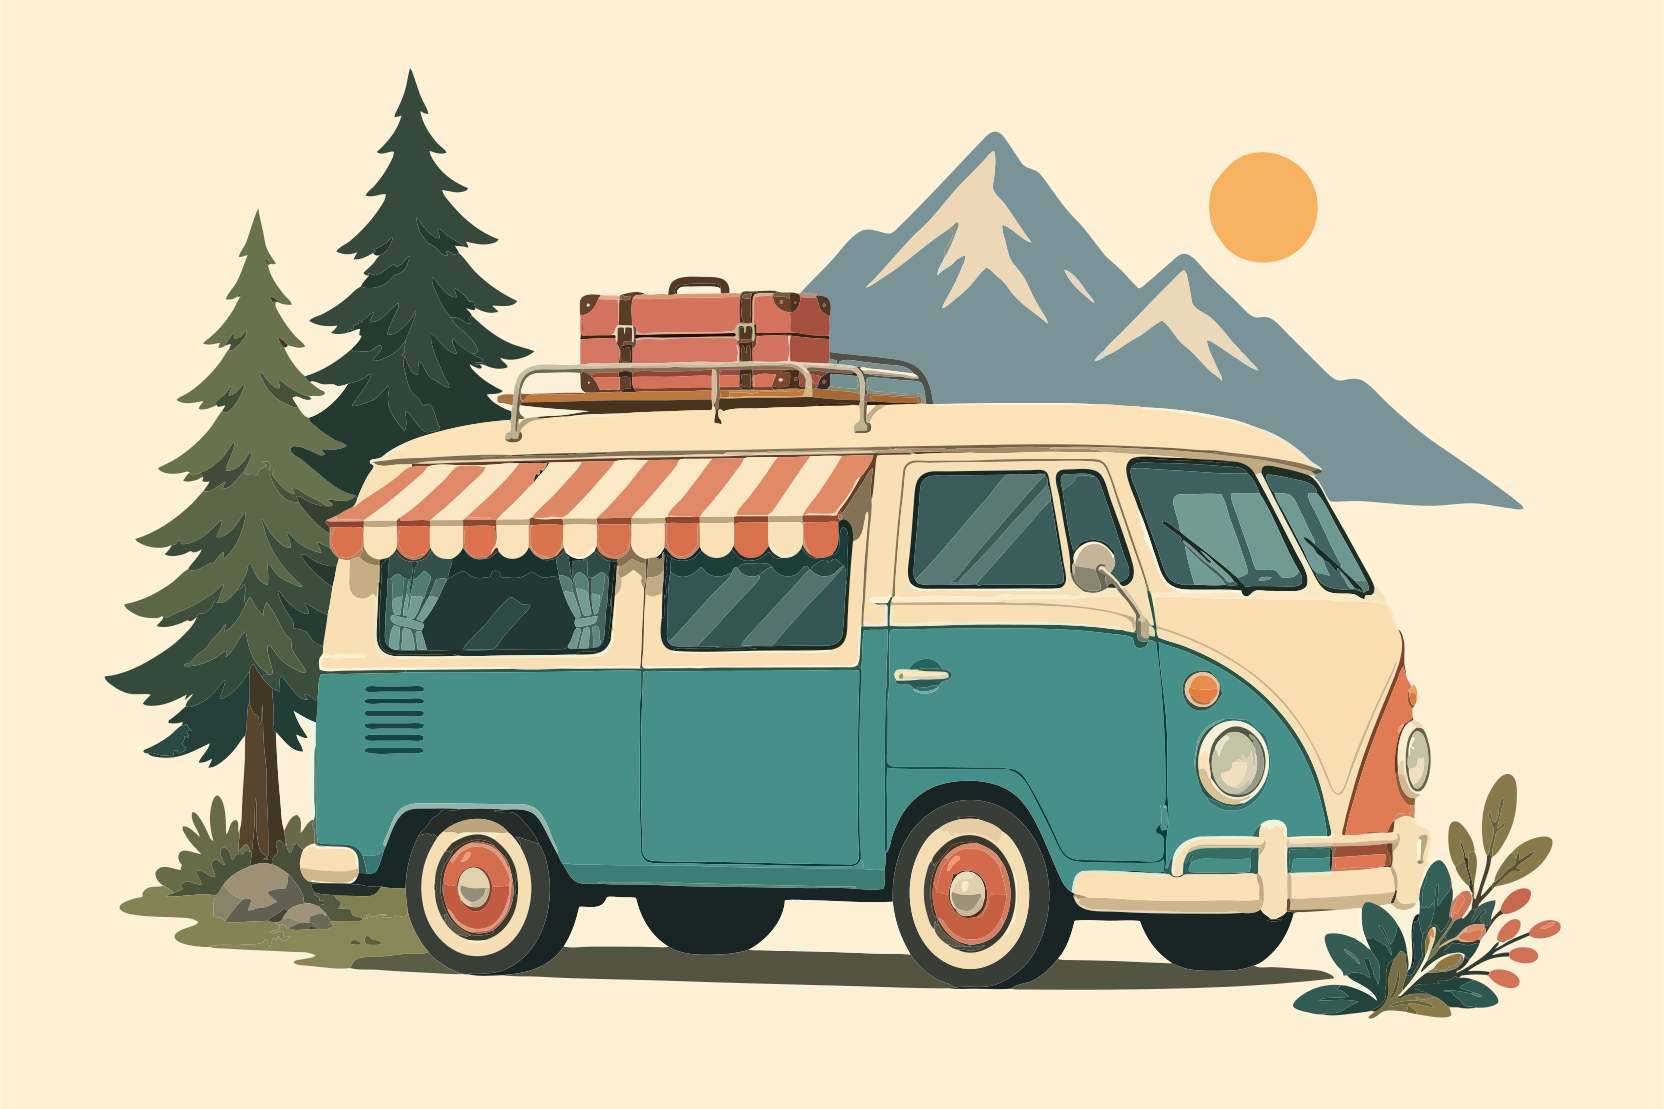
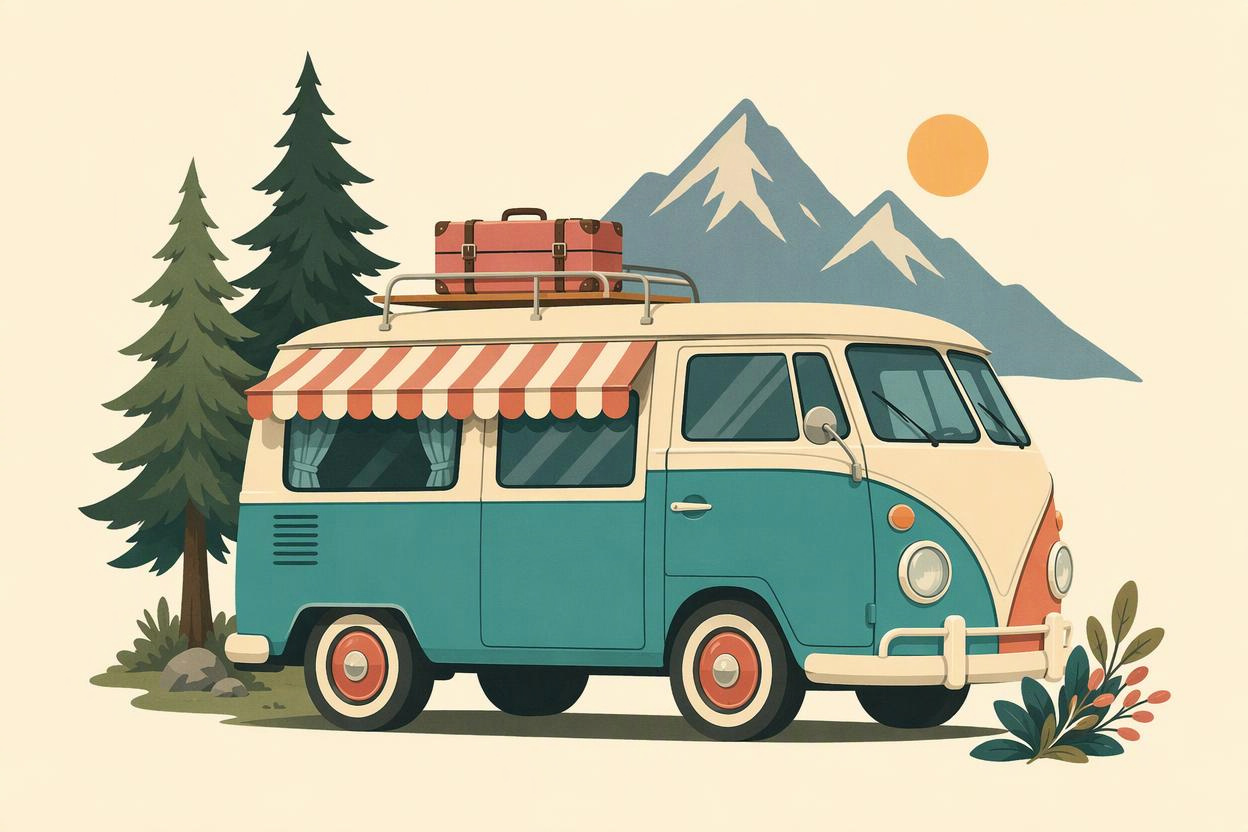
Upload an existing logo, icon, or illustration and let automatic tracing turn the image into SVG paths. It is a practical starting point when a project comes with a PNG or JPG but needs artwork that can be resized and edited. Review the result before placing it in different layouts. A clear outline and a distinct background make the traced shapes easier to check and refine.
Convert an image to SVG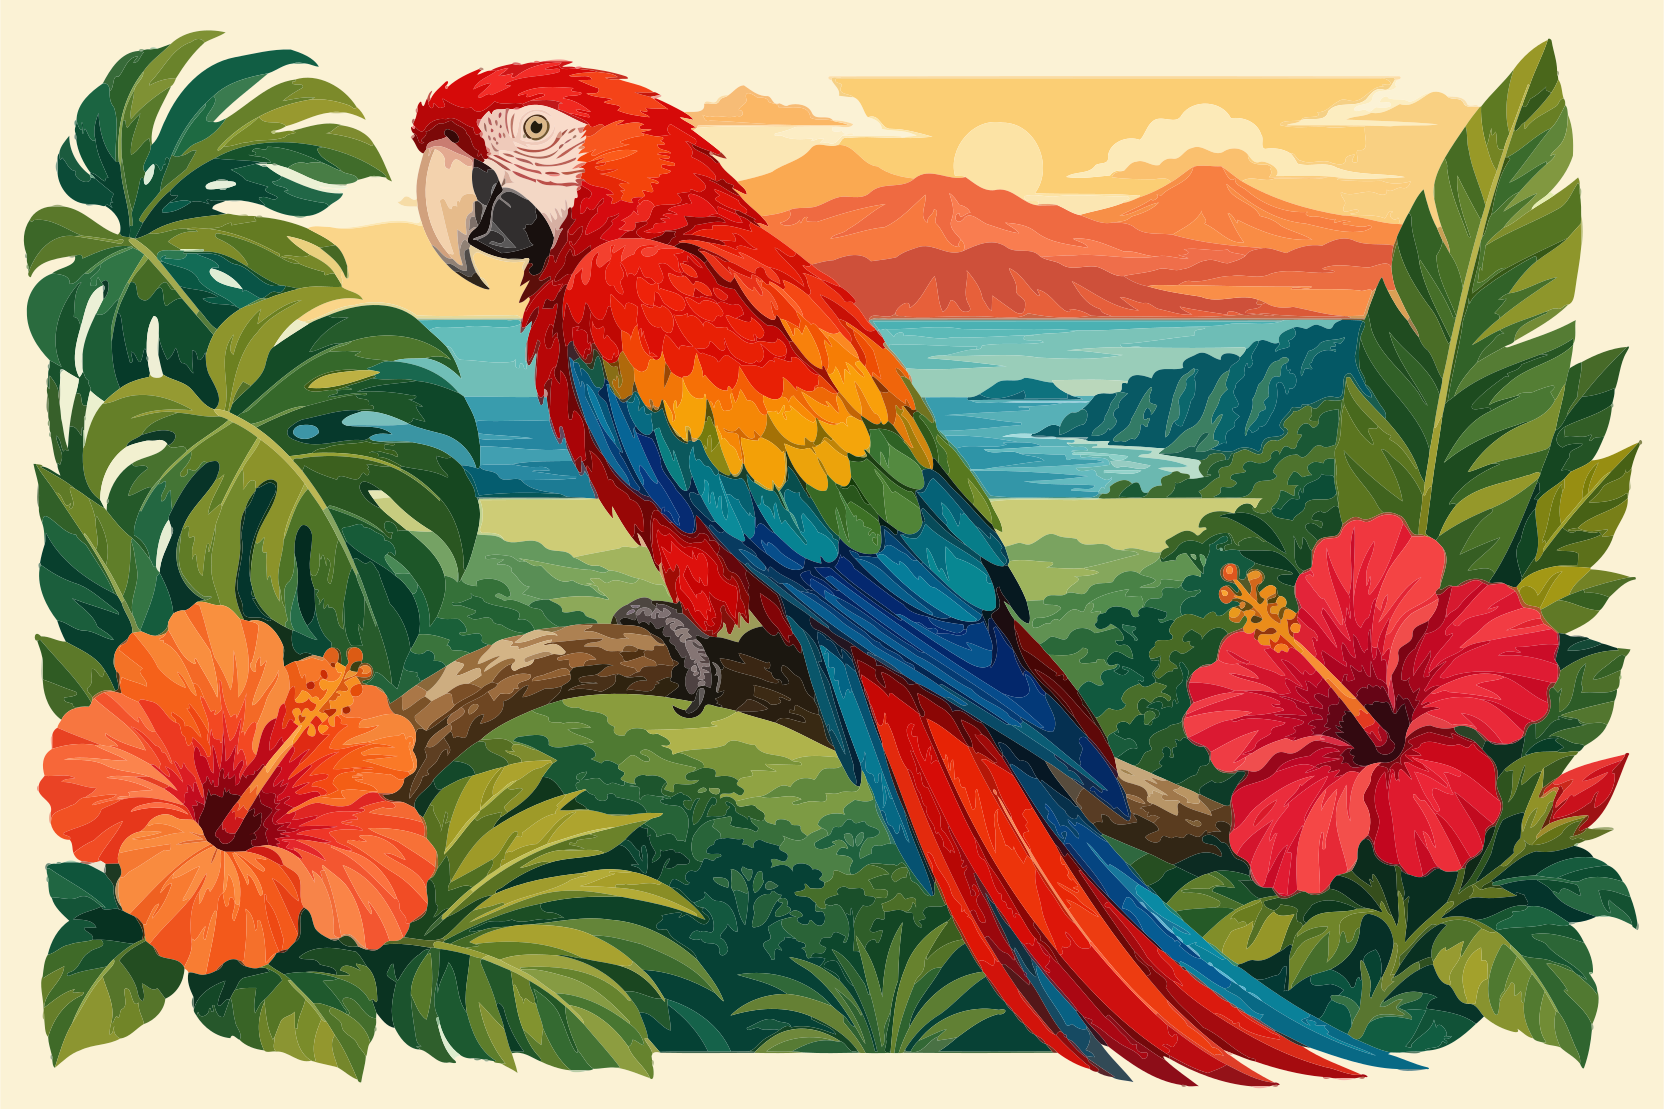
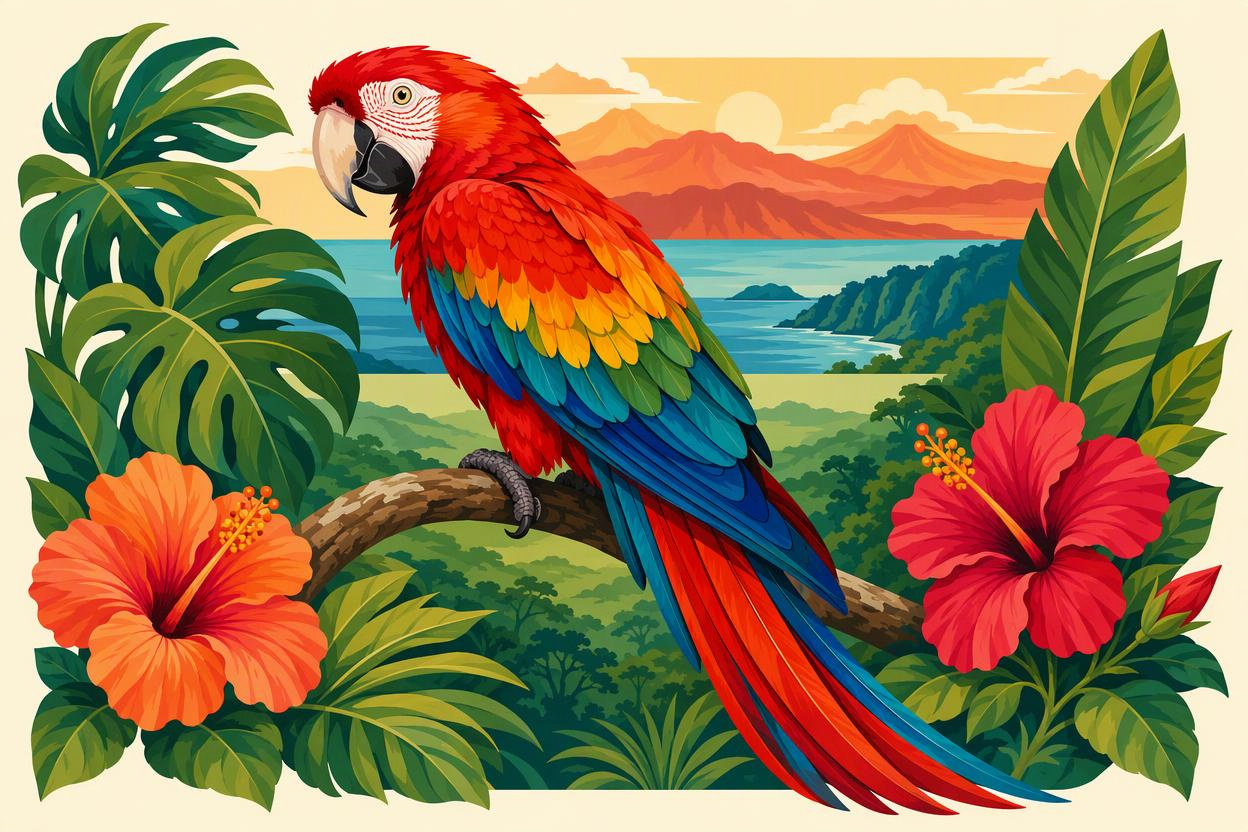
Let the tool choose colors automatically, or select between 2 and 24 colors yourself. Fewer colors can suit simple logos, badges, and decorative motifs, while more colors can retain a wider range of tones in an illustration. Compare settings based on the way you plan to use the artwork. For precise brand colors, make any final color corrections in a vector editor after downloading.
Adjust vector colors

Specks in a scanned drawing and tiny color patches in a compressed image can make a traced result more complex. Keep small-region filtering on automatic, or choose a whole number from 1 to 64. Higher values remove more small regions; lower values help preserve fine details. Zoom in on facial features, thin lines, and small lettering before deciding how much detail to keep.
Adjust detail filtering
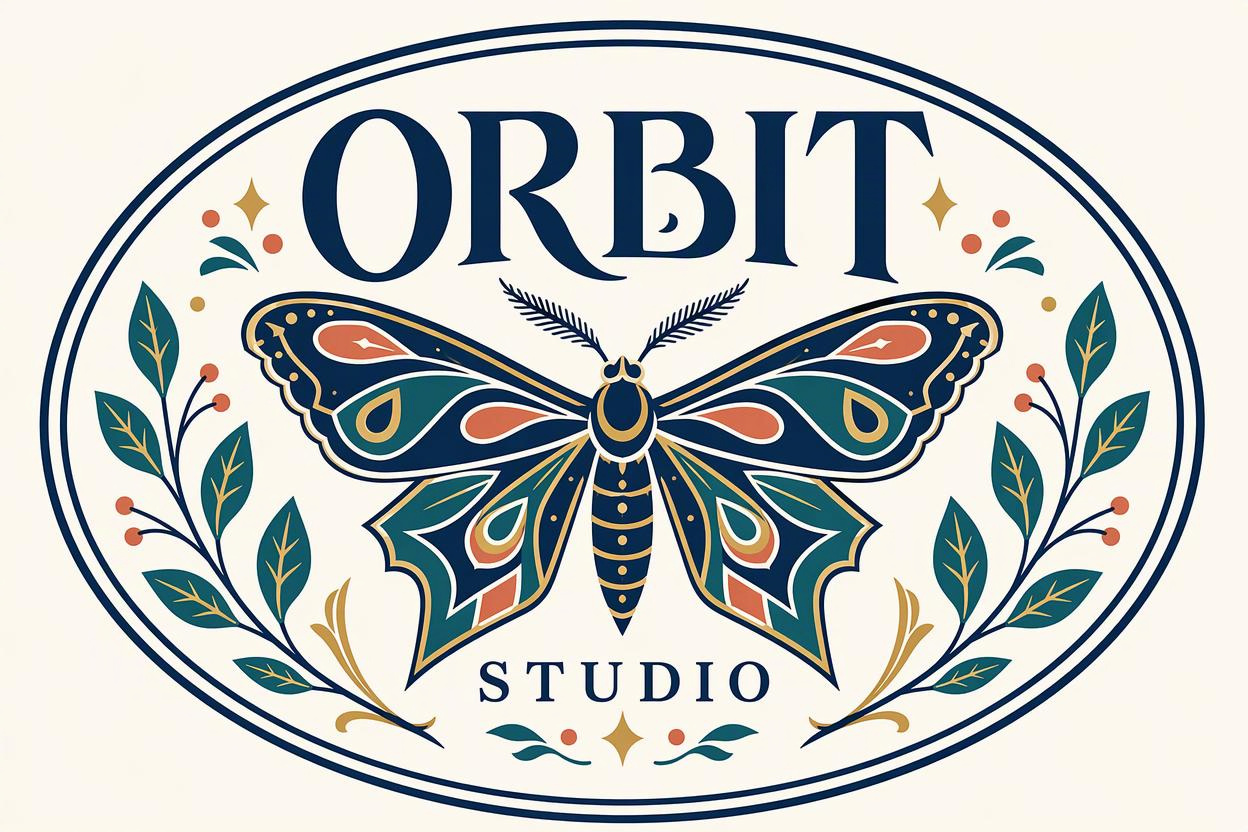
Use the slider or side-by-side view to compare your original image with the SVG. Start with the overall shape, then inspect corners, negative space, lettering, and adjacent colors for changes that could affect recognition. Check the result at the size you actually need, rather than relying on a small thumbnail. If it needs work, adjust the settings, generate another result, and compare again.
Compare vector results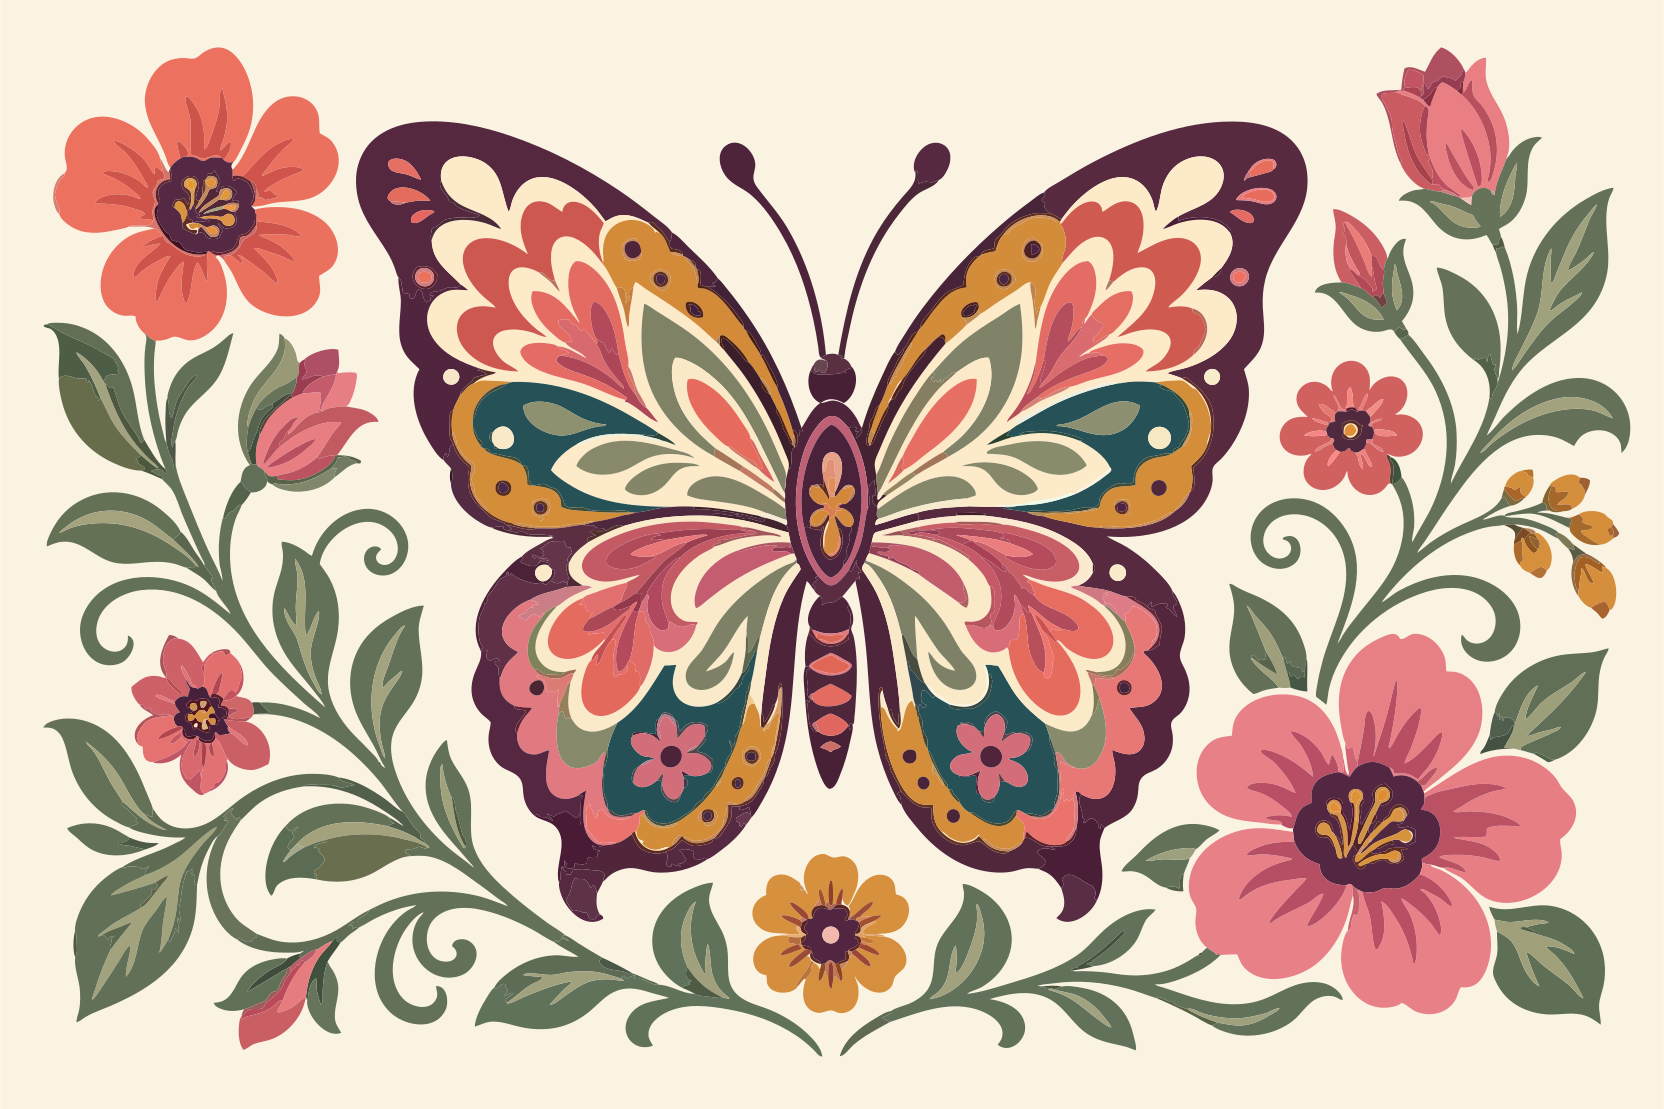
Open your downloaded SVG in compatible design software to refine shapes and colors, then reuse the artwork across logos, packaging, and promotional layouts. This tool downloads SVG files directly. If a client or supplier needs another format, use an editor that supports the required export. Before printing or cutting, check the colors, line widths, closed paths, and final dimensions against the requirements of your project.
Create and download an SVGUpload, convert, and review your image in three steps to prepare an SVG for your next project.
Choose a PNG, JPG, GIF, or WebP file with a clear outline and the complete subject in view.
Start with automatic settings, then adjust the color count or small-region filter if needed.
Review the original and vector result, then download the SVG when you are happy with it.
Understand formats, suitable artwork, and how the tool works before choosing a vectorization workflow.
Yes, if you need to convert images such as PNG and JPG to SVG online, adjust colors and small-region filtering, and compare the result. When comparing cutout.pro with Vector Magic, Vectorizer.AI, Autotracer.org, or Convertio, try the same image in each tool. Look at the outlines, editing required, output formats, and cost. Include offline access and direct export to other formats in your decision if your project requires them.
You can upload PNG, JPG, GIF, and WebP files up to 20 MB each. Downloads are provided as SVG. This tool does not directly export EPS, AI, PDF, or DXF. If a supplier needs another format, download the SVG and convert it in a vector editor with the appropriate export options. Check the shapes, dimensions, and colors in the exported file before handing it over.
Enlarging a bitmap changes its pixel dimensions. Vectorization attempts to rebuild its shapes as paths and filled areas that can scale to different sizes. Renaming a JPG file to SVG does not create vector paths. Tracing also cannot guarantee the recovery of detail missing from a blurry image or turn pictured lettering into editable text. Check lettering and brand artwork carefully after conversion, especially when exact shapes matter.
Logos, icons, flat illustrations, and line drawings with clear edges and distinct colors are usually good candidates. A complex photo may produce many separate color regions, and the SVG may not be smaller than the original. Try vectorization when you want a flatter graphic style. If you want to preserve a photographic look, consider image enhancement or upscaling instead. Check small, low-resolution lettering separately and recreate it when necessary.
Conversion currently requires a cutout.pro account and uses credits according to the rules shown in the tool. Check the tool and your account for the applicable cost and available balance. Generating a new result after changing settings is a separate conversion. When comparing free and paid alternatives to Vector Magic, also check download fees, output formats, and image limits so the pricing fits how often you use the service.
Bring your existing logo, illustration, or sketch to cutout.pro and turn it into vector artwork in your browser. Trace automatically, refine colors and details, and compare the result before downloading. Prepare reusable artwork for your next website, packaging layout, or creative project.
Upload an image to vectorize